Wildflower Botanical Nail Art: Tiny Lavender Sprigs on Milky Nails
A delicate botanical manicure inspired by pressed wildflowers — sheer milky base with hand-painted lavender sprigs and green leaves.

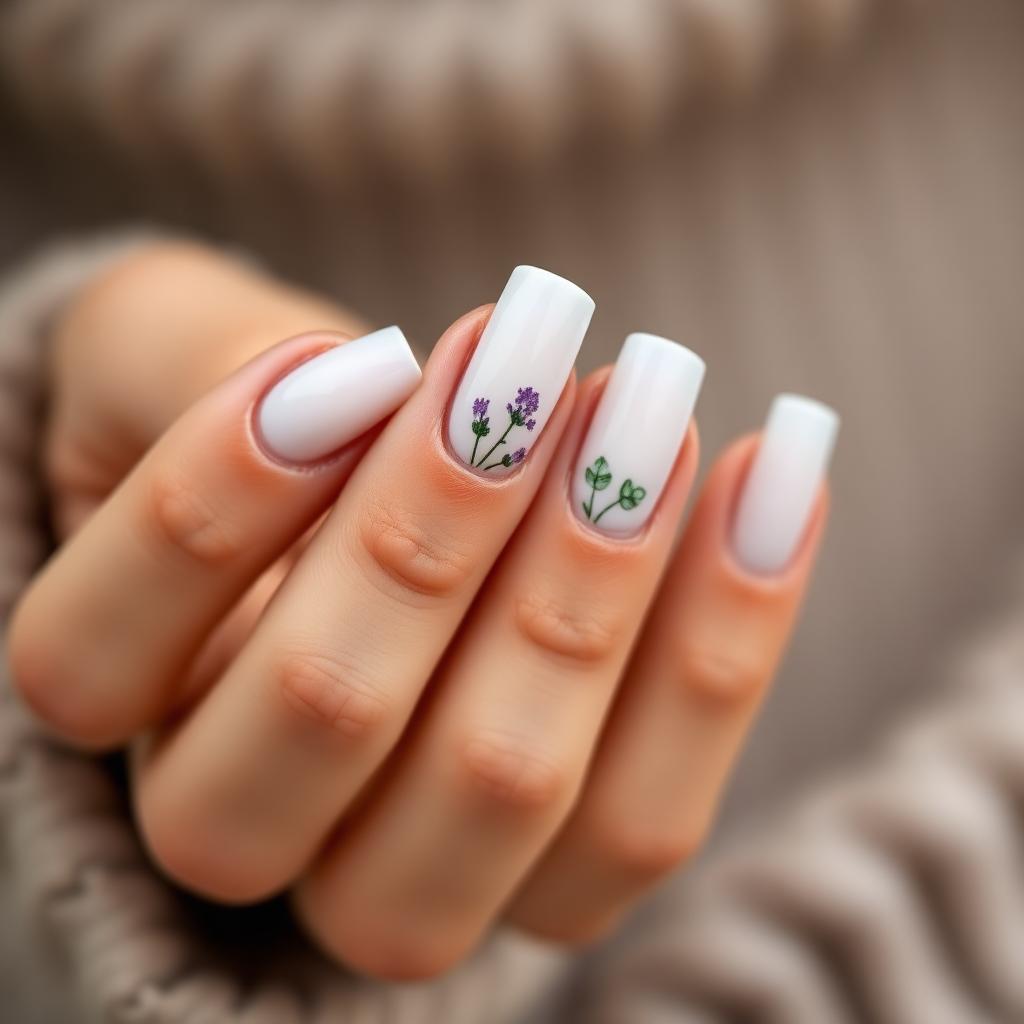
Wildflower nail art is what happens when you take the pressed-flower aesthetic of a Victorian botanical journal and translate it onto the fingertips. Instead of a full, showy floral design, the look is quiet and considered — a few tiny lavender sprigs, a scattering of green leaves, plenty of negative space. It is the manicure that garden-lovers, herbalists, editors and quietly stylish brides gravitate toward, because it feels personal without shouting for attention. In this tutorial you will learn the exact colour palette, brushwork and placement rules used by botanical nail artists to create a manicure that photographs like a page from a plant field guide.
The pressed-flower aesthetic explained
Pressed flowers have a distinctive quality — the colours are muted, the shapes are flattened, and the composition has intentional empty space around each stem. Translating that language to nail art means resisting the urge to fill the entire nail. The milky base is not just a background; it is meant to read as the page of a herbarium, with the wildflower sitting delicately on top. Almost every mistake beginners make with botanical nails comes from painting too much. When in doubt, paint less.
Choosing your wildflower species
The easiest wildflowers to paint on nails are those built from simple repeated shapes. Lavender is the classic choice because it is made of tiny dots arranged along a vertical stem. Baby's breath translates to clusters of white dots. Chamomile is white petals around a yellow centre. Forget-me-nots are four small blue dots around a yellow dot. Once you learn one of these, the others take about ten minutes to master. This tutorial uses lavender because it teaches the two techniques you will use for every other wildflower: the vertical stem and the clustered dot.
Why milky white is the perfect base
A milky white polish — sheer, warm, slightly translucent — is the ideal canvas for botanical work because it softens the contrast between the artwork and the natural nail underneath. Pure opaque white creates a harsh backdrop that makes hand-painted flowers look like stickers. A milky base makes them look like they are floating on paper. Look for a formula labelled milky, jelly or sheer white. If yours reads too pigmented, thin it with one drop of clear top coat.
Placement for a herbarium feel
Botanical nail artists borrow a rule from florists: odd numbers look natural, even numbers look decorative. So place one lavender sprig on the ring finger, three tiny leaves on the middle, a single stem on the pinky, and leave the index and thumb bare or with just one leaf. This asymmetry is what makes the manicure look plucked from a garden rather than designed by a committee.
What You'll Need
- ✓Milky white polish (sheer or jelly formula)
- ✓Soft lavender purple polish
- ✓Deeper violet polish for shadowing
- ✓Sage or olive green polish
- ✓Fine liner brush (size 000)
- ✓Dotting tool or the tip of a bobby pin
- ✓Base coat and glossy top coat
Step-by-Step
- 01
Prep and shape
File nails into a soft squoval or gentle almond. Push cuticles back and buff the surface lightly. Wipe with dehydrator to remove any oil.
- 02
Build the milky base
Apply a base coat, then two thin coats of the milky white polish. The finish should look like a soft, warm cream — not opaque and not transparent. Let each coat dry for a full ninety seconds.
- 03
Paint the stems
Using the fine liner brush loaded with sage green polish, paint a single thin vertical line down the centre of each accent nail. Keep the line slightly wobbly — perfectly straight stems look artificial.
- 04
Add the lavender buds
Switch to the soft lavender polish and dotting tool. Place small dots along either side of the stem, working from the base upward. The dots should get smaller as you approach the top of the sprig, mimicking the taper of a real lavender flower.
- 05
Deepen with violet shadows
Load the fine liner with deeper violet polish and add a single tiny dot next to a few of the lavender buds. These shadows create the illusion of depth and make the sprig look three-dimensional rather than flat.
- 06
Paint the leaves
Add two or three sage green leaves at the base of each stem. A botanical leaf is a small pointed oval with a single vein — do not overwork it. Place a single leaf on the other nails if you want more coverage.
- 07
Rest and set
Wait ten full minutes before top coating. Detail work smudges easily if sealed too soon, and this design has more layers than it appears.
- 08
Seal with glossy top coat
Apply a thin, careful layer of top coat. Do not press down or the fine lines will drag. Cap the free edge on each nail and finish with cuticle oil.
"Great nails aren't about perfection — they're about intention. Slow, thin coats always beat a rushed thick one."
Pro Tips
Load the dotting tool sparingly — an overloaded tool creates blobby buds instead of delicate ones.
Vary the length of each stem so the sprigs look plucked from a real field rather than stamped.
For a moodier version, swap lavender for burgundy dots and paint the stems in dark forest green.
The design photographs best against warm wooden or linen backgrounds, not pure white.
If you make a mistake, wait for it to dry completely, then paint the milky base over the error rather than trying to scrape it off.
Store the fine liner brush upright in a small jar so the bristles keep their point between uses.
Frequently Asked
Which wildflower is easiest for a first-timer?+
Baby's breath. It is nothing but clusters of tiny white dots, no stems required. Master it in one manicure and you will feel confident enough to tackle lavender or chamomile next.
Can I do botanical art on shorter nails?+
Yes, but scale everything down. A single sprig on the ring finger and one leaf on the middle is plenty. On very short nails, skip the stems and just paint clustered dots.
How do I keep the milky base from looking streaky?+
Two thin coats always look smoother than one thick coat, and warming the polish bottle between your palms for thirty seconds thins the formula just enough to self-level.
Will this work with press-on nails?+
It works beautifully. Paint the botanical art on the press-on tips before applying them so you can steady your hand on the table. Seal with top coat before pressing on.
How long does the design last?+
With careful top-coat refresh every three days, expect a full week of wear. In gel, this design holds for a full three weeks with almost no fading.
Can I use this style for a wedding?+
It is one of the most popular wedding manicures right now, especially for garden and countryside ceremonies. Swap the lavender for tiny white baby's breath sprigs for a bridal-white version.
Sophia Bennett
Twelve years in beauty editorial. Leads the Nailora desk and personally signs off on every tutorial that goes live.


You Might Also Love
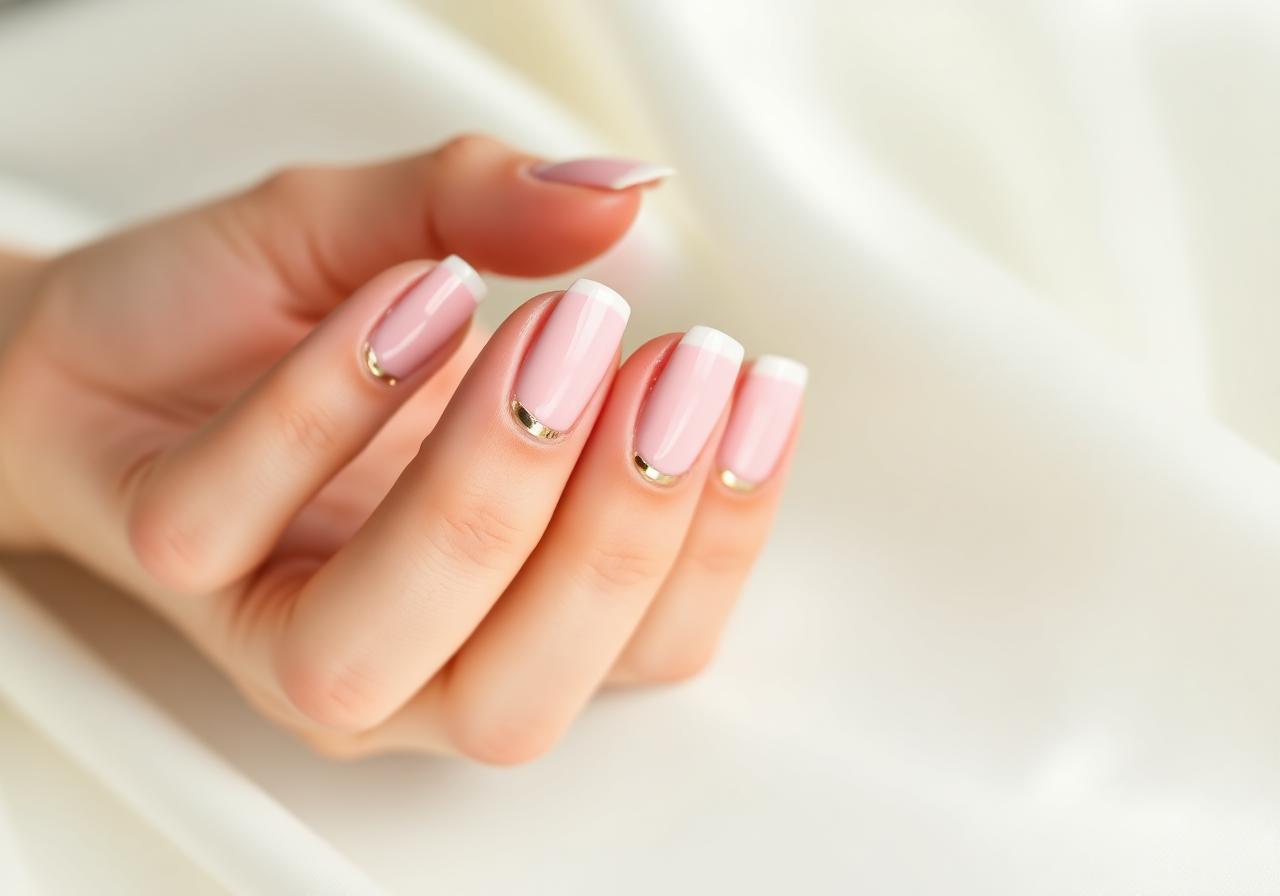
Soft Pink French Tips with Gold Foil Accent
A modern twist on the classic French manicure — sheer pink base, ivory tips, and a whisper of gold foil for everyday elegance.
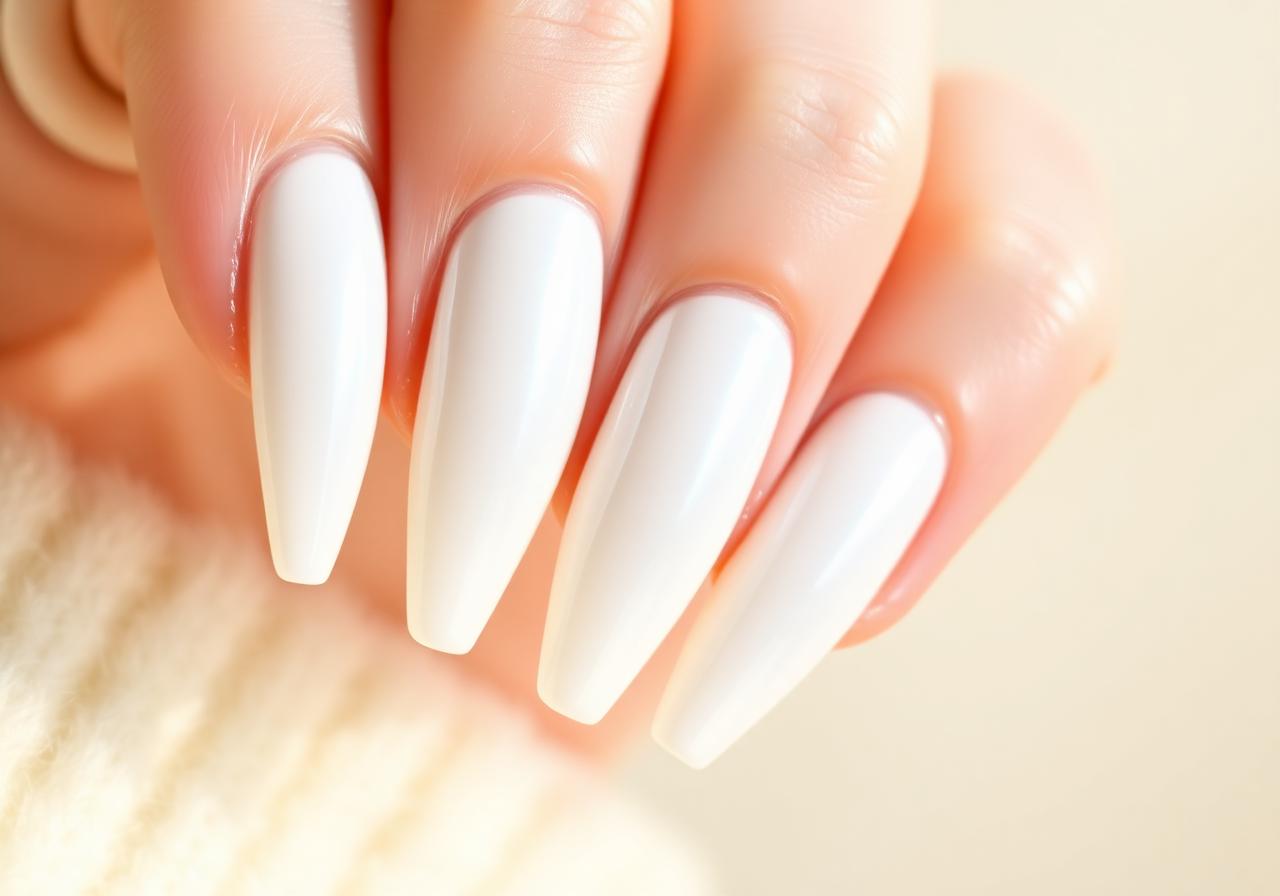
Milky White Glazed Donut Nails at Home
The viral pearl-finish manicure everyone is asking their nail tech for — and how to recreate it in under 30 minutes.
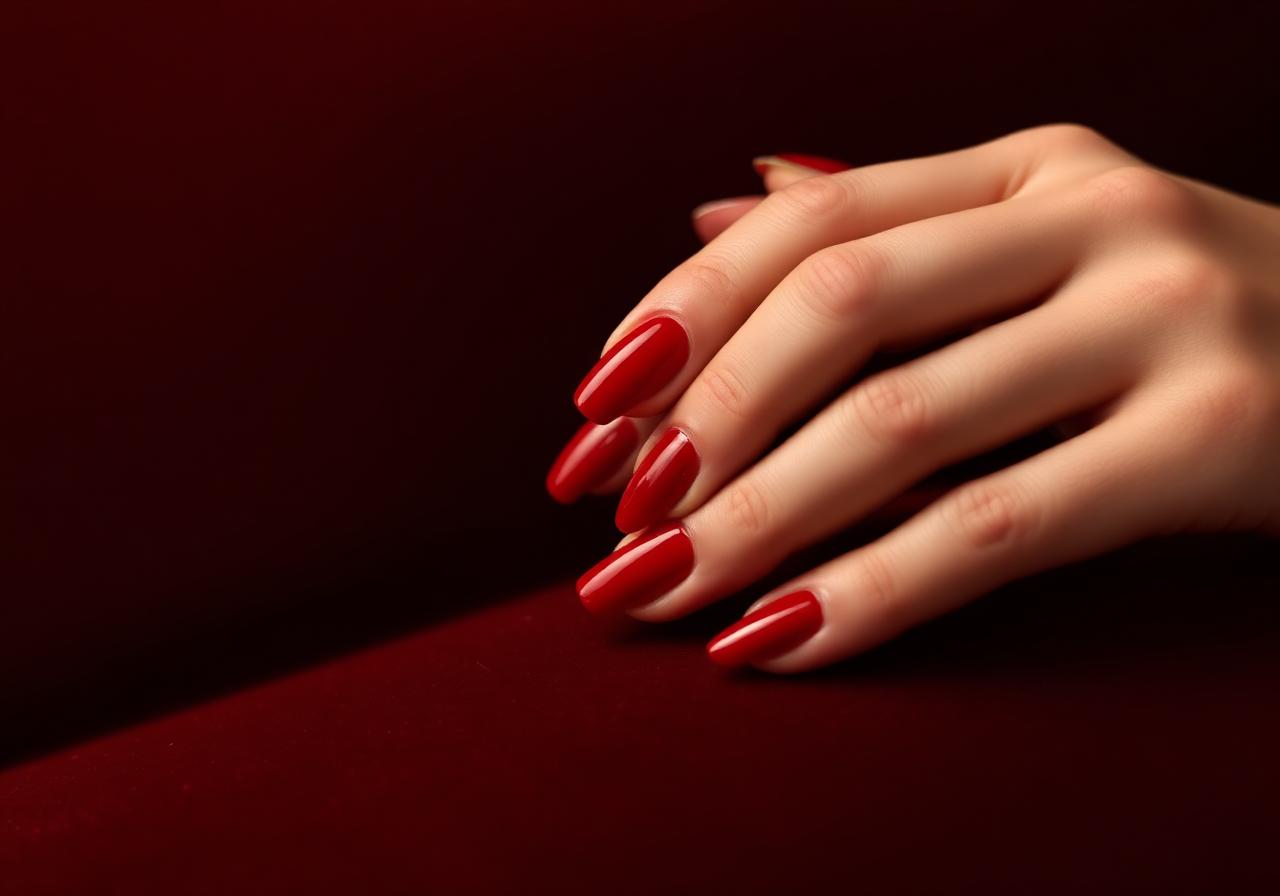
Cherry Red Short Nails: The Classic Look for Every Season
Short nails deserve statement color too. This step-by-step guide gets you a salon-perfect cherry red at home.