Soft Pink French Tips with Gold Foil Accent
A modern twist on the classic French manicure — sheer pink base, ivory tips, and a whisper of gold foil for everyday elegance.

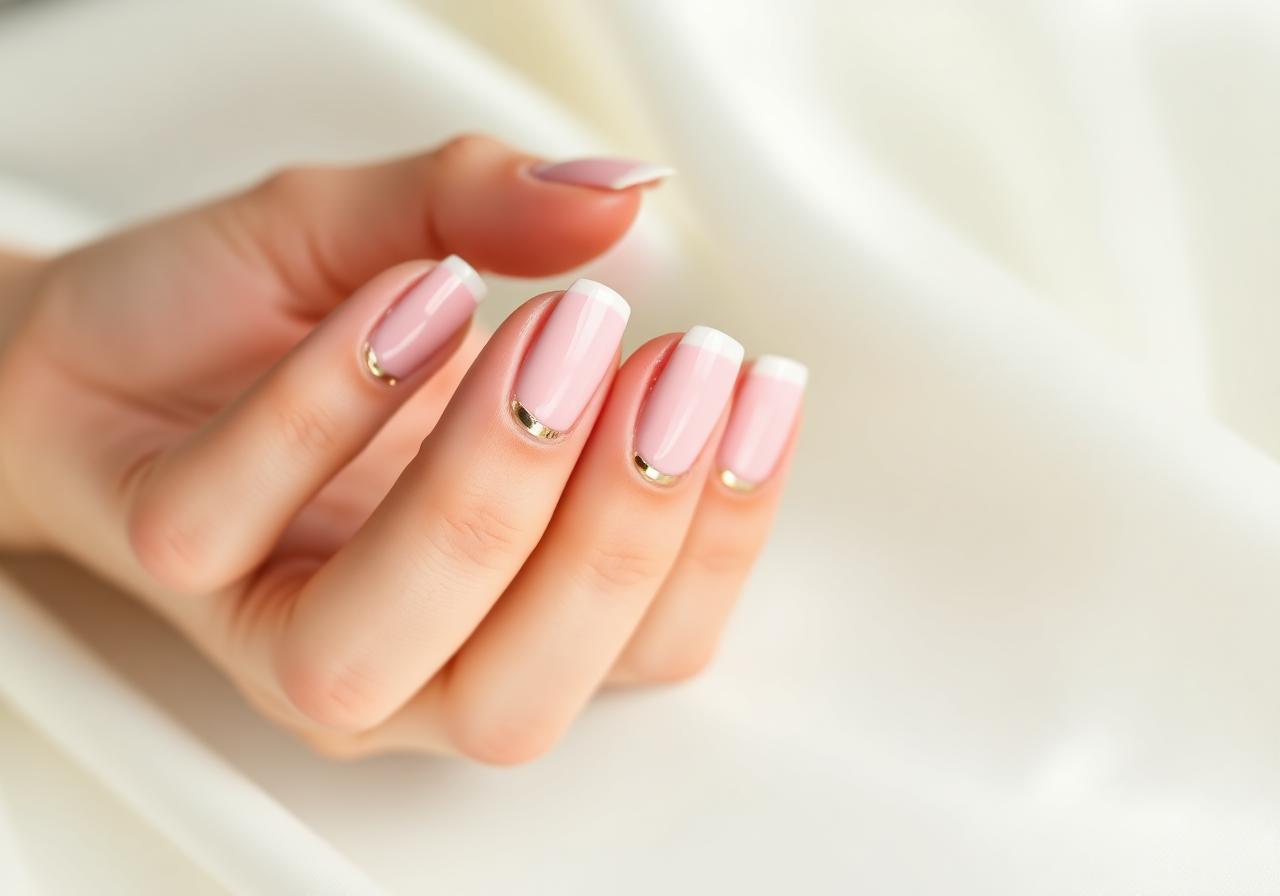
The French manicure never really went away — it just grew up. This soft pink version keeps the timeless silhouette but swaps stark white for a warm ivory tip and adds a delicate gold foil detail along the smile line. It's romantic without being fussy, and it pairs with absolutely everything from denim to a wedding dress. If you've been intimidated by freehand tips, this tutorial breaks the process into steps that even a first-time DIYer can follow at the kitchen table.
What You'll Need
- ✓Sheer pink base coat (jelly or milky formula works best)
- ✓Ivory or off-white polish for tips
- ✓Fine detail brush (size 00)
- ✓Gold foil flakes and foil glue
- ✓Glossy top coat
- ✓Nail prep dehydrator
Step-by-Step
- 01
Prep the natural nail
File nails into a soft almond or squoval shape, push back cuticles gently, and buff the surface. Wipe with a lint-free pad soaked in dehydrator so nothing lifts later. Skipping prep is the number one reason DIY manicures chip in 48 hours.
- 02
Build the milky pink base
Apply two thin coats of your sheer pink polish. Thin coats cure more evenly and stay put much longer than one thick layer. Wait 90 seconds between coats so the polish can set.
- 03
Paint the ivory smile line
Load the detail brush with ivory polish and, keeping your brush at a low angle, trace the natural free-edge curve. Start from one corner and pull toward the center, then repeat from the opposite corner. Two thin passes look cleaner than one heavy stroke.
- 04
Add the gold foil accent
Dab a tiny bead of foil glue right along the join between pink and ivory. Wait for the glue to turn tacky and clear — about 30 seconds — then press small flakes of gold foil into place with a silicone tool. Less is more; a few sparkling specks read as jewelry, not glitter.
- 05
Seal and shine
Cap the tip of every nail with a generous layer of glossy top coat. Sealing the edge is what turns a two-day manicure into a two-week one.
"Great nails aren't about perfection — they're about intention. Slow, thin coats always beat a rushed thick one."
Pro Tips
If your smile line looks uneven, dip an angled brush in acetone and clean the edge — much easier than repainting.
Warm the polish bottle between your palms before starting; it thins the formula and gives a smoother finish.
Store leftover foil in a small clear box; it's the perfect finishing touch for future manicures.
Frequently Asked
How long does this manicure last?+
With proper prep and daily top-coat touch-ups, expect 7 to 10 days of wear on natural nails.
Can I use gel polish instead?+
Absolutely. Follow the same order but cure each layer under a lamp for 60 seconds. The foil should be pressed onto tacky gel base rather than glue.
James Mitchell
Shoots every hand model and product still on the Nailora set. Ten years in commercial beauty photography.


You Might Also Love
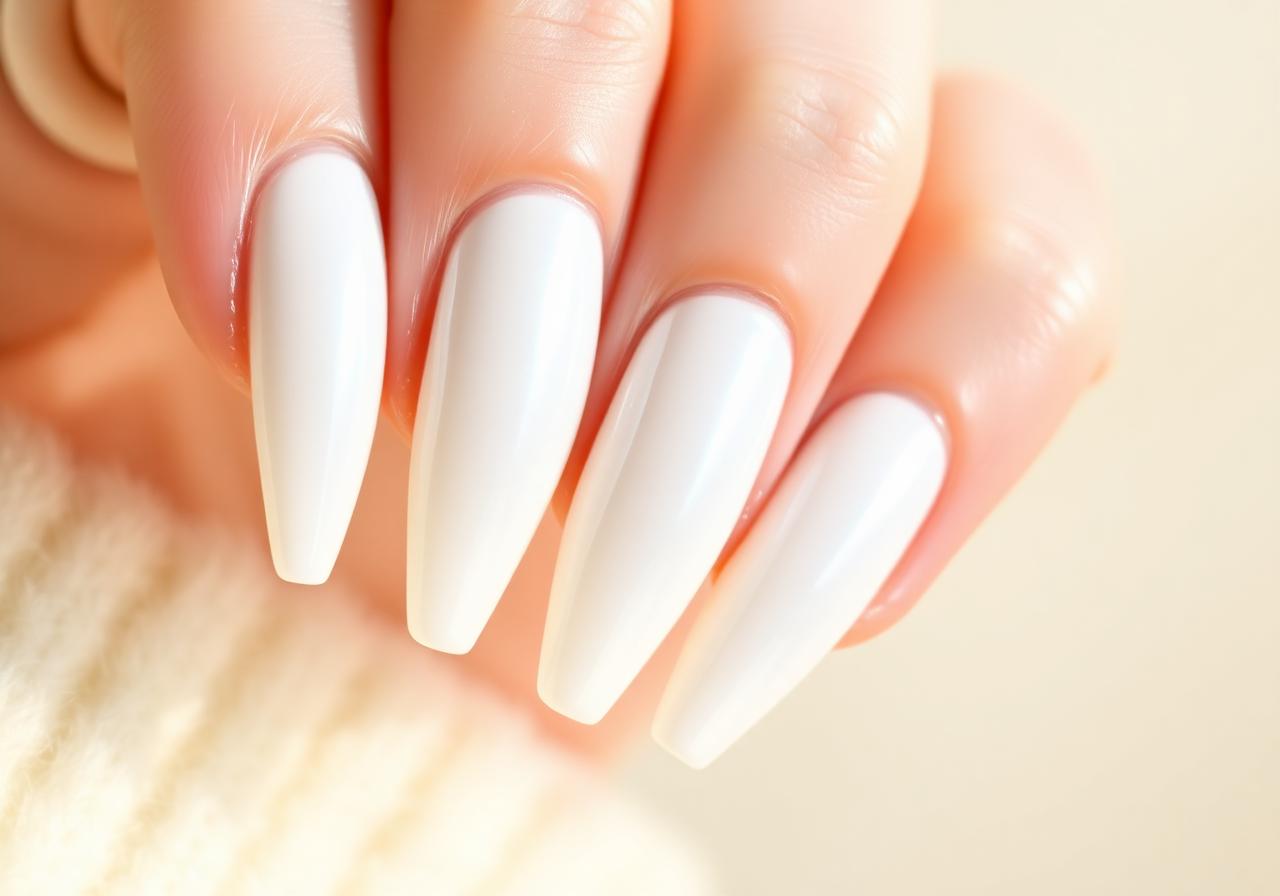
Milky White Glazed Donut Nails at Home
The viral pearl-finish manicure everyone is asking their nail tech for — and how to recreate it in under 30 minutes.
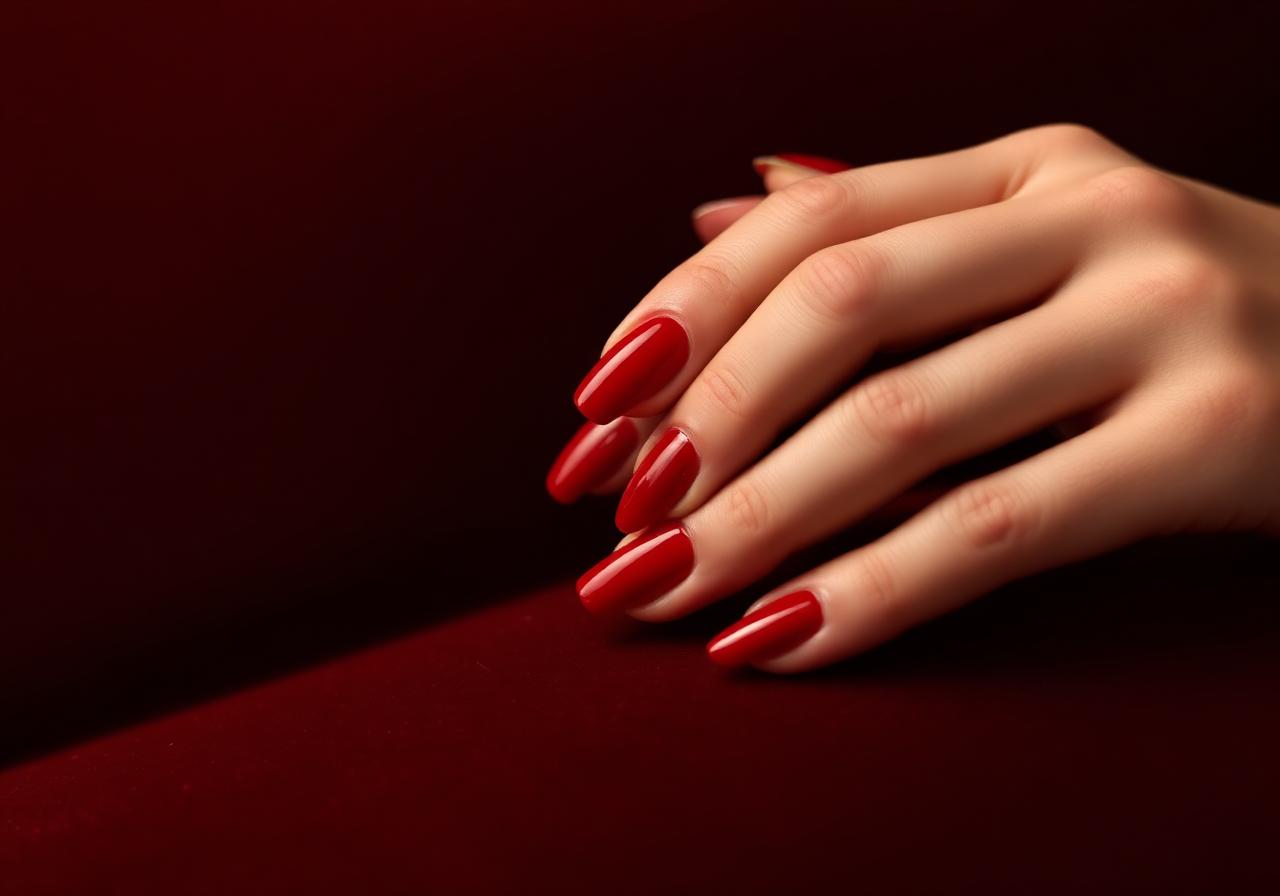
Cherry Red Short Nails: The Classic Look for Every Season
Short nails deserve statement color too. This step-by-step guide gets you a salon-perfect cherry red at home.
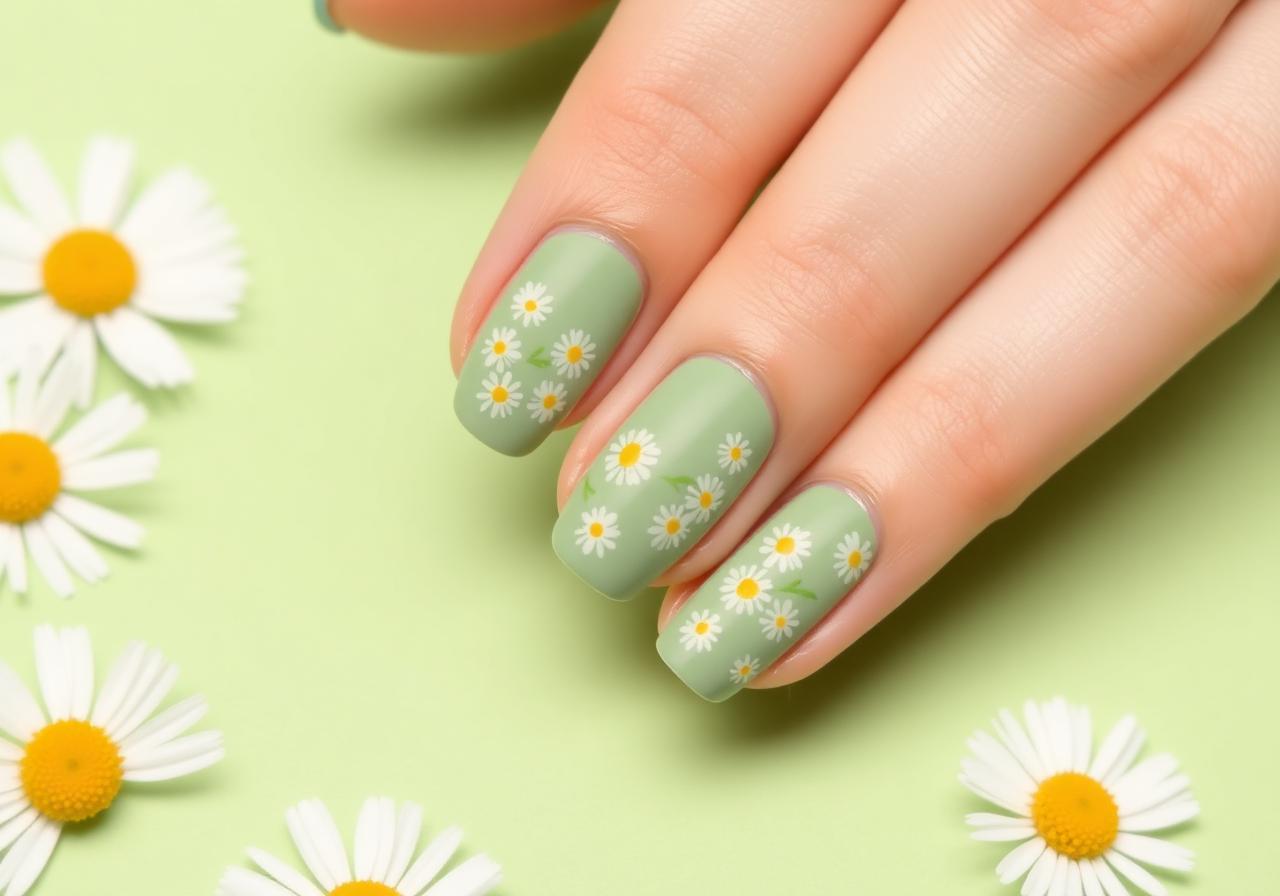
Delicate Spring Floral Nail Art for Beginners
Tiny hand-painted daisies that look complicated but only need three colors and a dotting tool.