Sunset Gradient Nails: Fuchsia, Orange and Gold Ombre
A vivid summer sunset captured on the nail — fuchsia pink fading through orange into golden yellow, the ultimate bold summer manicure.

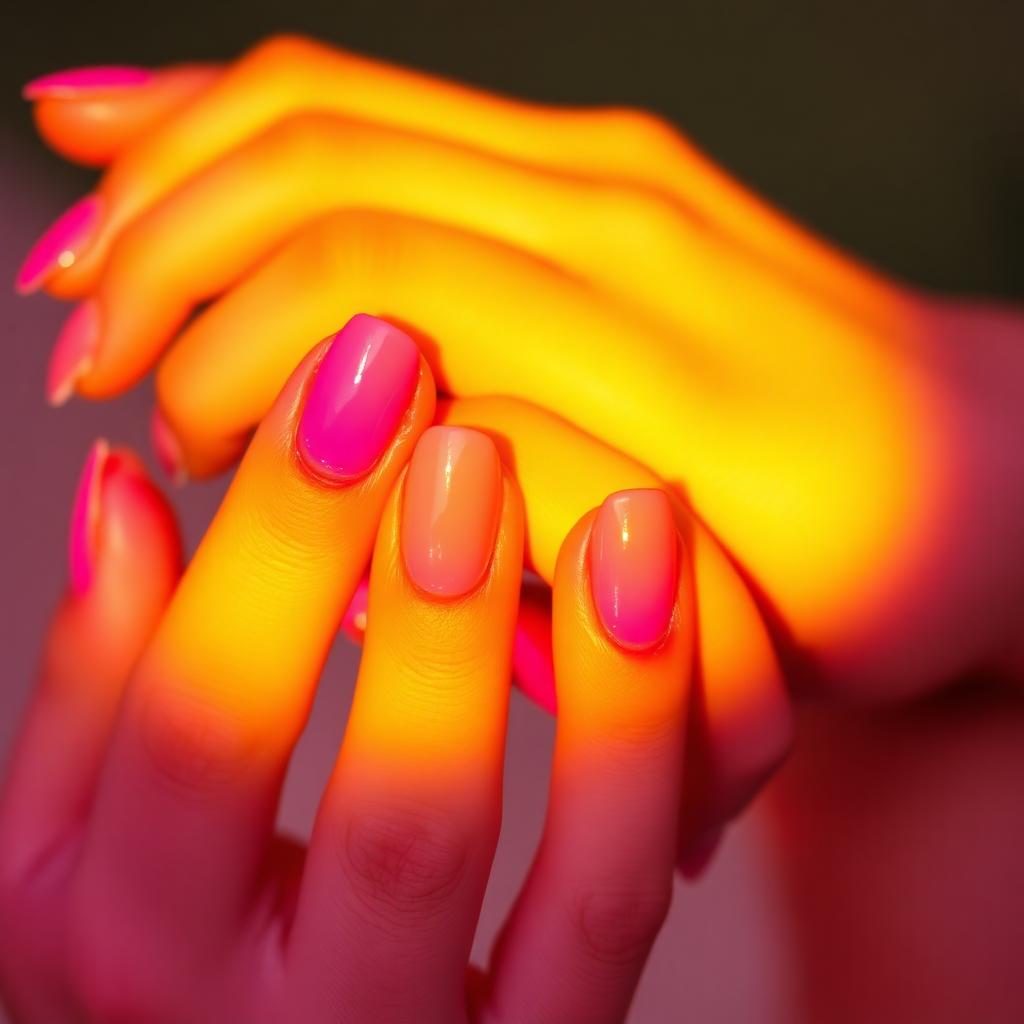
Sunset gradient nails are what happens when you refuse to choose between pink, orange and gold — so you wear all three at once. The design captures the exact colour progression of a summer sunset, with hot fuchsia at the cuticle fading through warm orange in the middle to golden yellow at the tip. It is a bold, unapologetic summer statement, and it looks incredible on every skin tone because the three colours in the gradient echo the same warm undertones found in tanned skin. This complete guide covers the three-colour sponge technique, the exact undertones that keep the gradient from looking muddy, and the finishing rituals that make the sunset look freshly airbrushed for a full two weeks.
The colour physics of a real sunset
A real sunset is not a random mix of warm colours — it follows a specific order dictated by how sunlight scatters through the atmosphere. Red and pink appear closest to the horizon, orange sits in the middle band, and yellow fades toward the top of the sky. Painting the gradient in this specific order (fuchsia at the cuticle, gold at the tip) is what makes the design read as a sunset rather than a chaotic warm-colour smear.
Choosing warm-based colours that blend
The single most common sunset gradient mistake is mixing warm and cool undertones. A cool fuchsia with a warm orange creates a muddy brown zone where they blend. All three colours must be warm-based — warm fuchsia (with orange, not blue, undertones), warm coral orange, and warm sunny yellow. When all three are warm, the blend zones look glowing rather than muddy.
The three-colour sponge technique
A three-colour gradient is only slightly harder than a two-colour one. The trick is arranging all three polishes side by side on the sponge with tiny gaps of clear space between them — the pressing motion does the blending. Painting the colours directly next to each other with no gap creates hard lines; leaving tiny gaps produces smooth transitions.
Why a white base makes the sunset glow
Warm colours applied directly to a nude nail look muted. The professional secret is a stark white base — the same technique used for neons. The white bounces light through the warm layers, giving the sunset the same glowing quality as a real sky at dusk. Skip this step and the design looks flat rather than radiant.
What You'll Need
- ✓Opaque white polish
- ✓Warm hot fuchsia polish
- ✓Warm coral orange polish
- ✓Warm sunny yellow polish
- ✓Small dense makeup sponge
- ✓Peel-off latex barrier or scotch tape
- ✓Small angled brush and acetone for cleanup
- ✓Base coat and high-gloss top coat
Step-by-Step
- 01
Prep and shape
File nails into a long almond or coffin — the shape that best carries a dramatic gradient. Push cuticles back, buff and dehydrate.
- 02
Apply base coat and white foundation
Apply a base coat, then two thin coats of opaque white polish. The white base must be fully opaque before the sunset colours can glow. Let each coat sit ninety seconds.
- 03
Apply latex barrier around the cuticle
Paint a thin layer of peel-off latex barrier around the cuticle and side walls of each nail. This makes cleanup ten times faster.
- 04
Arrange the three colours on the sponge
Place a stripe of fuchsia at one end of the sponge, orange in the middle, and yellow at the other end. Leave tiny gaps between each colour — do not blend them yet.
- 05
Press the sponge onto the nail
Press the sponge onto each nail with fuchsia at the cuticle and yellow at the tip. Lift straight up and repeat two or three times, refreshing the polish on the sponge between nails.
- 06
Do a second pass for saturation
Once the first gradient is set, do a second lighter sponge pass to deepen the colours without smearing the gradient. This step is what gives the design its glowing intensity.
- 07
Peel the barrier and clean up
Peel off the latex barrier — the excess polish comes off with it, leaving crisp cuticle edges. Use the angled brush dipped in acetone to clean any remaining texture on the skin.
- 08
Seal with high-gloss top coat
A generous layer of high-gloss top coat smooths the sponged texture into a single glassy surface. Cap the free edge and finish with cuticle oil.
"Great nails aren't about perfection — they're about intention. Slow, thin coats always beat a rushed thick one."
Pro Tips
For an even more dramatic sunset, add a tiny dab of red between the fuchsia and orange on the sponge.
Photograph the finished manicure at golden hour for the most editorial shot.
Pair with warm gold jewelry — silver fights the warm sunset colours.
Cut the sponge into fresh corners for each hand so you are always working with a clean surface.
For a beach-vacation version, add a tiny black palm silhouette on the ring finger over the sunset gradient.
Refresh top coat every three days to keep the sponged texture from dulling.
Frequently Asked
Why does my sunset look muddy?+
Almost always because one of the three polishes has a cool undertone. All three colours must be warm-based. Swap out any cool pink or lemon-yellow for warmer versions and the gradient will glow instead of muddying.
Can I do this without a sponge?+
A truly seamless three-colour gradient is nearly impossible without a sponge. Freehand brush blending produces visible lines. If you do not have a makeup sponge, a small piece of clean sea sponge or the corner of a clean cosmetic wedge works well.
How long does the design last?+
On natural nails with regular top coat refresh, expect seven to nine days. In gel, expect two to three weeks with the gradient still fully vibrant.
Is this flattering on all skin tones?+
Yes, especially in summer. The warm colours echo warm undertones in tanned skin and create striking contrast against cooler skin. Both effects are flattering.
Can I do a beach-sunset version with purple?+
Absolutely — add a stripe of warm purple above the fuchsia on the sponge for a four-colour sunset that captures dusk. Purple must be warm-based (not cool violet) for the gradient to blend cleanly.
Is this appropriate for summer weddings?+
It is a statement choice, so it works best for bold, colourful weddings — beach ceremonies, festival-style receptions, or destination summer weddings. For traditional weddings, a softer peach-to-cream gradient reads more appropriate.
James Mitchell
Shoots every hand model and product still on the Nailora set. Ten years in commercial beauty photography.


You Might Also Love
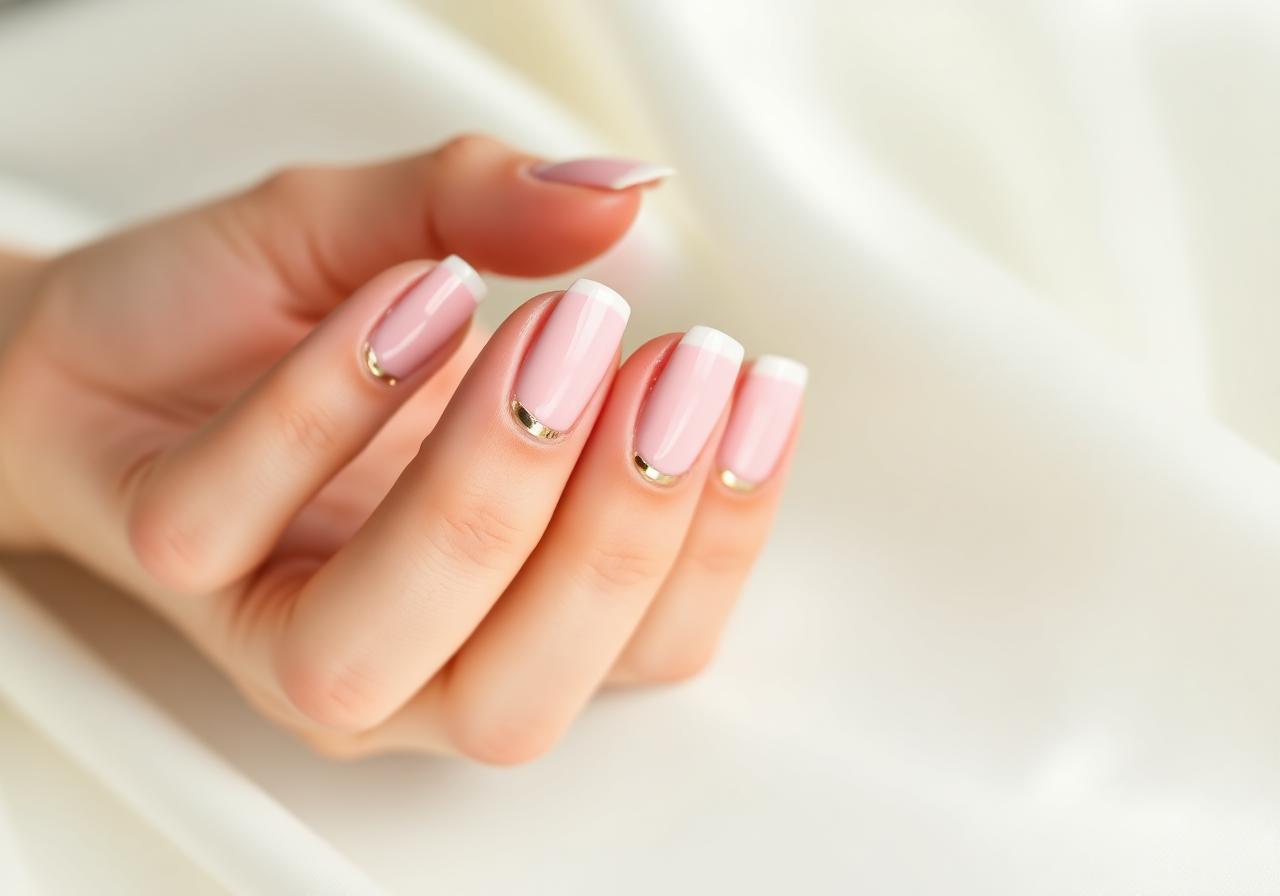
Soft Pink French Tips with Gold Foil Accent
A modern twist on the classic French manicure — sheer pink base, ivory tips, and a whisper of gold foil for everyday elegance.
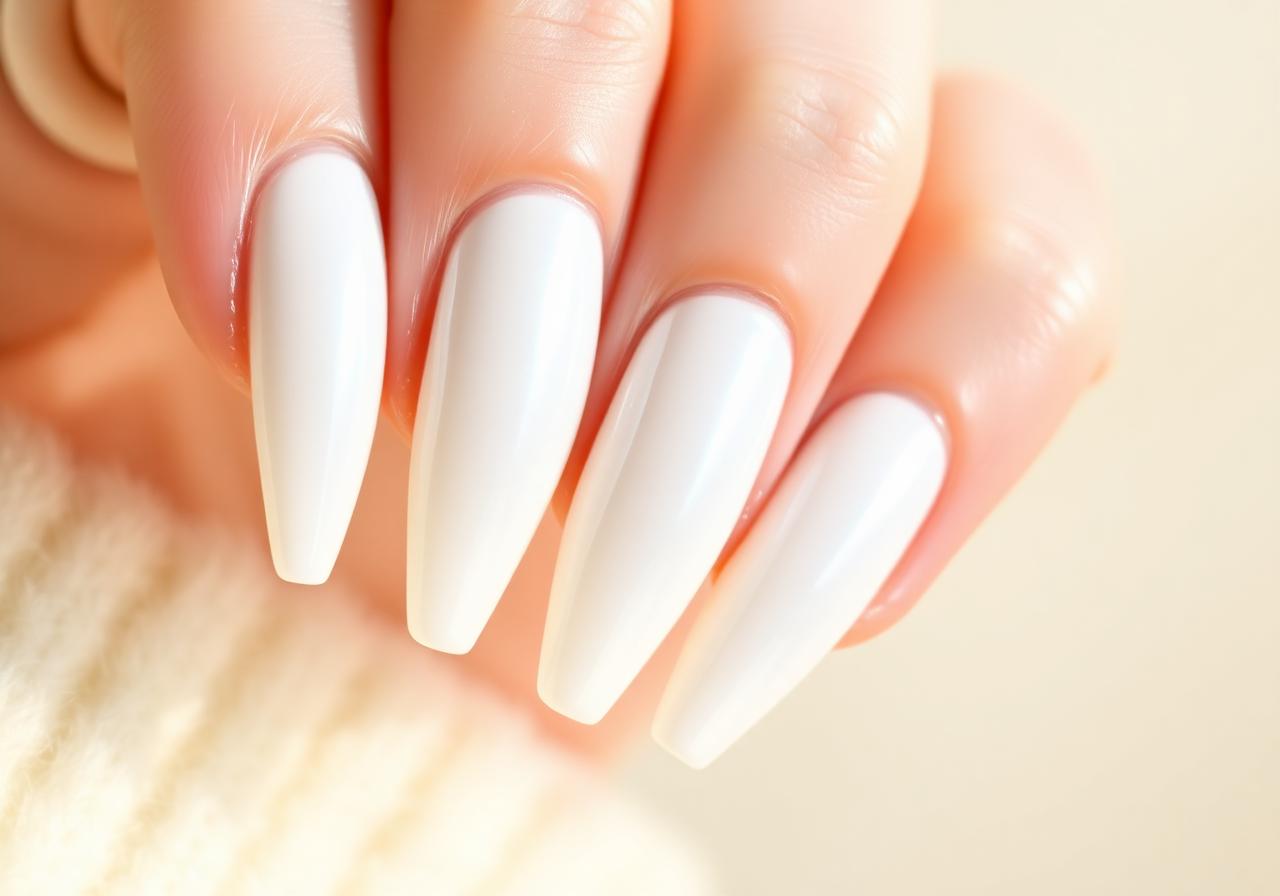
Milky White Glazed Donut Nails at Home
The viral pearl-finish manicure everyone is asking their nail tech for — and how to recreate it in under 30 minutes.
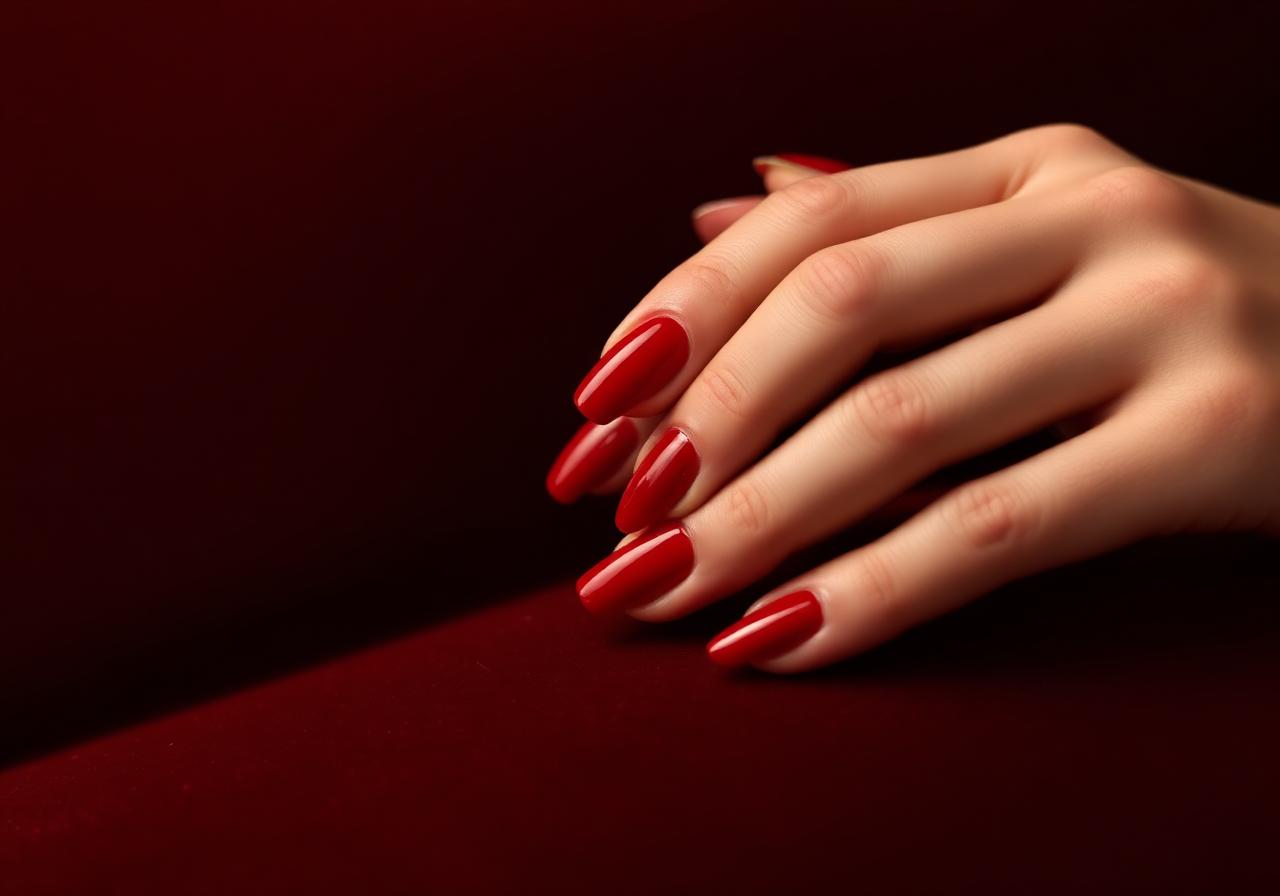
Cherry Red Short Nails: The Classic Look for Every Season
Short nails deserve statement color too. This step-by-step guide gets you a salon-perfect cherry red at home.