The Sheer Nude Manicure: How to Get That 'My Nails But Better' Finish
The quietest luxury in the beauty world — a manicure so subtle it looks like your natural nail, just healthier, glossier, and better lit.

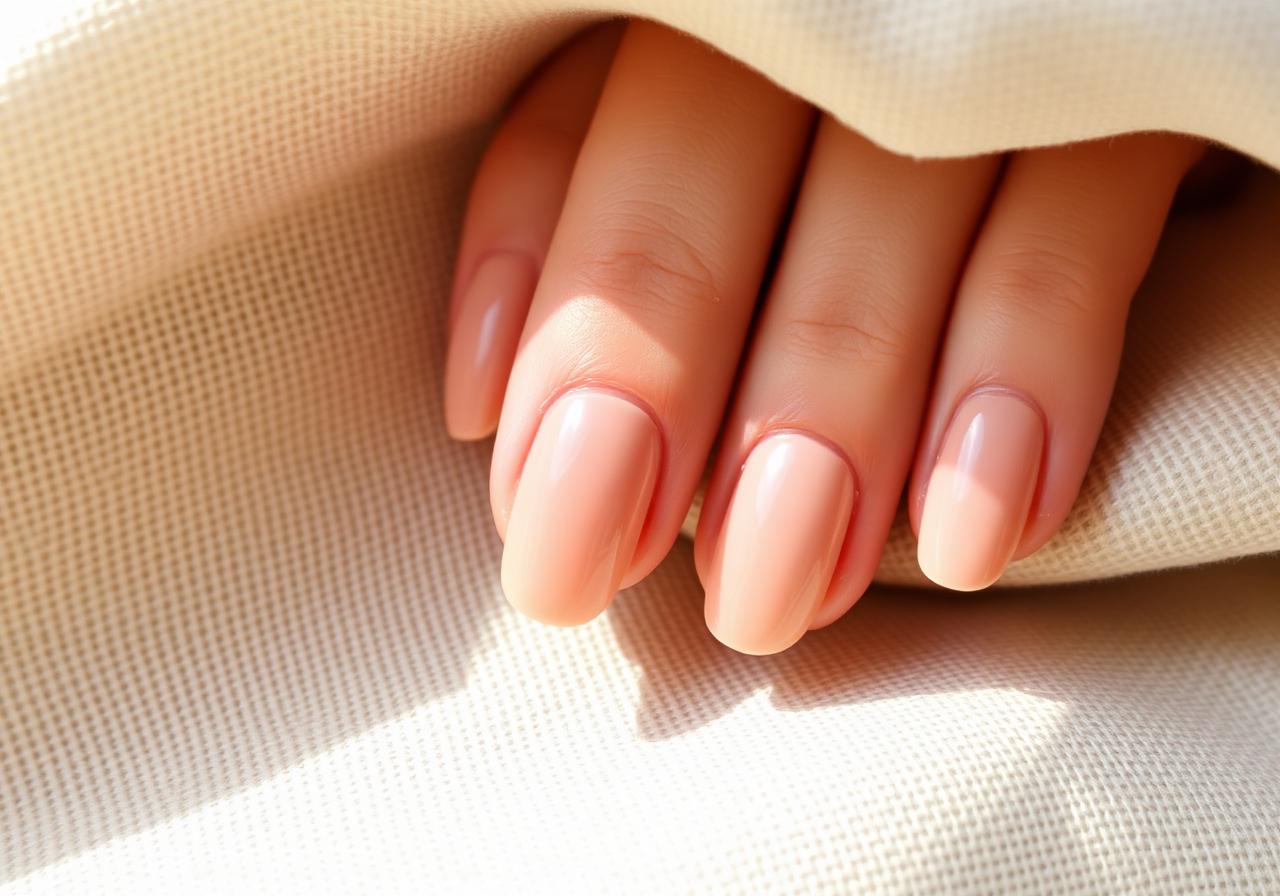
There is a phrase that has taken over the beauty world in the last few years — 'my nails but better' — and it describes exactly what this manicure delivers. The sheer nude is not a color statement. It is a grooming statement. When it is done well, no one at the dinner table can tell whether you had your nails painted or whether you simply have naturally beautiful hands. That is the entire point. The look reads as competence, care, and the kind of quiet confidence that does not need to be announced. It also happens to be the most versatile manicure in existence. It works with a wedding dress. It works with sweatpants. It works with heavy silver rings and it works with no jewelry at all. It never fights an outfit, never dates a photograph, and never looks tired the way a bold color does after a few days of wear. And for many readers who struggle with polish that chips or lifts, the sheer nude has a hidden advantage: because the color is so soft, small chips are almost invisible. This is a manicure that ages gracefully. This tutorial breaks down exactly how to build the look at home. We'll cover picking the right nude for your skin (the number one place people go wrong), the shape that reads most naturally, and the top-coat step that transforms a beige polish job into the glossy, expensive-looking finish you actually want.
Finding your undertone
The sheer nude only looks like your nail if it matches your undertone. Most people default to whatever nude their friend uses, which is usually wrong. Look at the inside of your wrist in natural light. If the veins look blue-purple, you have a cool undertone — reach for nudes with a pink or rose base, like soft mauves and cool blush shades. If the veins look green, you have a warm undertone — reach for nudes with a peach or beige base, like warm sand or milk-tea shades. If you cannot tell, you are probably neutral, and both families work. The wrong undertone makes the nail look ashy or muddy. The right undertone makes it look luminous.
Sheer vs. opaque nudes: the crucial difference
Nude polishes come in two very different formulas. Opaque nudes cover the natural nail completely — one or two coats and you cannot see the nail bed at all. Sheer nudes are translucent and build slowly, letting your actual nail color show through. For the 'my nails but better' effect, you want the sheer formula. Opaque nudes look flat and mask-like, especially on camera. Sheer formulas layer light like a filter. If a bottle does not say sheer, jelly, or milky on the label, look at swatch photos — you should still be able to see the free edge peeking through the color.
The shape does most of the work
Because there is almost no color to distract the eye, shape becomes the whole design. A perfect soft squoval or a short almond both photograph beautifully. Avoid stiletto or pointed shapes with a sheer nude — the extreme shape reads as costume when paired with such a natural color. Whatever shape you pick, mirror symmetry across the two hands is what elevates the finish. If a nail is chipped or asymmetrical, take five extra minutes to file both hands to the same shape before starting.
What You'll Need
- ✓Sheer nude polish in your undertone (rose-nude, peach-nude, or milk-tea)
- ✓Ridge-filling base coat
- ✓Nail buffer with a fine grit side
- ✓Cuticle pusher (wooden orange stick preferred)
- ✓Cuticle oil
- ✓Lint-free wipes
- ✓Rubbing alcohol or nail dehydrator
- ✓Glossy top coat with a slightly thick formula for the pillow finish
- ✓Optional: nail strengthener for weekly wear
Step-by-Step
- 01
Start with clean, oil-free nails
Wash your hands thoroughly with soap and warm water, then wipe every nail with rubbing alcohol on a lint-free pad. Any oil left on the surface — from lotion, cooking, or even your own skin — will cause polish to lift at the edges within a day. This is doubly important for sheer polishes, where any lifting is more visible because the base is so translucent.
- 02
Shape the free edge with a soft file
File dry, in one direction only. Choose a soft squoval — a square with rounded corners — or a short almond. Mirror the shape across both hands by holding your palms up together and comparing. Symmetry is what elevates a nude manicure from 'painted' to 'polished.'
- 03
Push and tidy the cuticles
Soften the cuticle area with a drop of oil, then gently push back the cuticle with a wooden orange stick. Do not cut the eponychium (the living skin at the base of the nail) — just push. If there is loose skin at the sides, snip only that with a clean cuticle nipper. A neat cuticle line makes any manicure look immediately more professional.
- 04
Lightly buff the nail plate
Use the fine-grit side of a buffer and pass it lightly over each nail two or three times. You are not sanding — you are just knocking down the shine so the base coat has something to grip. Wipe again with rubbing alcohol to remove the buffing dust.
- 05
Apply a ridge-filling base coat
A ridge-filling base coat is essential for the sheer nude look because any bumps or dips on the natural nail will show through the translucent color. Apply one thin, level coat and cap the tip. Wait two full minutes before the next step.
- 06
Apply the first sheer coat
Wipe one side of the polish brush against the bottle neck. Place a small dot of color at the cuticle, wait a beat, then pull the brush toward the free edge in three strokes: center first, then left, then right. Cap the tip. This first coat will look very sheer — that is correct. Do not panic and glob on a thicker coat.
- 07
Wait, then apply the second coat
Wait a full four minutes. Sheer polishes need extra dry time between coats because each layer is thin. Apply the second coat exactly like the first, capping the tip again. After the second coat, the color should build to a soft, healthy nude that still lets the natural nail bed show through faintly. Add a third coat only if the color still looks patchy.
- 08
Apply the pillow top coat
Use a slightly thick, glossy top coat and lay it on generously across each nail, capping the tip one final time. This is the layer that gives the manicure its expensive, pillowy dome. A thin top coat leaves the color looking flat; a generous top coat makes it read like glass. Do not brush back and forth — one confident pass in each direction.
- 09
Finish with cuticle oil
Once fully dry (about ten minutes), massage a drop of cuticle oil into each nail bed and the surrounding skin. The oil hydrates the cuticle so it does not pull away from the polish, and it makes the whole hand photograph better. Reapply cuticle oil every evening — this alone will double the life of the manicure.
"Great nails aren't about perfection — they're about intention. Slow, thin coats always beat a rushed thick one."
Pro Tips
For the most flattering photos, do the sheer nude on a day when your skin is well moisturized. Dry cuticles read as tired hands even with perfect polish.
If you want extra strength, apply a nail strengthener under the base coat once a week. It slowly rebuilds thin, peeling nails without changing the finished look.
Never do this manicure right after a long shower or bath. Nails absorb water and expand — as they contract while drying, polish lifts. Wait an hour after bathing.
The sheer nude looks even more expensive on shorter nails. Do not feel pressure to grow them out.
For a subtle upgrade, add one thin layer of a pearl-shimmer top coat over the color for a soft, glassy glow that reads slightly editorial.
Change your top coat every three months. Old top coat yellows and will tint your beautiful nude.
If you're doing this for a professional headshot, do it two days before, not the day of. Freshly painted nails photograph slightly wet-looking on day one.
Keep a small bottle of the same polish in your bag for quick edge touch-ups mid-week. A sheer refresh is invisible.
Frequently Asked
How long does a sheer nude manicure last?+
On natural nails with proper prep, expect seven to twelve days of wear with a top-coat refresh every third day. In gel, expect three weeks.
Why does my sheer nude look patchy?+
Almost always the coats are too thick. Thin coats layer evenly; thick coats pool at the cuticle and streak toward the tip. Redo with two or three thin coats instead of one heavy one.
Can I wear this look on very short nails?+
Yes — arguably it looks best on short nails, where the finish reads as healthy and cared-for rather than done up.
What if I can't tell my undertone?+
Try a warm nude and a cool nude on different fingers and take a photo in natural light. Whichever finger disappears into your hand is your match.
Do I need to buff my nails every time?+
No — a light buff once every two or three manicures is enough. Over-buffing thins the nail plate and weakens it over time.
Can I get this look with gel polish?+
Yes. Look for gel polishes labeled sheer, jelly, or milky. Cure each thin layer for sixty seconds and finish with a no-wipe top coat.
Which top coat brands work best for the glassy finish?+
Any top coat marketed as glossy, pillow, or gel-effect will give the domed look. Avoid matte or fast-dry formulas here — fast-dry versions tend to look flat.
Sophia Bennett
Twelve years in beauty editorial. Leads the Nailora desk and personally signs off on every tutorial that goes live.


You Might Also Love
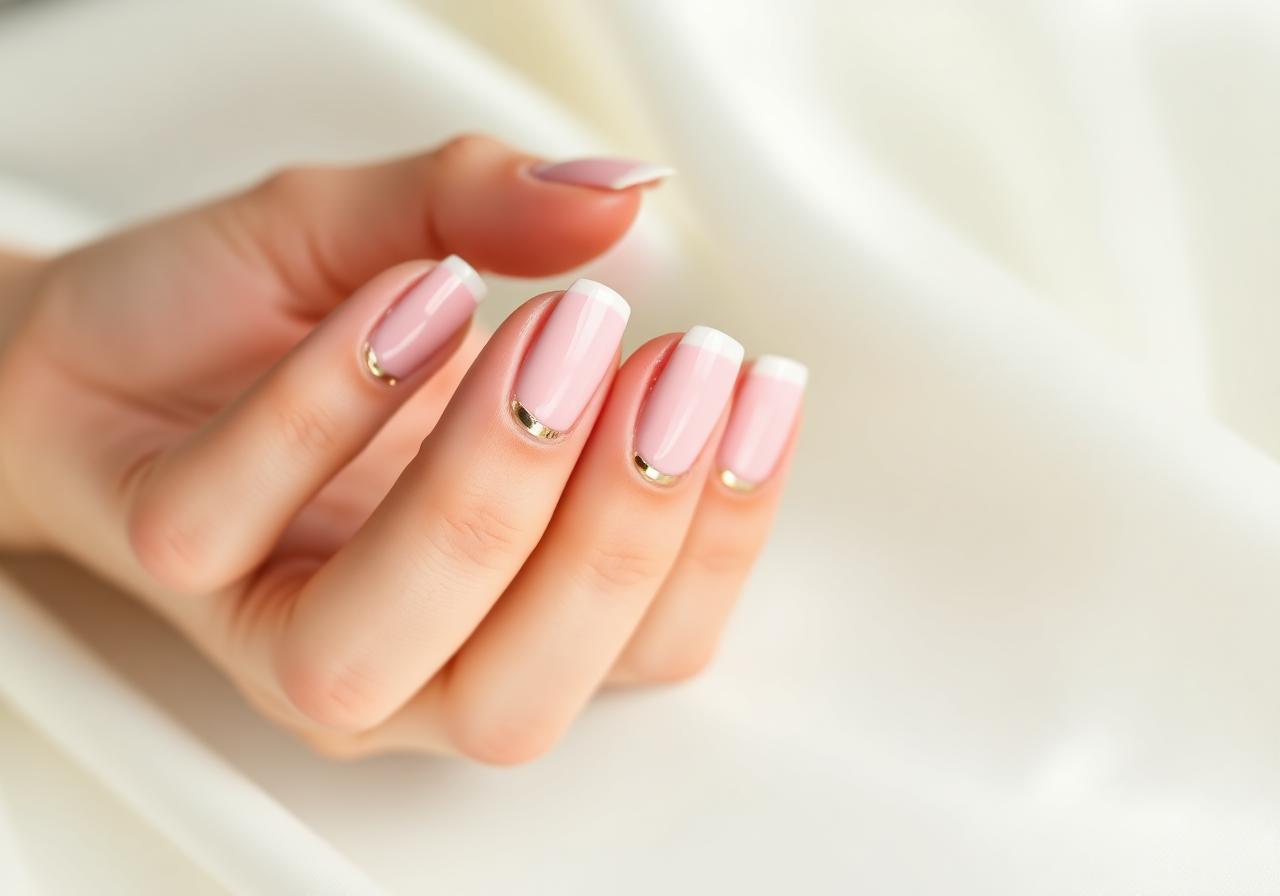
Soft Pink French Tips with Gold Foil Accent
A modern twist on the classic French manicure — sheer pink base, ivory tips, and a whisper of gold foil for everyday elegance.
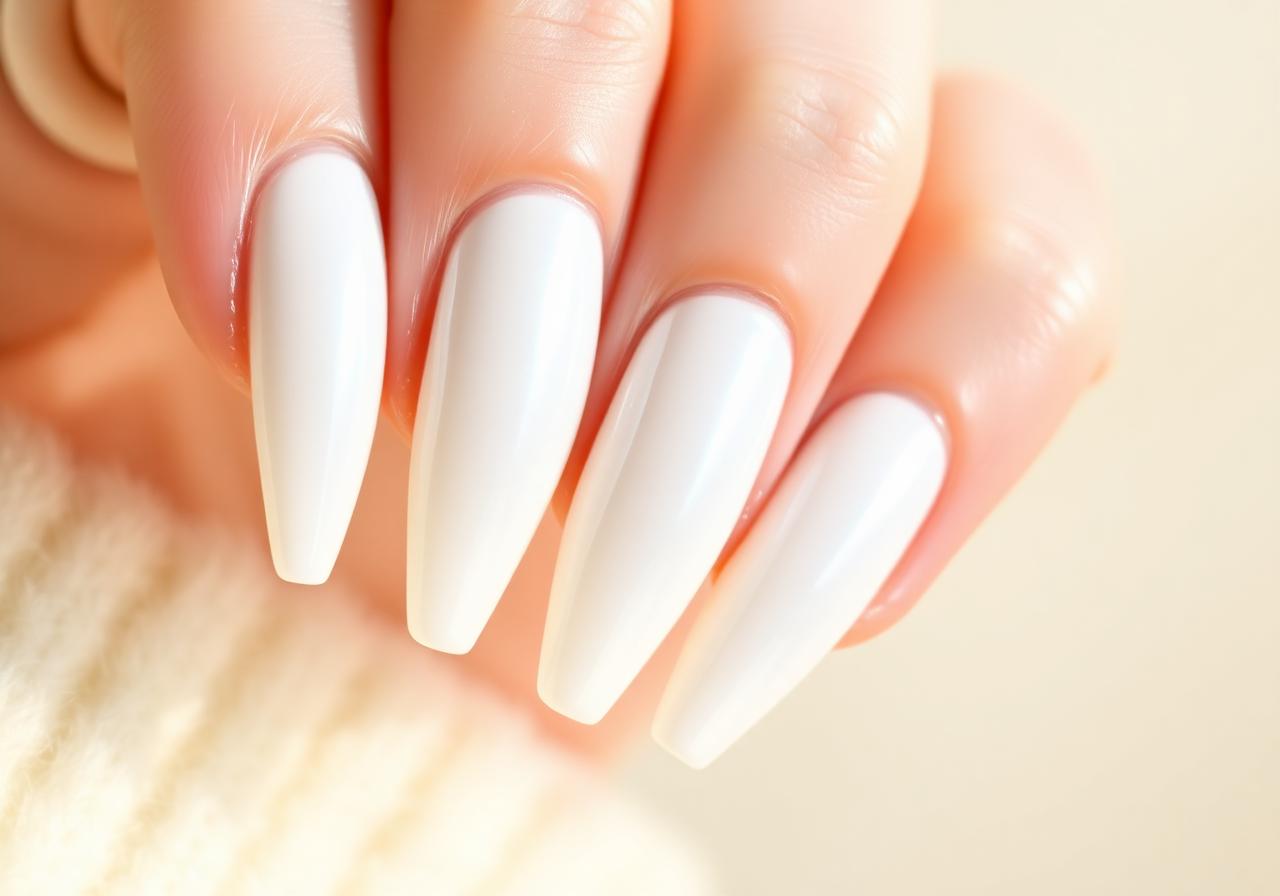
Milky White Glazed Donut Nails at Home
The viral pearl-finish manicure everyone is asking their nail tech for — and how to recreate it in under 30 minutes.
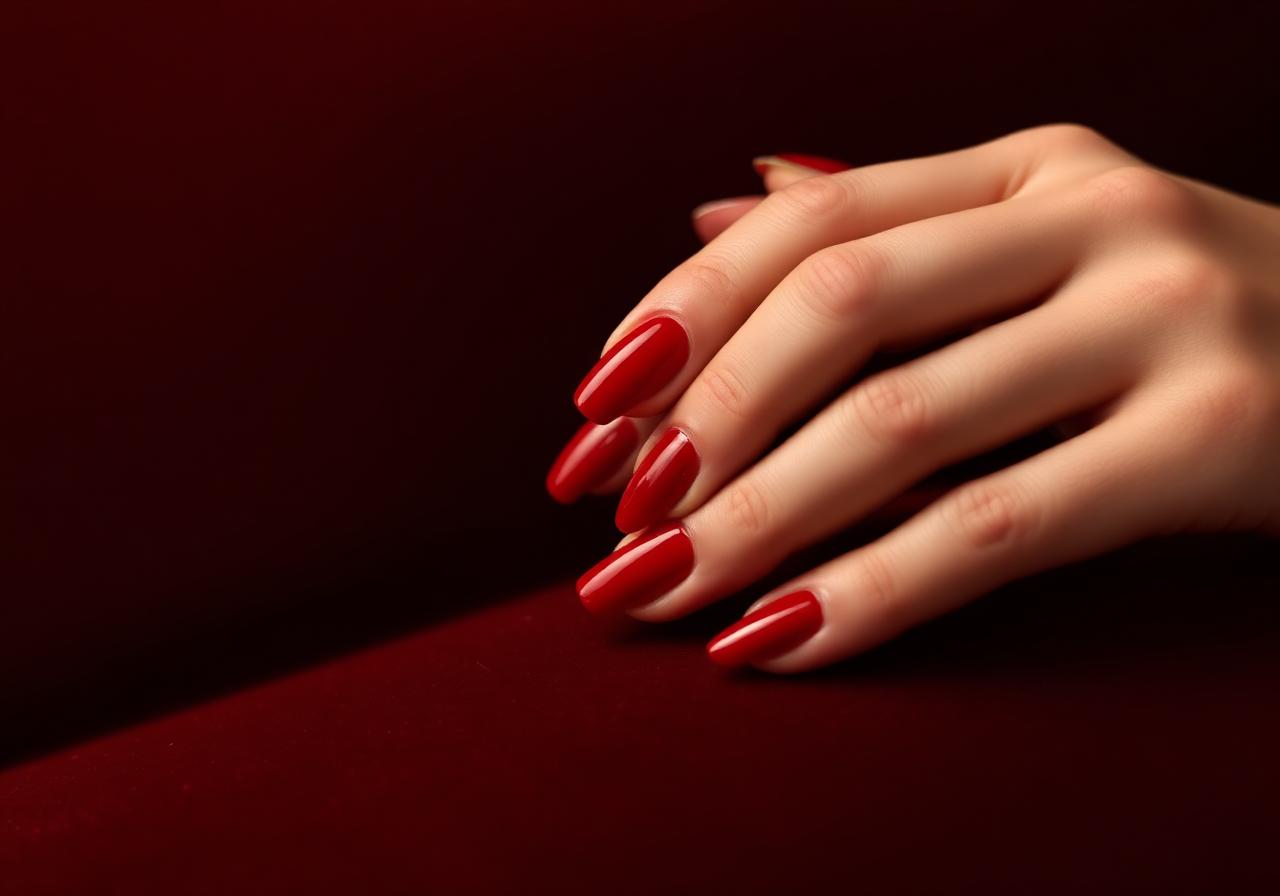
Cherry Red Short Nails: The Classic Look for Every Season
Short nails deserve statement color too. This step-by-step guide gets you a salon-perfect cherry red at home.