Peach Blossom Nails: Hand-Painted Cherry Blossoms on Peachy Pink
A romantic spring manicure with a soft peachy pink base and tiny hand-painted cherry blossom flowers — the sakura season on your fingertips.

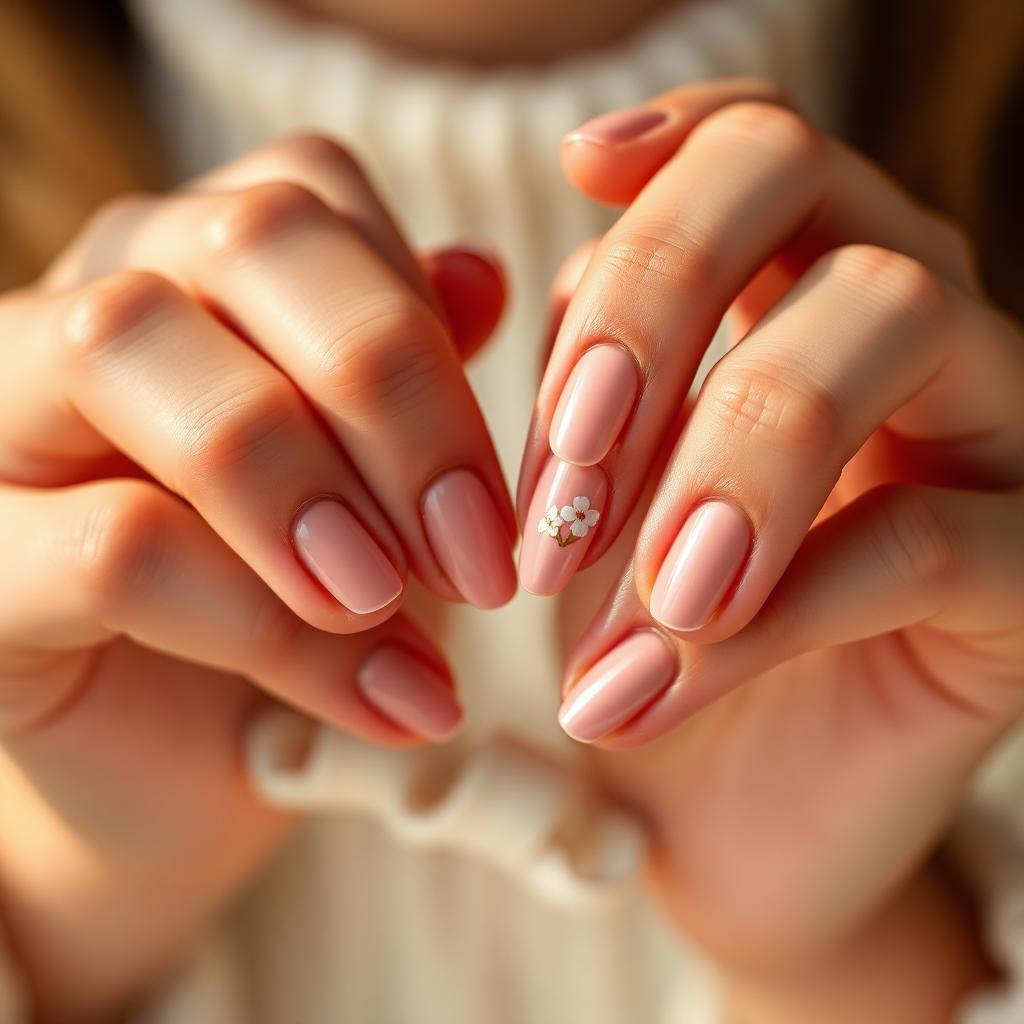
Peach blossom nails are a love letter to sakura season — the couple of weeks each spring when Japanese cherry trees explode into pale pink flowers and every camera in the country turns skyward. This manicure captures that fleeting moment on the nail with a soft peachy pink base and tiny hand-painted five-petal blossoms. It is one of the most requested spring designs at high-end salons, partly because it flatters every skin tone and partly because it feels celebratory without being loud. This guide walks you through the exact peach undertone that reads as blossom pink, the five-petal technique that even beginners can master, and the placement rules that keep the design looking like an actual branch rather than a scatter of dots.
The colour of a real cherry blossom
Real cherry blossom petals are not pink — they are peach. A pale, warm, slightly translucent peach with just a whisper of pink at the edges. Most nail art gets this wrong and uses a saturated bubblegum pink that reads as candy rather than flower. The single most important choice for this manicure is the base polish: look for a milky peach with warm undertones, not a cool pink.
The five-petal shape explained
A cherry blossom has exactly five petals arranged in a soft circle, each petal shaped like a rounded heart with a tiny notch at the tip. On the nail, this translates to five small oval dots placed evenly around a centre point, then gently pulled toward the centre with a dotting tool to shape the petals. Every cherry blossom in the world uses the same five-petal formula — once you learn it for one flower, you know how to paint the entire tree.
The branch that ties the flowers together
A scatter of blossoms without a branch looks like confetti. Adding a thin brown branch line that connects the flowers is what turns the design from decorative dots into unmistakable cherry blossom art. The branch does not need to be perfect — a wobbly, slightly curved line looks more organic than a straight one.
Placement for a curated feel
The most beautiful cherry blossom manicures do not put flowers on every nail. A branch with three or four blossoms flowing across the ring and middle fingers, a single flower on the index, and a solid peach base on the thumb and pinky creates a sense of movement and asymmetry. Blossoms on all ten nails looks stamped; a flowing branch across two or three looks like a painting.
What You'll Need
- ✓Milky peach pink polish (warm undertone)
- ✓Opaque white polish
- ✓Deeper pink polish for petal shading
- ✓Sunny yellow polish
- ✓Small amount of brown polish for the branch
- ✓Fine liner brush (size 000)
- ✓Small dotting tool
- ✓Base coat and glossy top coat
Step-by-Step
- 01
Prep and shape
File nails into a soft almond — the curved shape mimics the shape of a petal itself. Push cuticles back, buff and dehydrate.
- 02
Apply base coat and peach foundation
Apply a base coat, then two thin coats of the milky peach polish. The base should look soft and warm, not saturated. Let each coat sit for a full ninety seconds.
- 03
Paint the branch
Using the fine liner brush loaded with brown polish, paint a thin, slightly curved branch line flowing diagonally across your ring and middle finger nails. Keep the line wobbly and organic — perfectly straight branches look artificial.
- 04
Place the white petal bases
Using the dotting tool loaded with white polish, place five small dots in a circle at three or four points along the branch. Each cluster of five dots becomes one blossom.
- 05
Shape the petals
While the dots are still wet, gently drag the tip of the dotting tool from the outside of each dot inward toward the centre of the flower. This pulls each dot into a heart-shaped petal. Do not overthink the shape — imperfection reads as organic.
- 06
Add the pink centre and shading
Place a small dot of deeper pink at the centre where all five petals meet. Add a tiny brush stroke of the same pink at the base of one or two petals per flower to create depth and shading.
- 07
Add the yellow stamen
Using the fine liner, paint tiny yellow dots at the very centre of each flower to represent the stamen. Three or four dots is plenty — more looks crowded.
- 08
Seal with glossy top coat
Wait ten minutes for the artwork to fully set, then apply a thin glossy top coat. Cap the free edge on every nail and finish with cuticle oil.
"Great nails aren't about perfection — they're about intention. Slow, thin coats always beat a rushed thick one."
Pro Tips
Paint the branch first, then decide where the flowers go — the branch determines the composition.
Vary the size of each blossom slightly so the tree looks natural rather than stamped.
For a bridal version, use pure white blossoms on a pale blush base and skip the pink shading.
Photograph the manicure holding a small sprig of real blossom for a beautiful editorial shot.
Practice one flower on paper before touching the nail — your first blossom is always the least confident.
Refresh the top coat every four days to keep the design looking freshly painted.
Frequently Asked
Do I need real hand-painting skill for this?+
No. The entire design is built from dots and a single wobbly line. If you can make five dots in a circle, you can paint a cherry blossom.
What if my petals look uneven?+
That is exactly right. Real cherry blossoms are never symmetrical, and uneven petals actually make the flowers look more like painted watercolour and less like stickers.
Can I use this on gel?+
Yes, and gel makes the technique easier because the polish does not dry until cured. Flash-cure between each step to lock in the layers without losing wet-shaping ability.
How long does the design last?+
On natural nails with regular top coat refresh, expect seven to ten days of wear. In gel, expect two to three weeks.
What if I do not have a dotting tool?+
The rounded end of a bobby pin, a toothpick, or even the tip of a mechanical pencil all work perfectly for placing the initial petal dots.
Is this appropriate for spring weddings?+
It is one of the most requested spring bridal manicures, especially for outdoor and garden weddings. The soft palette pairs with almost any bridal colour scheme.
James Mitchell
Shoots every hand model and product still on the Nailora set. Ten years in commercial beauty photography.


You Might Also Love
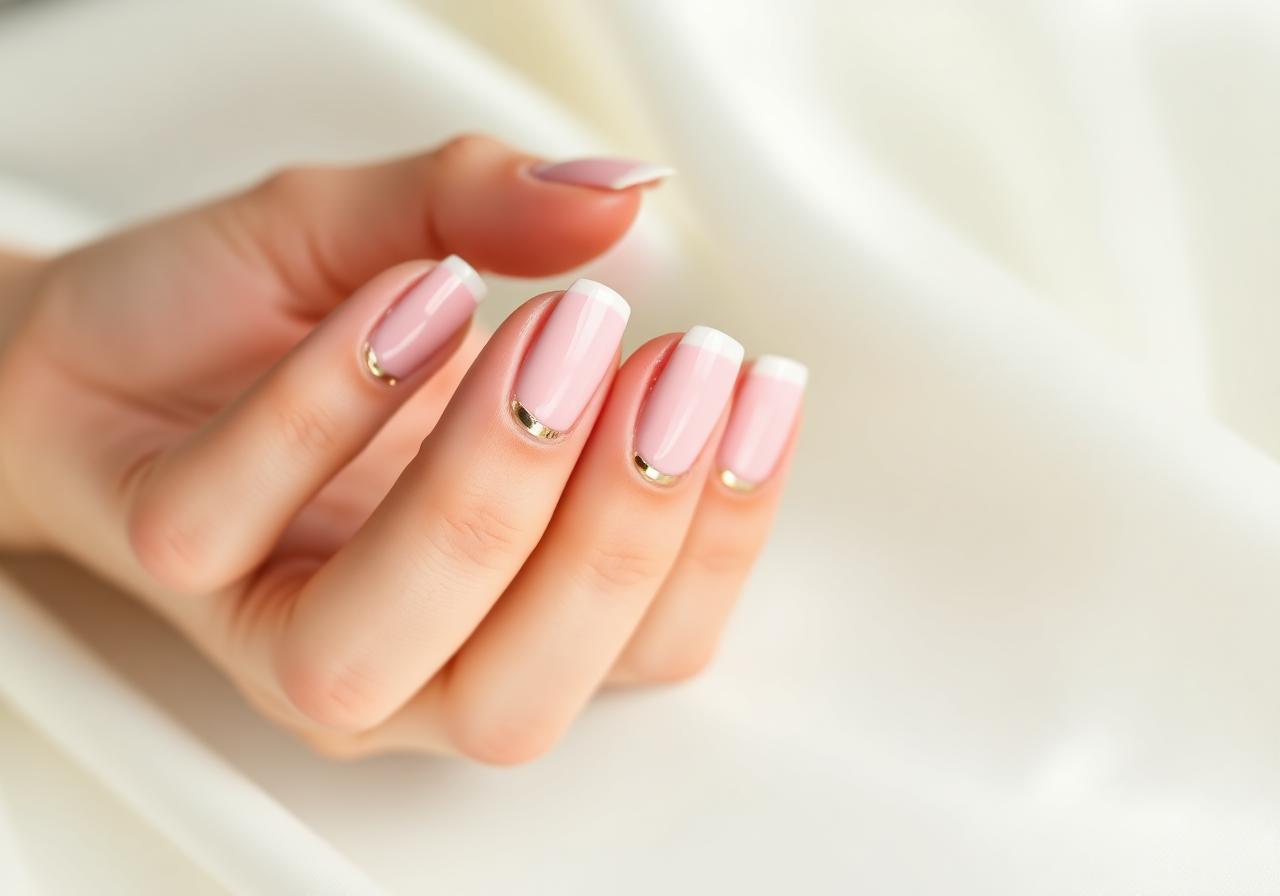
Soft Pink French Tips with Gold Foil Accent
A modern twist on the classic French manicure — sheer pink base, ivory tips, and a whisper of gold foil for everyday elegance.
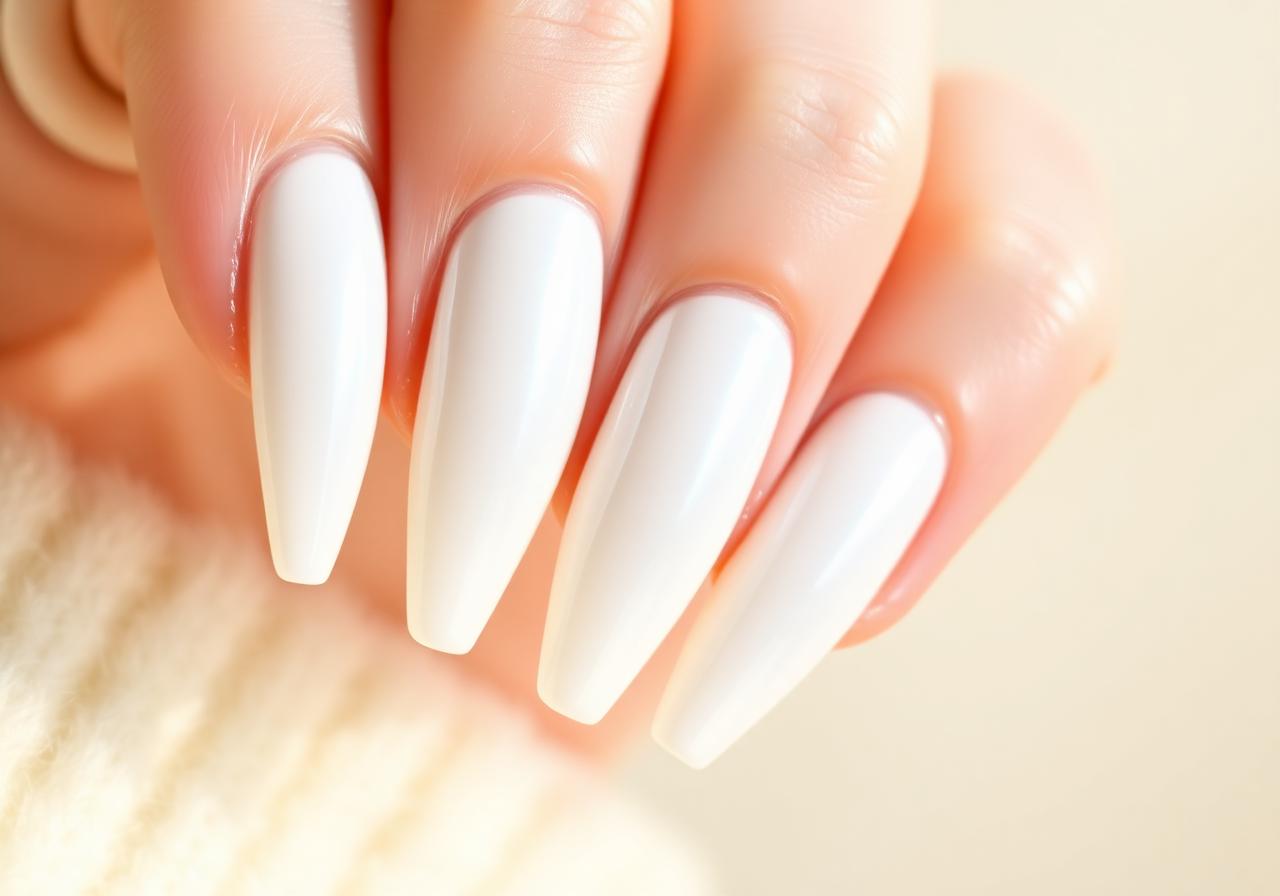
Milky White Glazed Donut Nails at Home
The viral pearl-finish manicure everyone is asking their nail tech for — and how to recreate it in under 30 minutes.
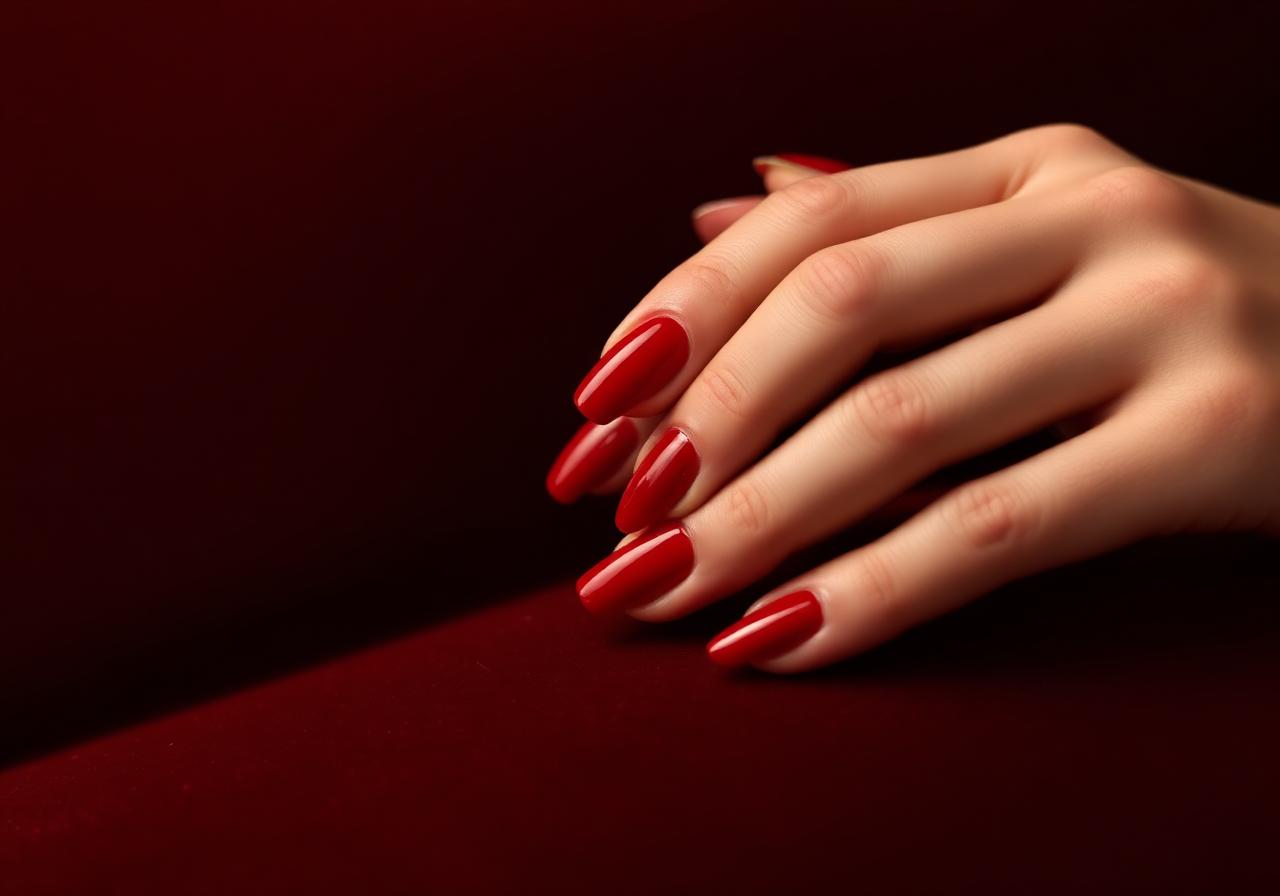
Cherry Red Short Nails: The Classic Look for Every Season
Short nails deserve statement color too. This step-by-step guide gets you a salon-perfect cherry red at home.