Pastel Lilac Ombre Nails: The Softest Spring Manicure
A dreamy pastel lilac to white ombre that feels like the first warm morning of spring — a beginner-friendly gradient tutorial.

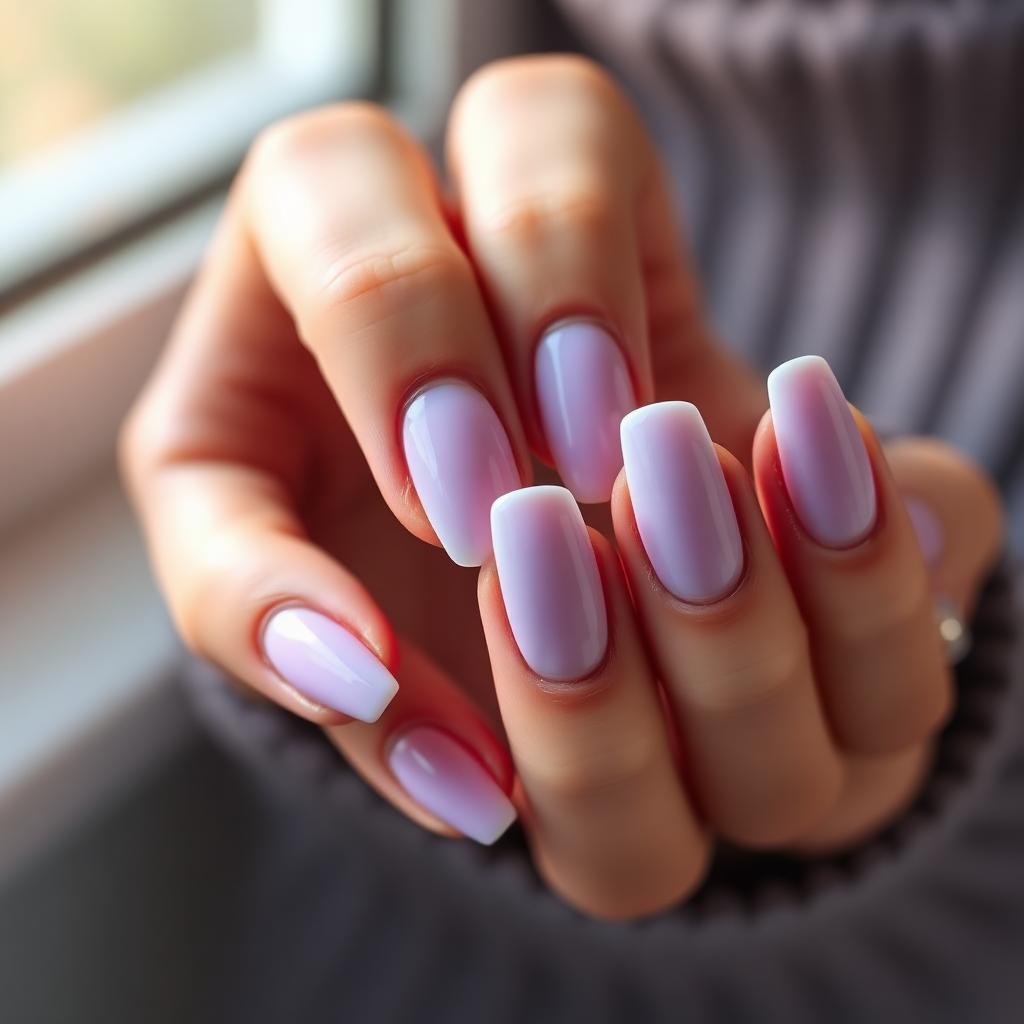
Pastel lilac ombre nails are the manicure equivalent of that first Sunday in spring when you can finally leave the coat at home. The colour is soft enough to feel quiet, saturated enough to feel intentional, and the gradient from lilac at the cuticle to milky white at the tip mimics the way the sky looks at dawn in early April. It is the manicure florists reach for at wedding season, the one editors pack for content trips, and the one your friends will ask you about the moment you set down your coffee. This complete guide walks you through the sponge technique that produces a truly seamless gradient, the exact pastel undertone that flatters every skin colour, and the finishing rituals that keep the ombre looking freshly airbrushed for a full two weeks.
Why lilac is the queen of spring polish
Lilac sits in the sweet spot between pink and blue on the colour wheel, which is why it flatters warm and cool undertones equally. Pastel lilac in particular reads as unmistakably spring — the same colour as wisteria, early crocus, and the inside of a hyacinth petal. On the nail it looks fresh without looking childish, and it pairs beautifully with linen, denim, cream knits, and everything else you actually wear in March and April. Deeper lilacs read wintry; softer pastel lilacs read seasonal.
The sponge technique explained
A truly seamless gradient is almost impossible to achieve with a brush alone — the transition between colours always shows a line. Professional nail artists use a small dense makeup sponge instead. Two colours are dabbed side by side onto the sponge, then pressed gently onto the nail, transferring the colours as a blended gradient in a single motion. This technique takes practice for about three nails and then becomes muscle memory.
White at the tip, colour at the cuticle
There are two directions for a lilac ombre: colour-at-tip or colour-at-cuticle. Colour-at-cuticle (with white fading toward the tip) is the more flattering choice on almost every hand — it visually lengthens the finger and echoes the natural gradient of a healthy nail. Colour-at-tip is fine on very short nails where you want to draw the eye downward. When in doubt, place the lilac at the cuticle.
Building depth with a second pass
A single ombre pass often looks pale and washed out. The professional secret is to do two passes: the first establishes the gradient, the second deepens the lilac at the cuticle without disturbing the white at the tip. This layered approach is what gives salon ombres their glowing, airbrushed quality.
What You'll Need
- ✓Milky white polish (jelly or sheer formula)
- ✓Pastel lilac polish
- ✓Small dense makeup sponge
- ✓Scotch tape or peel-off latex barrier
- ✓Small angled brush and pure acetone for cleanup
- ✓Base coat and glossy top coat
- ✓Cuticle oil
Step-by-Step
- 01
Prep and shape
File nails into a soft almond or squoval. Push cuticles back, buff the surface lightly, and dehydrate.
- 02
Apply base coat and white foundation
Apply a base coat, then two thin coats of the milky white polish across every nail. This is your background — the lilac will layer over it. Let each coat sit for a full ninety seconds.
- 03
Protect the skin around the nail
Apply a peel-off latex barrier or scotch tape carefully around the cuticle. This makes cleanup ten times faster and keeps the ombre looking crisp at the edges.
- 04
Dab both colours onto the sponge
Place a small stripe of white polish at one edge of the sponge and a small stripe of lilac at the other. The two stripes should touch in the middle. Do not blend them yet — the pressing motion does that.
- 05
Press the sponge onto the nail
Press the sponge gently onto each nail, positioning the lilac side at the cuticle and the white side at the tip. Lift straight up and repeat two or three times, refreshing the polish on the sponge between nails.
- 06
Do a second deepening pass
Once the base gradient is set, dab a small amount of lilac on the sponge alone and press only onto the cuticle third of each nail. This is what gives the ombre its saturated glow.
- 07
Peel the barrier and clean up
Peel off the latex barrier or tape, then clean any remaining texture on the skin with an angled brush dipped in acetone. Take your time — clean edges are what separate salon from DIY.
- 08
Seal with glossy top coat
A generous layer of glossy top coat smooths the sponged texture into a single glassy surface. Cap the free edge on every nail and massage cuticle oil into the surrounding skin.
"Great nails aren't about perfection — they're about intention. Slow, thin coats always beat a rushed thick one."
Pro Tips
Do not overload the sponge — a small amount of polish gives a smoother gradient than a wet, sopping one.
Two thin ombre passes always look better than one heavy one.
For a cool spring version, swap lilac for pale sky blue; for a warmer take, swap lilac for peach.
Cut the sponge into small squares so each nail gets a fresh clean corner.
Photograph the finished manicure in soft morning window light to show off the gradient.
Refresh top coat every four days to keep the sponged texture from dulling.
Frequently Asked
Can I do an ombre without a sponge?+
The sponge is by far the easiest method for a truly seamless gradient. Freehand ombre with a brush is possible but requires years of practice. If you do not have a makeup sponge, a small piece of clean sea sponge works too.
Why does my ombre look streaky?+
Usually because the sponge was too dry or the base was not fully opaque. Refresh the polish on the sponge every two nails and make sure the milky white base is completely opaque before ombre-ing.
How long does the manicure last?+
On natural nails with regular top coat, expect seven to ten days. In gel, expect two to three weeks with the gradient still fully vibrant.
Do I have to use latex barrier?+
It makes cleanup so much easier that most nail artists consider it non-negotiable. If you do not have peel-off latex, scotch tape or even a thick layer of hand cream around the cuticle will help.
Can I use this technique with gel?+
Yes, though you need to work quickly before the gel starts to level. Sponge the gel ombre on, then cure immediately before it self-levels away.
What if my lilac looks too grey?+
The polish likely has a cool blue undertone. Add a tiny drop of pink polish to the sponge alongside the lilac — this warms the colour and reads more like true spring pastel.
Sophia Bennett
Twelve years in beauty editorial. Leads the Nailora desk and personally signs off on every tutorial that goes live.


You Might Also Love
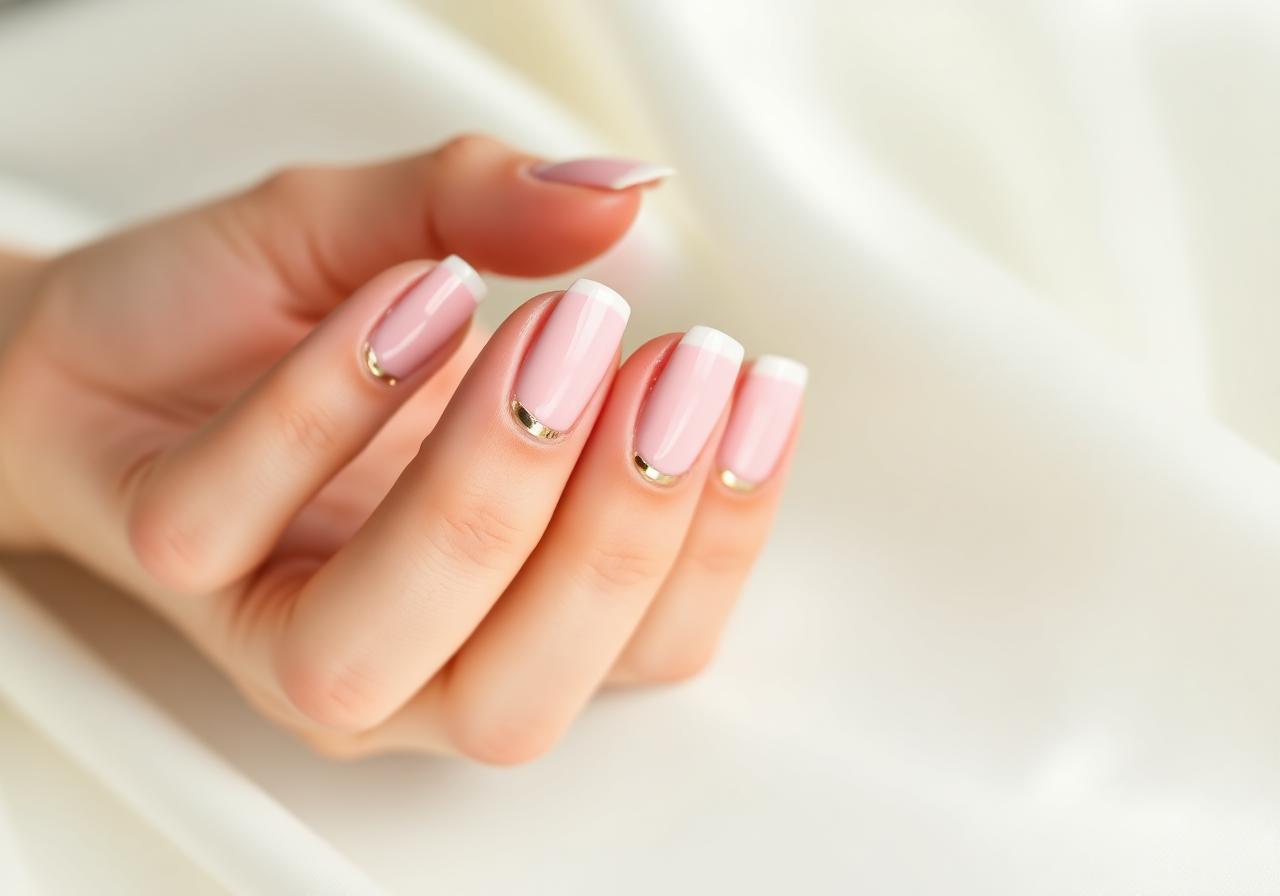
Soft Pink French Tips with Gold Foil Accent
A modern twist on the classic French manicure — sheer pink base, ivory tips, and a whisper of gold foil for everyday elegance.
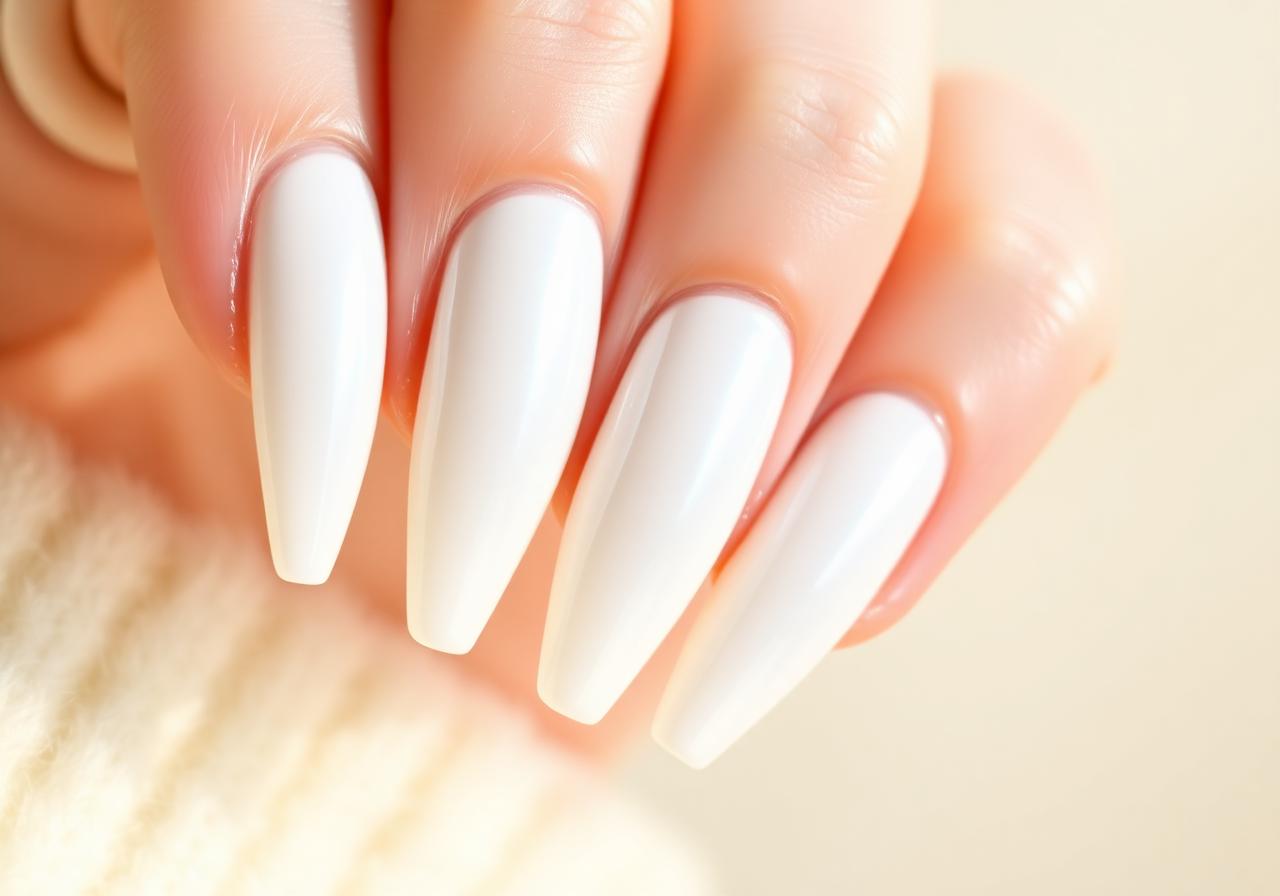
Milky White Glazed Donut Nails at Home
The viral pearl-finish manicure everyone is asking their nail tech for — and how to recreate it in under 30 minutes.
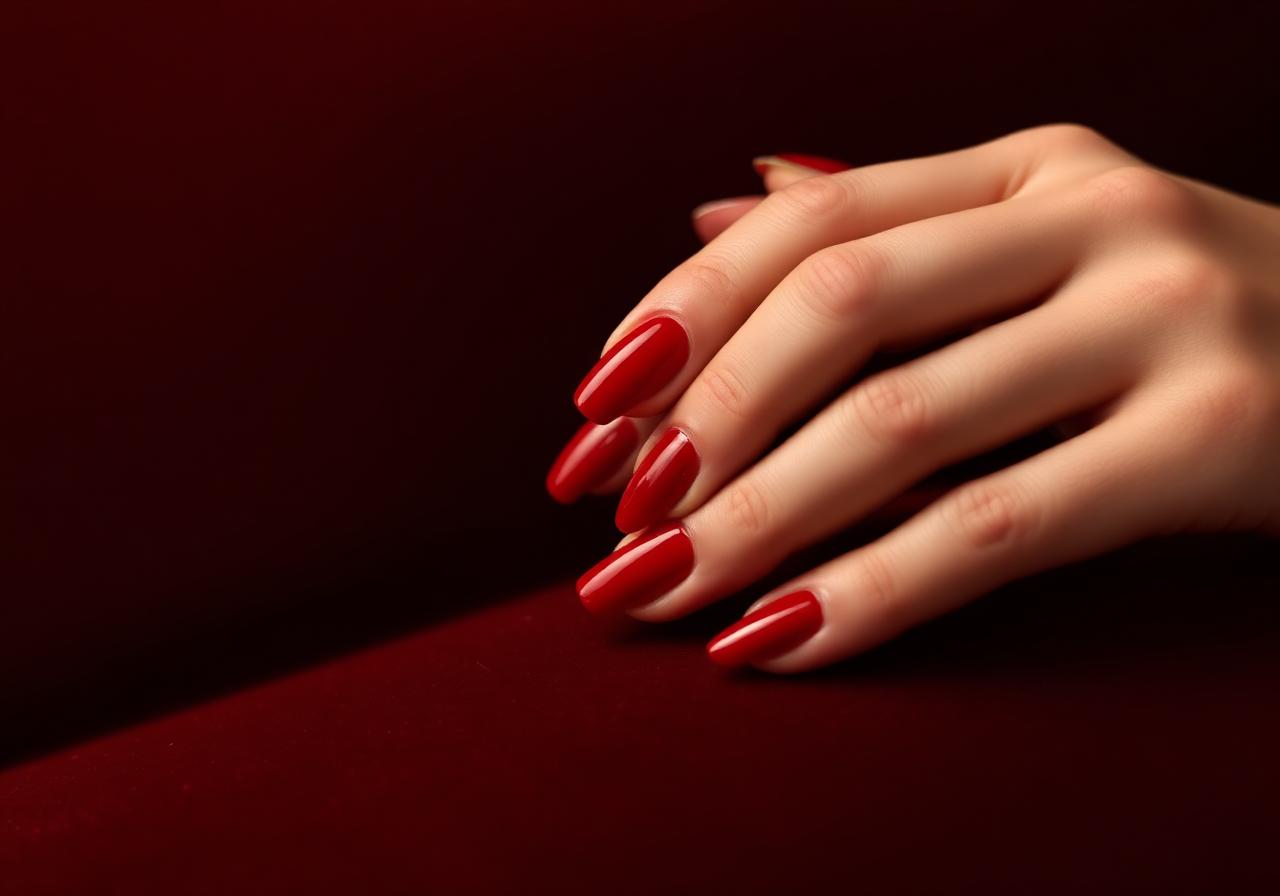
Cherry Red Short Nails: The Classic Look for Every Season
Short nails deserve statement color too. This step-by-step guide gets you a salon-perfect cherry red at home.