Ocean Wave Nails: Blue Water with White Foam Swirls
Cool ocean blue nails with delicate white wave swirls — a fresh, dreamy summer manicure inspired by the sea.

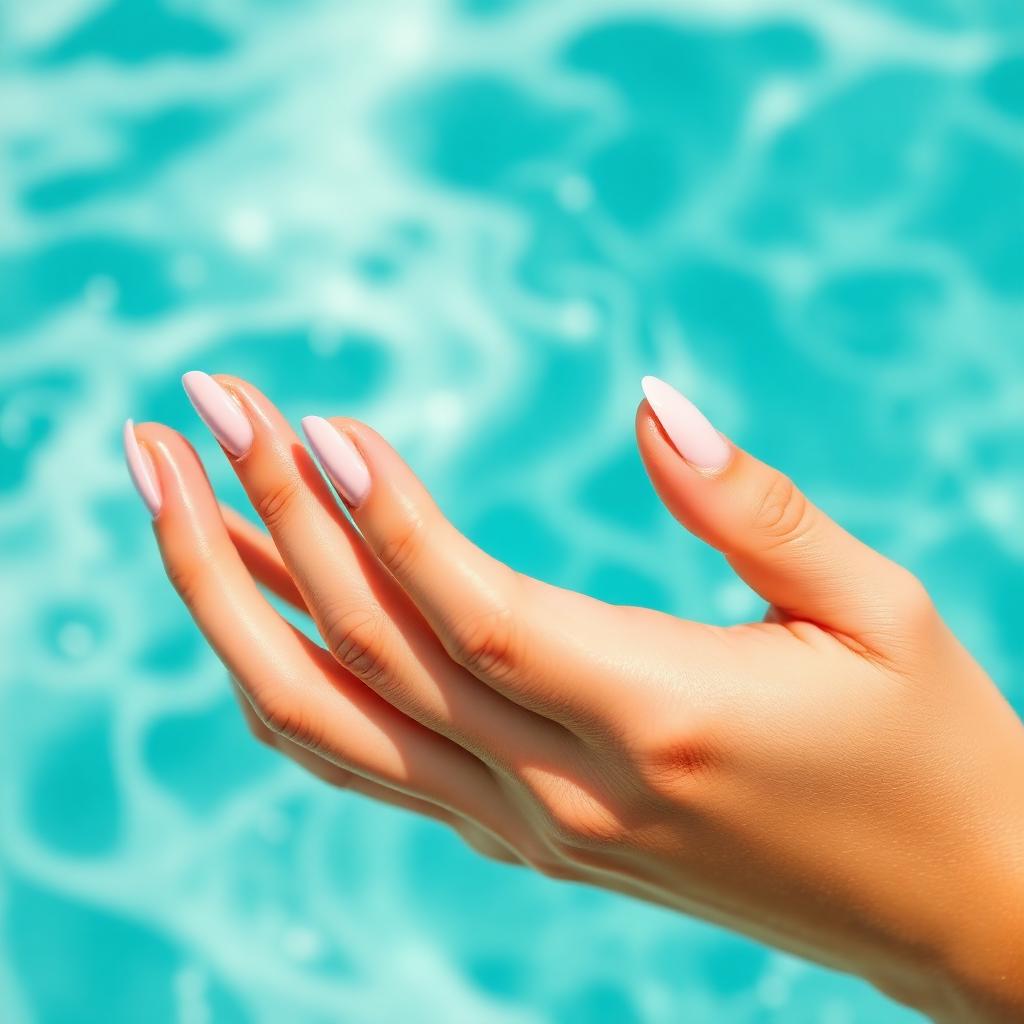
Ocean wave nails capture the exact moment a wave curls and breaks against a shoreline — the cool aquamarine blue of the water and the frothy white foam of the crest, painted delicately across the nail. It is a manicure that looks like a Hokusai print in miniature, and it has become one of the most popular summer designs because it feels fresh and cooling without being loud. This complete guide walks you through the water-drop technique for creating organic wave shapes, the exact ocean-blue undertone that photographs best in summer light, and the finishing steps that keep the design looking wet and glassy for weeks.
The colour of real ocean water
Real ocean water is not the flat royal blue that most nail polishes label as ocean. Actual seawater in shallow coastal areas is closer to aquamarine — a cool blue-green with high transparency that lets light pass through. Choosing the right base colour is what makes the difference between nails that look like the Mediterranean and nails that look like a swimming pool.
The wave-swirl technique
Wave shapes are one of the easiest natural forms to paint on nails because they follow a simple rule: a curved line that ends in a small hook. That single shape, repeated at different sizes and angles, produces a convincing wave pattern. Layering three or four wave lines across each nail creates the illusion of moving water.
White foam that catches light
The white foam on top of a wave is what makes the design read as water rather than as abstract art. The foam is painted last, with a small dotting tool or the tip of a fine liner, in tiny irregular dots along the top edge of each wave curve. Too much foam looks like snow; a scattering of small dots reads as sea spray.
Sealing for a wet-look finish
The ocean is always wet, and the manicure should look the same. A double layer of high-gloss top coat gives the design the glassy, reflective finish that separates a good ocean manicure from a great one. Matte top coat kills the effect — always go glossy for water designs.
What You'll Need
- ✓Aquamarine or cool ocean blue polish
- ✓Deeper navy blue polish for depth
- ✓Opaque white polish
- ✓Fine liner brush (size 000)
- ✓Small dotting tool
- ✓Base coat and high-gloss top coat
Step-by-Step
- 01
Prep and shape
File nails into a soft almond — the curved shape mimics the shape of a wave. Push cuticles back, buff and dehydrate.
- 02
Apply base coat and blue foundation
Apply a base coat, then two thin coats of the aquamarine polish. The base should be fully opaque and vibrant before you add wave details. Let each coat sit ninety seconds.
- 03
Add depth with navy
Using the fine liner loaded with navy polish, paint a few thin curved lines across the lower half of each nail. These deeper lines create the illusion of depth in the water.
- 04
Paint the first wave curve
Using the fine liner loaded with white polish, paint a gently curved horizontal line across the middle of each accent nail. End the line in a small hook that curls upward — this is the crest of the wave.
- 05
Layer additional wave lines
Add two or three more curved lines below and above the first, each slightly smaller and offset. Vary the direction of each hook so the waves look like moving water rather than parallel stripes.
- 06
Add the white foam
Using the dotting tool, place small irregular white dots along the top edge of each wave crest. Keep the dots small and scattered — this is sea spray, not snowflakes.
- 07
Add tiny highlights
Add one or two small white curved highlights on the deepest navy areas to represent light catching the water. This step is subtle but transformative.
- 08
Seal with double-layer top coat
Apply a first thin layer of glossy top coat and wait sixty seconds. Then apply a second slightly thicker layer for the wet-look finish. Cap the tip and finish with cuticle oil.
"Great nails aren't about perfection — they're about intention. Slow, thin coats always beat a rushed thick one."
Pro Tips
Do not paint waves on every nail — waves on the ring and middle fingers with solid blue on the rest looks curated rather than crowded.
For a moodier version, swap aquamarine for deep midnight blue and paint the foam in pale silver instead of white.
Layer three wave heights per nail — a large main wave, a medium secondary wave, and a small foreground wave — for depth.
Photograph the manicure holding a small shell or against a sandy background for the full ocean feel.
The design looks especially beautiful with gold jewelry — warm gold plays against the cool blue in the most flattering way.
Refresh the glossy top coat every three days to keep the wet-look finish.
Frequently Asked
What if I do not have both blue polishes?+
A single ocean blue works well. Just paint the wave lines and foam directly on the base and skip the navy depth step. The design will read as slightly flatter but still unmistakably ocean.
Why do my waves look like stripes?+
The curved hook at the end of each wave line is what makes it read as a wave rather than a line. If you skip the hook, the design looks like abstract lines. Always end each stroke with a small upward curl.
How long does the design last?+
On natural nails with regular top coat refresh, expect seven to ten days of wear. In gel, expect two to three weeks with the waves still fully crisp.
Can I do this on shorter nails?+
Yes. On short nails, do a single large wave that spans the whole nail with foam along the top. The simplified version actually looks more modern than a busy multi-wave design.
Is aquamarine flattering on all skin tones?+
Yes, especially in summer when there is more warmth in the skin. Aquamarine creates a cool-warm contrast against the hand that reads as luxurious rather than clashing.
Can I add a sun or seagull silhouette?+
You can, and it looks beautiful. Paint a small yellow or gold sun in the upper corner of one accent nail, or a tiny black seagull silhouette above the waves. Keep the addition small so it does not overwhelm the water.
Sophia Bennett
Twelve years in beauty editorial. Leads the Nailora desk and personally signs off on every tutorial that goes live.


You Might Also Love
Soft Pink French Tips with Gold Foil Accent
A modern twist on the classic French manicure — sheer pink base, ivory tips, and a whisper of gold foil for everyday elegance.
Milky White Glazed Donut Nails at Home
The viral pearl-finish manicure everyone is asking their nail tech for — and how to recreate it in under 30 minutes.
Cherry Red Short Nails: The Classic Look for Every Season
Short nails deserve statement color too. This step-by-step guide gets you a salon-perfect cherry red at home.