Negative Space Nail Art: The Minimalist Design That Looks Expensive
Leave most of the nail bare and let a single line, dot, or shape do all the talking — the modern art gallery of manicures.

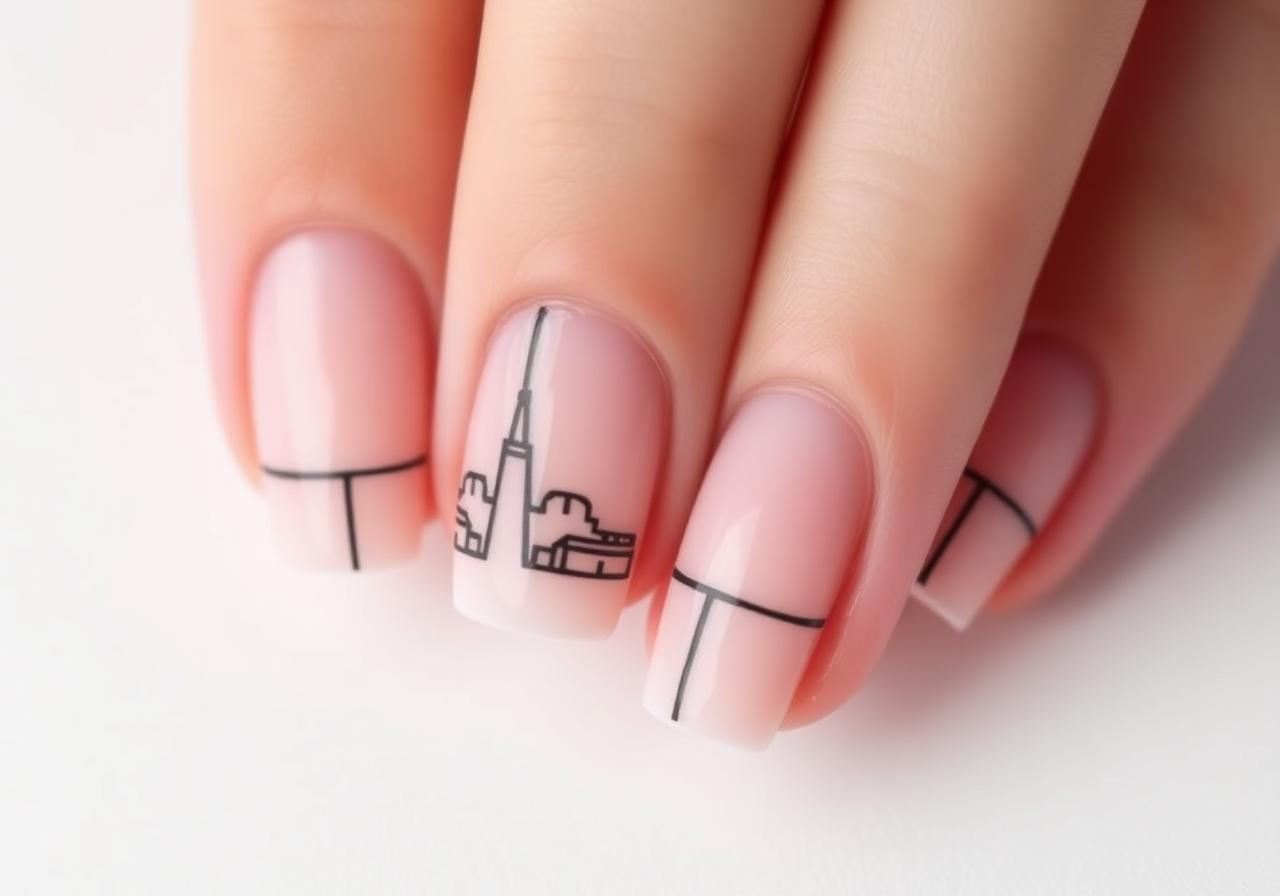
Negative space nail art is what happens when a manicurist starts thinking like a graphic designer. Instead of covering the whole nail with color, the natural nail becomes the canvas, and one or two thoughtful marks — a hairline, a floating dot, a half-moon at the base — do the entire job. The result is a design that looks more like a piece of contemporary jewelry than a traditional manicure. It is also, quietly, the most flattering nail art style for grown-up hands. Because most of the nail stays bare, the design reads as tasteful and restrained rather than juvenile. It works in an office, at a wedding, on a first date, and in a Zoom meeting. It photographs beautifully on every skin tone. And because there is so little polish to chip, it also lasts longer than a fully painted nail — usually one to two weeks of wear with no visible damage at the edges. What makes it modern is the discipline of the design vocabulary. The best negative space manicures use no more than two colors and no more than three design elements, applied with intention. This tutorial teaches you a foundational pattern — a fine black hairline plus a single floating dot — and then shows you how to remix it across the whole hand for a set of ten nails that feel like a coordinated collection rather than a random gallery.
Why negative space feels expensive
The human eye reads restraint as intention. When every nail is covered in color, glitter, or pattern, the eye has nowhere to rest — the design competes with itself. When most of the nail is left bare, the small marks that do exist gain enormous visual weight. This is the same principle that makes a single gold necklace on a plain black t-shirt look more expensive than five stacked chains: what you leave out is doing as much work as what you put in. Every design decision in this tutorial is about protecting that restraint.
The tools that make fine lines possible
A negative space design lives or dies on the quality of the line. A shaky, uneven line looks amateur no matter how nice the concept is. Invest in three inexpensive tools: a size 0 or 00 liner brush with synthetic bristles, a dotting tool with a small ball end, and a small palette or piece of foil for offloading polish. Total cost is usually under fifteen dollars and these tools will last years if you clean them with rubbing alcohol after each use. Skip anything that comes with the polish bottle — those brushes are engineered for solid coverage, not detail.
How to plan a ten-nail design that feels curated
Do not paint the same design on all ten nails. That reads as a stamp rather than an art piece. Instead, pick one 'anchor' design and three variations that share the same color and thickness of line. For example: index and middle finger get a horizontal hairline near the cuticle; ring finger gets a small floating dot; pinky gets nothing at all. Mirror this pattern on both hands. The eye scans the ten nails and reads a rhythm — that rhythm is what makes the finish feel curated rather than accidental.
What You'll Need
- ✓Clear or sheer milky base polish
- ✓Opaque black polish (or your chosen line color)
- ✓Ultra-fine liner brush, size 0 or 00
- ✓Small dotting tool (ball end approximately 1mm)
- ✓Small piece of foil or a plastic palette
- ✓Cuticle oil
- ✓Pure acetone for cleanup
- ✓Fine detail cleanup brush
- ✓Glossy top coat
Step-by-Step
- 01
Prep as if the whole nail were painted
Even though most of the nail will stay bare, prep still matters. Push cuticles, buff the nail plate lightly, and wipe with rubbing alcohol. Any oil on the nail will make the fine liner smudge as you draw. Bare nail should still look healthy and slightly matte, never oily.
- 02
Apply a clear or sheer base
One thin coat of clear base gives the design something to adhere to. If you want a slightly warmer canvas, use a sheer milky base — this makes the fine black lines pop more clearly. Either way, cap the free edge. Wait two minutes before drawing anything.
- 03
Plan your design across ten nails first
On a piece of paper, sketch ten small ovals to represent the nails. Draw where the line and dot will go on each one. Mirror the plan across the two hands so the left and right ring fingers match each other, and so on. Two minutes of planning saves twenty minutes of mismatched execution.
- 04
Load the liner brush the right way
Dip just the very tip of the liner brush into the black polish — no more than one to two millimeters of the bristles. Wipe one side of the brush against the bottle neck. The brush should have polish on one edge, not all around. A one-sided brush glides; a fully loaded brush drips.
- 05
Draw the hairline near the cuticle
On the fingers assigned to the line design, rest the brush parallel to the cuticle and pull it straight across in one confident stroke. The line should sit about two millimeters above the cuticle, not touching the skin. Aim for a line no thicker than a millimeter. If the line is patchy, wait ten seconds and pass over it once more with a lightly reloaded brush.
- 06
Place the floating dots
Dip the dotting tool into the polish and gently press it onto the nail where you want the dot to sit. Do not drag — press and lift. For a floating dot design, place the dot in the center of the nail, one third of the way up from the free edge. Consistency across fingers matters more than the exact placement.
- 07
Add a small architectural detail on one finger
Choose one finger — usually the ring finger — as your 'statement' nail and add one extra element. A tiny half-moon at the base drawn as a curved line. A pair of parallel micro-lines. A small triangle outline. Keep the palette identical to the other nails. This is what turns a simple design into a curated set.
- 08
Clean up any overshoot with acetone
Dip the cleanup brush in pure acetone and gently sweep any polish that landed on skin or that made a line thicker than intended. Take your time. In a negative space design, clean edges are the entire visual identity — messy edges break the illusion.
- 09
Seal with a glossy top coat
One thin layer of glossy top coat over the entire nail, capping the tip. The top coat protects the fine lines from smudging and gives the bare nail a slight sheen that reads intentional. Wait ten full minutes before touching anything.
- 10
Massage in cuticle oil
Once fully dry, work cuticle oil into each nail bed. This is especially important for negative space designs — because so much of the nail is exposed, hydrated cuticles are the single biggest visual factor in how the whole hand reads.
"Great nails aren't about perfection — they're about intention. Slow, thin coats always beat a rushed thick one."
Pro Tips
Practice your line on a piece of white paper before touching any nail. Two seconds of muscle memory changes the outcome dramatically.
Rest the pinky of your painting hand on a stable surface as you draw. A steady base equals a steady line.
If your dot spreads more than expected, dip a cotton swab in acetone and gently narrow it before it dries.
Change your top coat brand at least once a year. Old, thick top coat drags the fine lines and blurs the whole design.
For a completely different mood, swap black for a bright color — a fine electric blue hairline on a bare nail is unexpectedly gorgeous.
This is a great design to try in gel because you can cure each detail immediately, meaning no accidental smudging while you work on the next nail.
Do not add glitter. Do not add rhinestones. Negative space earns its identity by staying quiet.
For a matte finish variation, use a matte top coat instead of glossy — the design suddenly reads as very editorial.
Frequently Asked
How long does a negative space manicure last?+
Because so little of the nail is painted, this style typically outlasts a fully painted manicure — expect ten to fourteen days on natural nails with a top-coat refresh mid-week.
What if I can't draw straight lines?+
Use thin nail art tape — placed on the nail as a guide, painted over, and peeled while wet. This gives a perfect line every time. Once you have practiced with tape twice, freehand feels much less intimidating.
Can I do negative space designs on very short nails?+
Yes — arguably it looks best on short nails, where the design reads more like a piece of jewelry than a full manicure.
Do I need a special base color?+
Not at all. A clear base with your natural nail as the canvas is the classic look. A sheer milky base is a nice option if you want a slightly softer background.
What colors work best for the line?+
Black is timeless. Warm brown, deep navy, and forest green all look beautifully editorial. Avoid pastels — they get lost against a bare nail.
Is this look office-appropriate?+
Yes, more so than almost any other nail art style. Because the design is so restrained, it reads as personal style, not statement.
Can I add small crystals?+
One tiny flat-back crystal at the base of the ring finger can work, but restraint is essential. More than one and the negative space concept breaks down.
Emma Carter
Certified nail technician and manicure educator. Tests every technique in-studio before it's published.


You Might Also Love
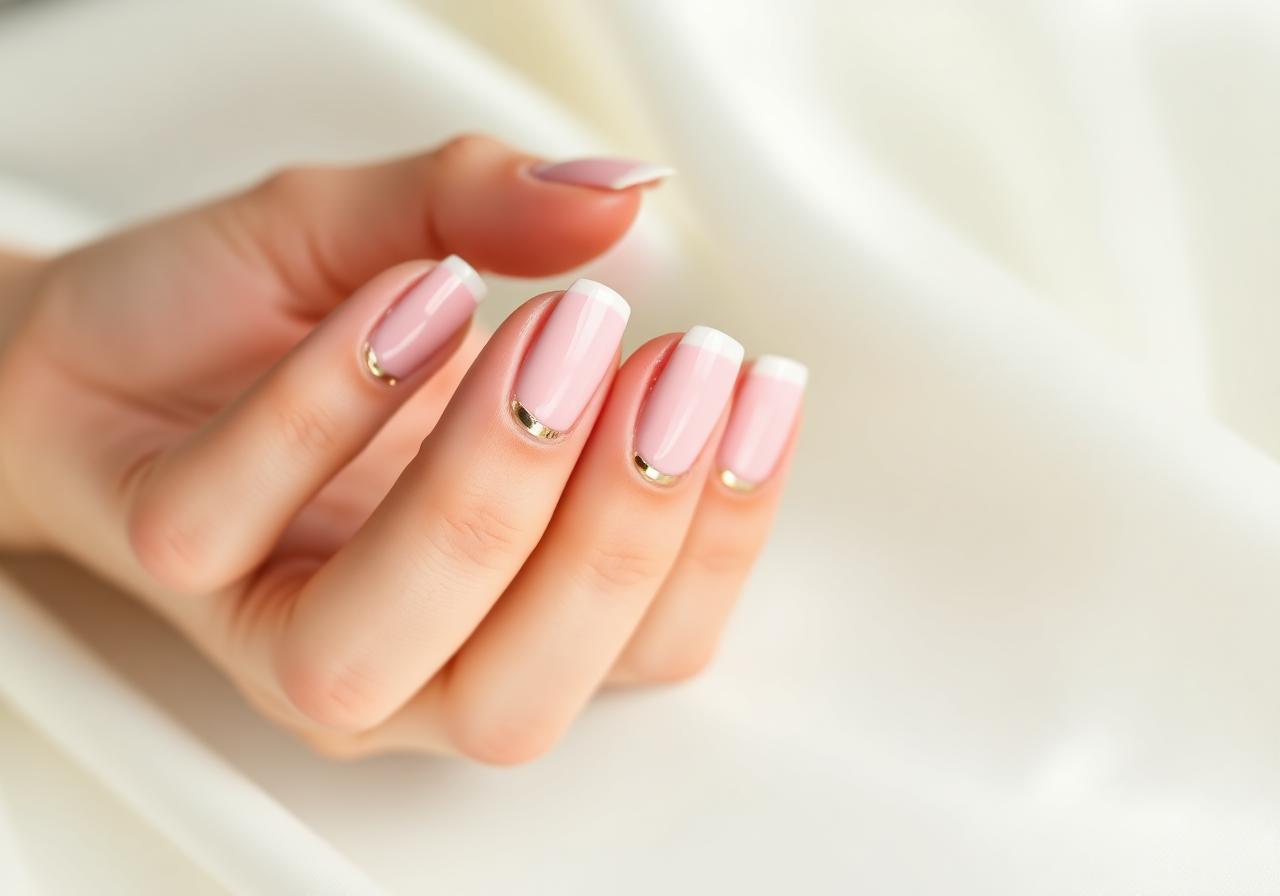
Soft Pink French Tips with Gold Foil Accent
A modern twist on the classic French manicure — sheer pink base, ivory tips, and a whisper of gold foil for everyday elegance.
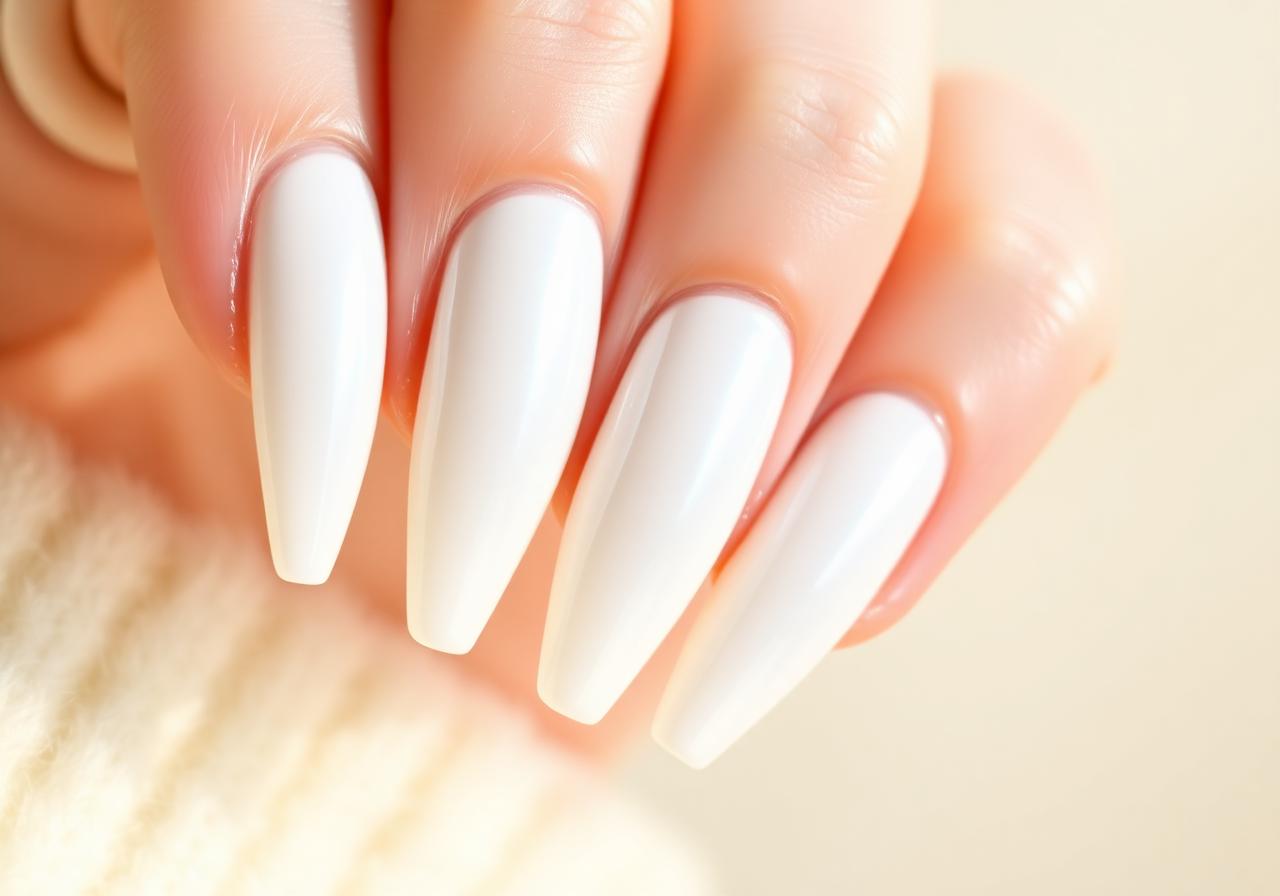
Milky White Glazed Donut Nails at Home
The viral pearl-finish manicure everyone is asking their nail tech for — and how to recreate it in under 30 minutes.
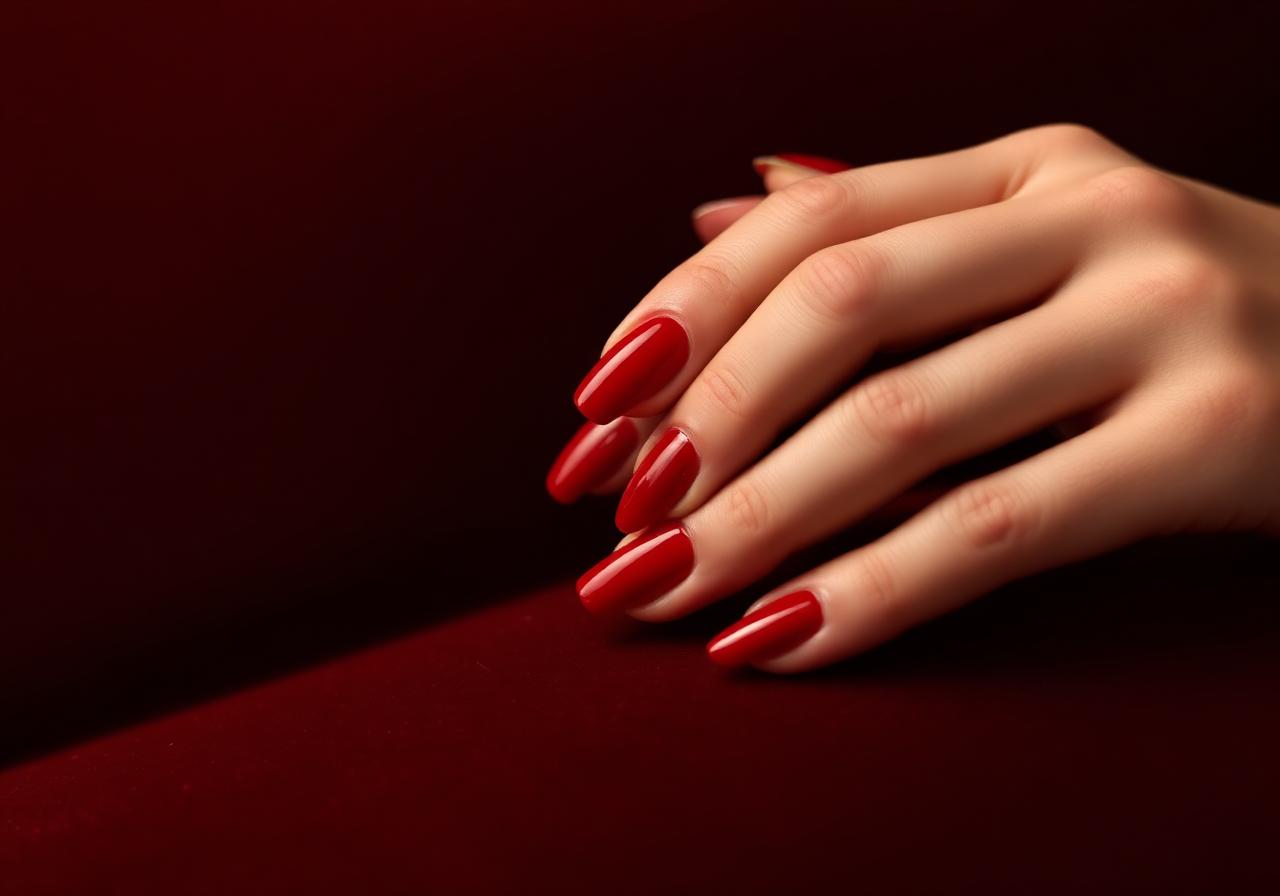
Cherry Red Short Nails: The Classic Look for Every Season
Short nails deserve statement color too. This step-by-step guide gets you a salon-perfect cherry red at home.