Mint Green Cloud Nails: The Dreamy Spring Aesthetic
Soft mint green nails with airbrushed white clouds — a dreamy, playful spring manicure that looks like a Ghibli-inspired sky.

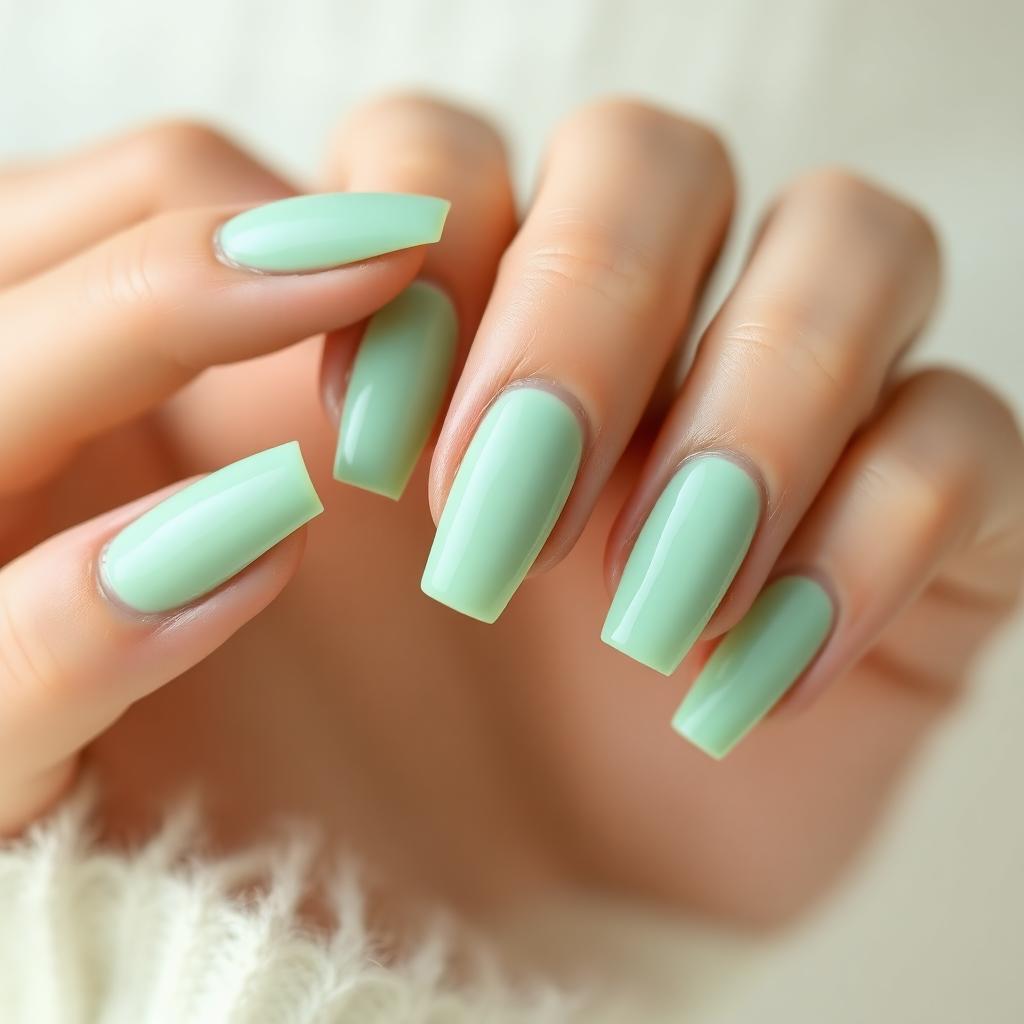
Cloud nails swept across every feed in the first quarter of 2025 and became one of those rare trends that actually earned its virality. The design pairs a soft pastel base with fluffy white cloud shapes so delicate they look airbrushed onto the nail. Mint green is the colour combination that photographs best — the pale green background reads as a spring sky right before rain, and the white clouds sit against it like the opening scene of a Studio Ghibli film. This guide walks you through the sponging technique that gives clouds their soft edges, the exact mint green undertone that flatters most hands, and the finishing steps that keep the design looking dreamy for weeks.
Why clouds work on nails
The reason cloud nail art photographs so well is that the human eye already knows what clouds look like. Even a wobbly, imperfect cloud shape reads unmistakably as a cloud — the brain fills in the rest. This makes it one of the most forgiving nail art motifs. Unlike geometric or floral designs where precision matters, cloud nails actually look better when they are slightly irregular, because real clouds are never symmetrical.
Choosing the right mint
There are two families of mint green polish: cool mints with blue undertones (like classic peppermint), and warm mints with yellow undertones (closer to pistachio). Cool mints look dramatic and modern; warm mints look softer and more vintage. For cloud nails, warm mint is the more universally flattering choice — it reads as a real spring sky rather than a synthetic ice-cream shade.
The sponging technique for soft edges
Painting clouds with a brush produces hard, cartoon-like edges. Professional nail artists use a small piece of makeup sponge to dab white polish onto the nail, which naturally creates the soft, diffused edges that real clouds have. The sponge is the entire secret — no fancy tools, no expensive kit.
Placement that looks curated
The most photographed cloud manicures follow one rule: not every nail gets a cloud. A large cloud on the ring finger, a smaller cloud on the middle, a tiny wisp on the index, and clean mint on the pinky and thumb creates a curated look. Painting a cloud on every nail makes the design feel crowded rather than dreamy.
What You'll Need
- ✓Warm pastel mint green polish
- ✓Opaque white polish
- ✓Small piece of dense makeup sponge
- ✓Fine liner brush for cleanup
- ✓Small dish of pure acetone
- ✓Base coat and glossy top coat
Step-by-Step
- 01
Prep and shape
File nails into a square or squoval — cloud designs look most modern on straight-edged shapes. Push cuticles back, buff and dehydrate.
- 02
Apply base coat and mint foundation
Apply a base coat, then two thin coats of the mint green polish. The base should be fully opaque before you add any clouds. Let each coat sit for ninety seconds.
- 03
Wait for the base to set
Give the mint five full minutes to set before touching it with the sponge. Wet base polish will pick up on the sponge and muddy the white.
- 04
Dab white polish onto the sponge
Place a small amount of white polish on a clean corner of the sponge. Blot once on a paper towel to remove excess — an overloaded sponge produces blobs, not clouds.
- 05
Press the first cloud shape
On your ring finger nail, press the sponge gently to create an irregular oval cloud shape. Lift straight up, reposition slightly, and press again to extend the cloud. Two or three overlapping presses build a natural cloud.
- 06
Add smaller clouds
Repeat with smaller shapes on the middle and index fingers. Vary the size, position, and orientation of each cloud so the design looks like a real sky rather than a pattern.
- 07
Refine with a fine liner
Use the fine liner brush dipped in acetone to gently soften any hard edges. Then use the same brush to add a whisper of extra white to the brightest highlight of each cloud.
- 08
Seal with glossy top coat
A generous glossy top coat smooths the sponge texture and gives the design its dreamy finish. Cap the tip and finish with cuticle oil.
"Great nails aren't about perfection — they're about intention. Slow, thin coats always beat a rushed thick one."
Pro Tips
Do not overfill the design — clouds need space around them to read as clouds, not as white blobs.
For a moodier version, swap mint for dusty blue and add a tiny gold star sticker between the clouds.
Cut a fresh corner of the sponge for each hand so you are always working with a clean surface.
Clouds photograph best against natural light with soft shadows — bright overhead lighting flattens them.
For a bolder look, add a soft pink sunset gradient at the base of the cloud with a second sponge pass.
Refresh top coat weekly to keep the design looking wet and airbrushed.
Frequently Asked
Can I use a Q-tip instead of a sponge?+
You can, but the texture is different — a Q-tip produces smaller, denser cloud shapes while a sponge produces softer, more diffused ones. The sponge look is closer to the viral trend.
Why does my white look yellow?+
Some white polishes have a slight cream base that reads as yellow over pastel colours. Look for a polish labeled true white or optic white for the crispest cloud effect.
How long does the design last?+
On natural nails with regular top coat refresh, expect seven to nine days of wear. In gel, expect two to three weeks with the clouds still fully soft-edged.
Can I do cloud nails on shorter nails?+
Absolutely — short nails are actually easier because you only need one small cloud per nail rather than a whole scene. A single cloud on the middle finger of short nails looks especially minimalist and chic.
What if my clouds look too solid?+
The sponge was likely too wet. Blot it more aggressively on a paper towel before pressing. Solid white ovals do not read as clouds — soft, wispy edges do.
Is this look appropriate for spring weddings?+
Yes, especially outdoor and garden weddings. The mint reads as fresh and seasonal, and the soft clouds pair beautifully with pastel bridesmaid dresses.
Emma Carter
Certified nail technician and manicure educator. Tests every technique in-studio before it's published.


You Might Also Love
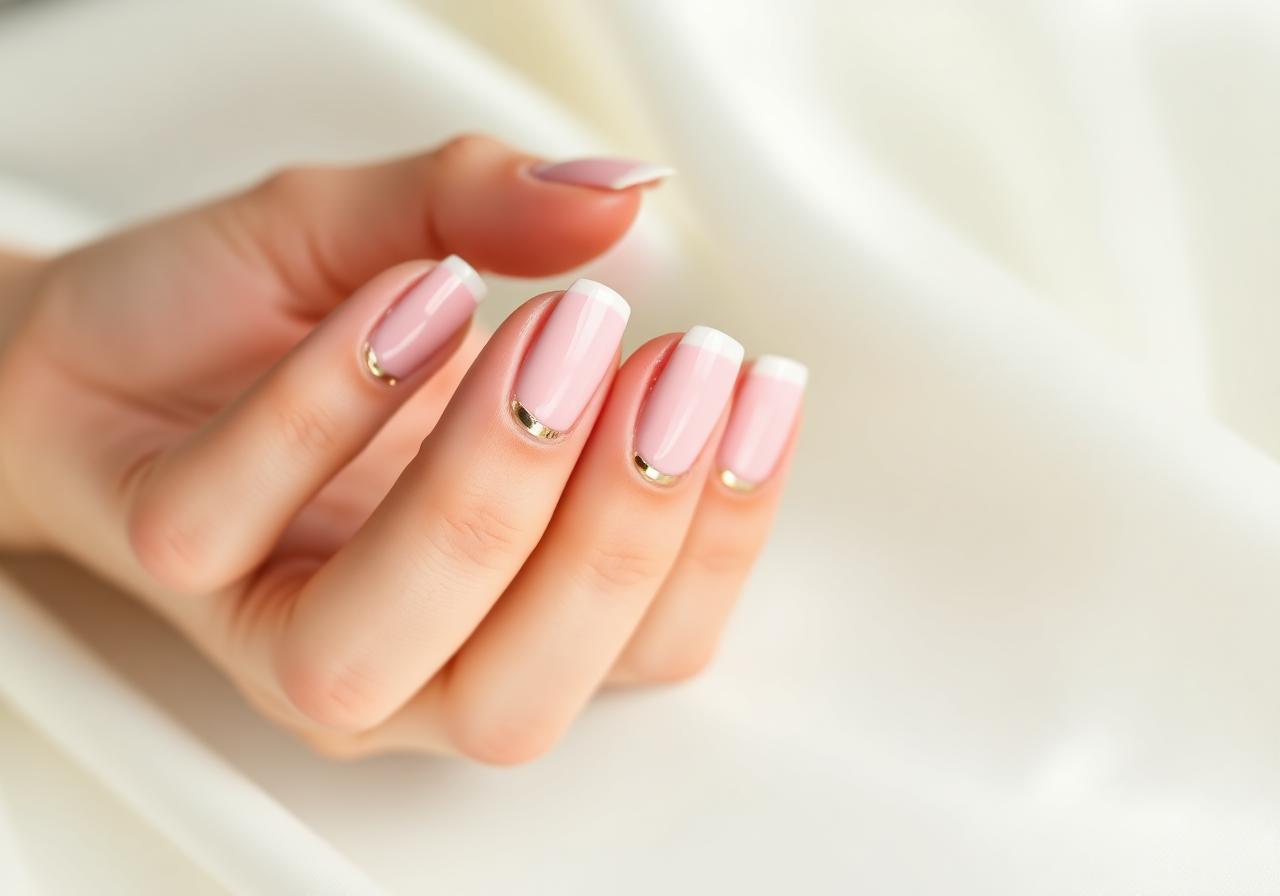
Soft Pink French Tips with Gold Foil Accent
A modern twist on the classic French manicure — sheer pink base, ivory tips, and a whisper of gold foil for everyday elegance.
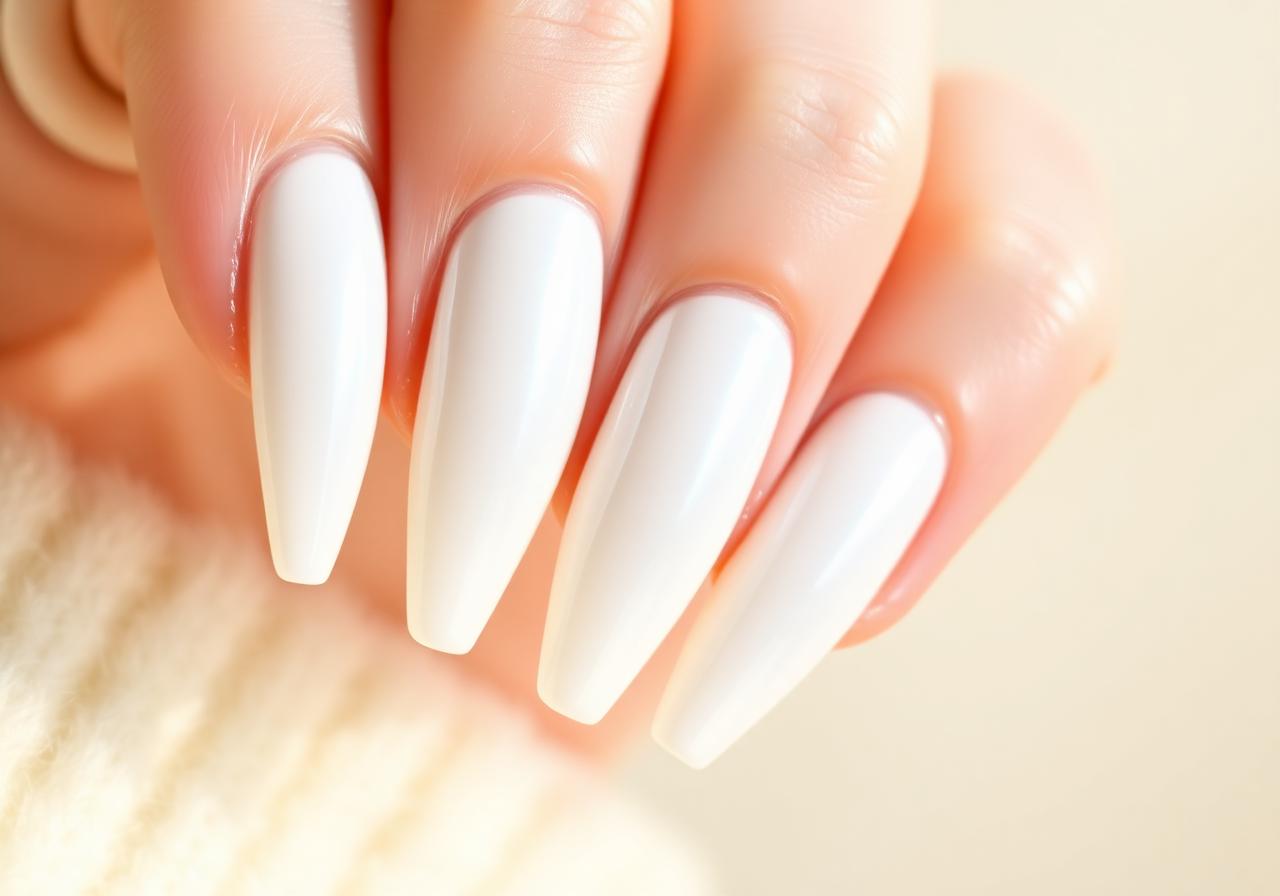
Milky White Glazed Donut Nails at Home
The viral pearl-finish manicure everyone is asking their nail tech for — and how to recreate it in under 30 minutes.
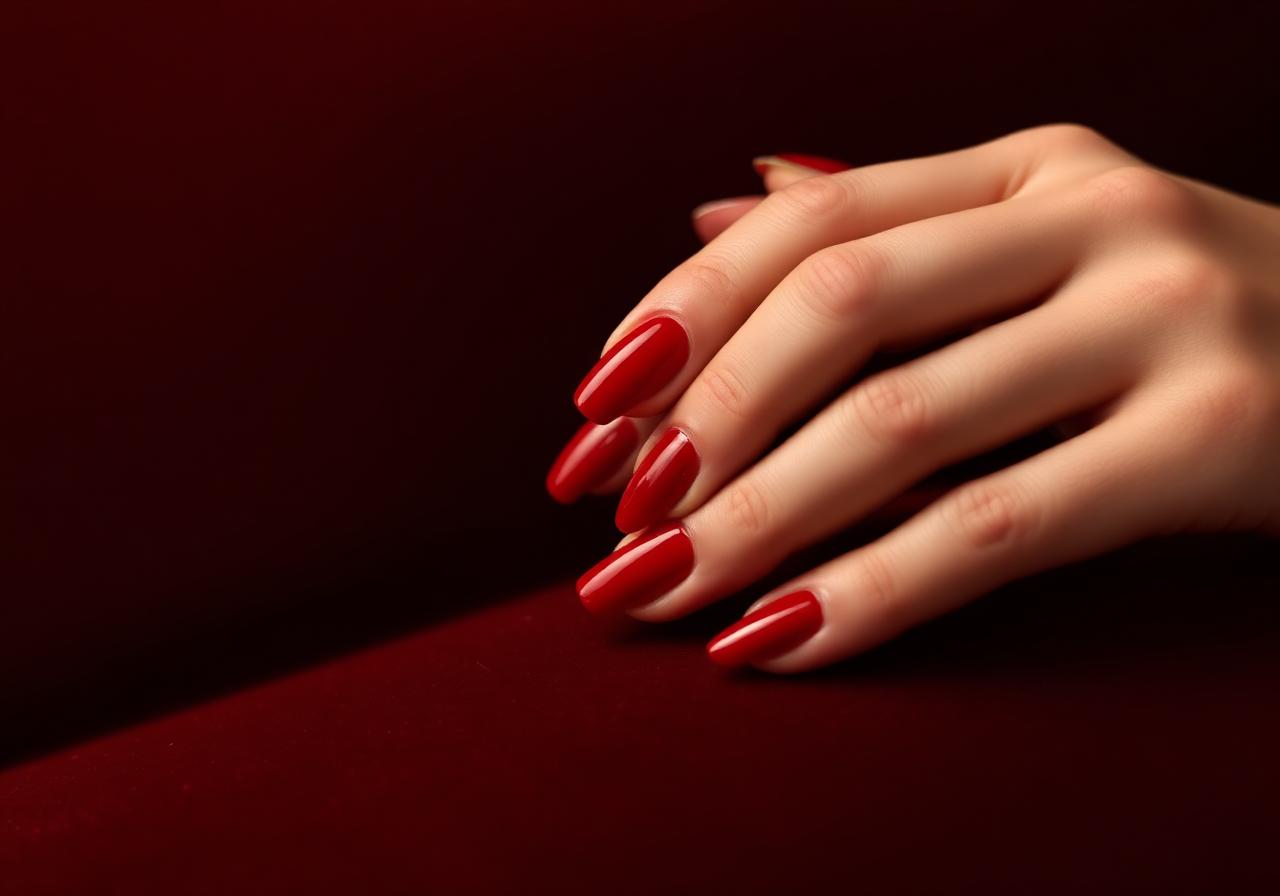
Cherry Red Short Nails: The Classic Look for Every Season
Short nails deserve statement color too. This step-by-step guide gets you a salon-perfect cherry red at home.