Marble Stone Nail Art: Carrara Veins with Gold Foil Accents
A luxe stone-inspired manicure with grey Carrara veins and delicate gold foil flecks — surprisingly easy to create at home with a water technique.

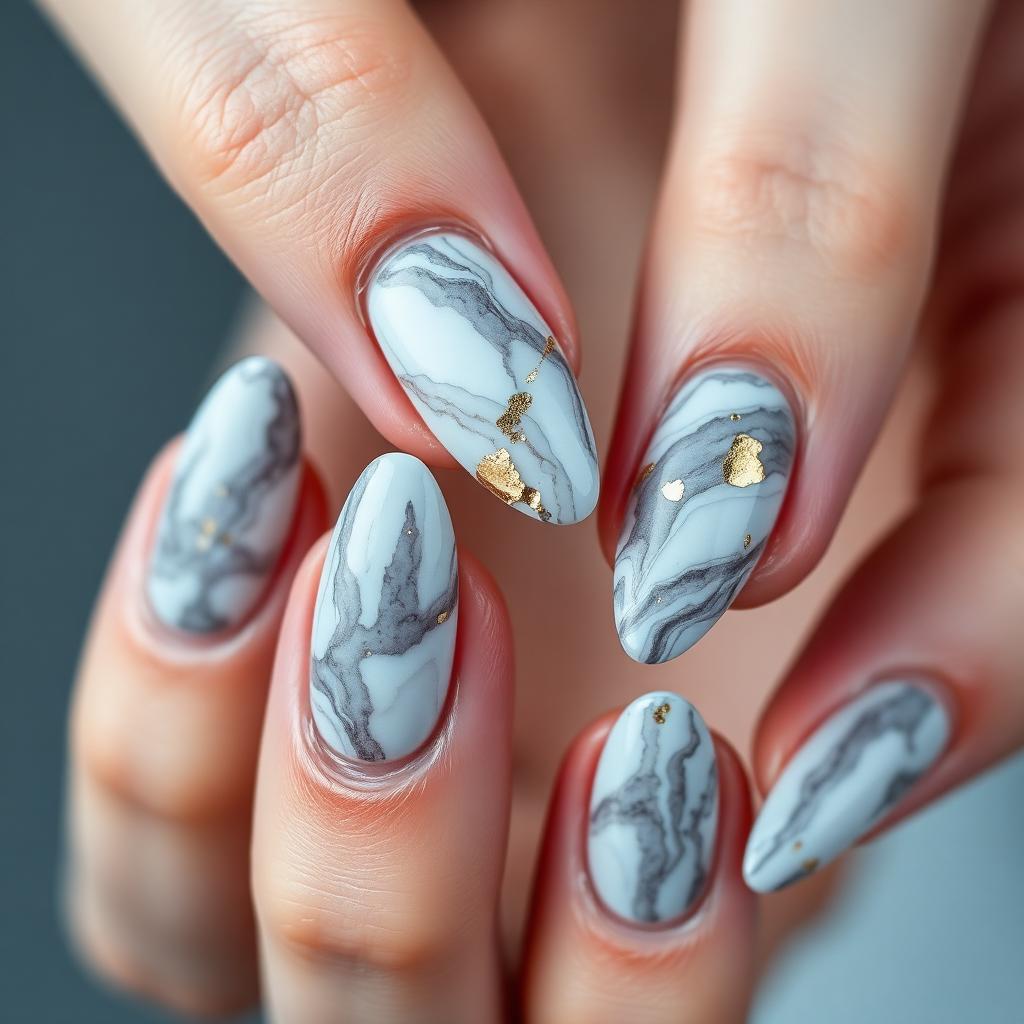
Marble nails have quietly become one of the most requested luxury manicures of the past three seasons. There is something about the pattern of a Carrara vein against a soft cool-white base that reads unmistakably expensive — the same visual code as a hotel bathroom or a designer kitchen island. Add a few flecks of real gold foil and the manicure crosses into couture territory. This complete guide teaches you the professional water-drop technique for producing organic marble veining, the exact grey tone that mimics Carrara stone, and the finishing steps that keep the design looking like polished marble for a full two weeks.
What makes marble nail art look real
The difference between a marble manicure that looks like a nail art tutorial and one that looks like actual stone comes down to three details: irregular vein spacing, a cool-neutral grey (never brown-tinged), and restraint on the gold. Real Carrara marble has veins that meander and branch, not evenly spaced diagonal lines. The grey pigment leans slightly blue, never warm. And the gold in bookmatched marble slabs is always subtle — a whisper of shimmer rather than a scattering of glitter.
The water-drop veining technique
Professional nail artists rarely draw marble veins with a brush. The trick is to place a small drop of alcohol or nail polish thinner on wet grey polish — the liquid pushes the pigment outward, creating an organic branching vein pattern that looks exactly like stone. This technique is what separates convincing marble from cartoonish marble. It takes five minutes to learn and produces professional results on the first attempt.
Choosing your marble palette
Classic Carrara is a cool white background with grey veining and gold flecks. Calacatta is warmer white with bolder grey-and-gold veins. Emperador is deep brown with cream veins. Nero Marquina is jet black with white veins. This tutorial uses the classic Carrara palette because it is the most flattering on every skin tone and pairs with any wardrobe. Once you master the technique, all four variations use the same steps with different colours.
Why gold foil beats gold polish
Real gold foil flakes catch light dimensionally in a way that flat gold polish cannot. On marble nails, this dimensional shimmer is what tricks the eye into reading the design as three-dimensional stone rather than flat art. A tiny amount goes a long way — three or four flecks per nail, placed asymmetrically along the veins, is the professional formula. More than that and the nail starts to look busy.
What You'll Need
- ✓Cool white or bright white polish
- ✓Cool grey polish (blue-grey, not warm grey)
- ✓Rubbing alcohol or nail polish thinner
- ✓Small pipette or fine liner brush
- ✓Real gold foil flakes
- ✓Foil glue or a slightly tacky top coat
- ✓Silicone or wooden tool for placing foil
- ✓Base coat and high-gloss top coat
Step-by-Step
- 01
Prep the natural nail
File nails into a soft almond shape — the curve reads more like a polished stone tile than a square edge. Push cuticles back and buff the surface. Dehydrate.
- 02
Build the white base
Apply a base coat, then two thin coats of cool white polish. Let each coat sit for ninety seconds. The base should be fully opaque before you add any veins.
- 03
Add a wet layer of grey
Load your brush with cool grey polish and paint a thin, irregular meandering line across each nail — a rough diagonal is easiest. Do not wait for it to dry. The next step depends on the polish being wet.
- 04
Drop alcohol onto the vein
Using a pipette, place two or three small drops of rubbing alcohol along the wet grey line. The alcohol will push the grey pigment outward, creating organic branching veins that mimic real marble. Let it work for ten seconds without touching.
- 05
Refine with a fine liner
Once the alcohol has done its work, use the fine liner brush loaded with a tiny amount of grey polish to add one or two smaller branching veins off the main one. Keep the branches short and slightly wobbly.
- 06
Let the veins dry completely
Wait a full five minutes before moving on. Foil will not stick to wet polish and will smudge the vein pattern if applied too early.
- 07
Place the gold foil flecks
Dab a tiny bead of foil glue at three or four points along the vein, wait for the glue to turn tacky and clear, then press small gold foil flecks into place with a silicone tool. Less is more — three flecks per nail is the professional amount.
- 08
Seal with high-gloss top coat
Apply a generous layer of high-gloss top coat to give the manicure the polished, wet look of real marble. Cap the free edge on every nail and finish with cuticle oil.
"Great nails aren't about perfection — they're about intention. Slow, thin coats always beat a rushed thick one."
Pro Tips
If your grey veins spread too much, the polish is too thin — add another thin layer of white base before trying again.
Do not marble every nail. Two accent nails with marble plus solid white on the rest looks more expensive than ten marbled nails.
For a moodier Calacatta look, swap the grey for a soft warm charcoal.
Store gold foil in a small screw-top jar; loose foil scatters easily and is annoying to clean up.
The design photographs best in cool natural light, which shows off the grey undertone.
Refresh the top coat every four days to keep the marble looking wet and polished.
Frequently Asked
Can I use water instead of rubbing alcohol?+
Water works but produces softer, less defined veins. Rubbing alcohol pushes pigment more aggressively and creates the sharper branching pattern that reads as real marble.
What if I do not have a pipette?+
The tip of a dotting tool dipped in alcohol works, as does a cotton swab lightly touched to the wet grey line. The pipette just gives you the most control over the drop size.
Why does my marble look grey and muddy?+
Usually because too much grey polish was used, or the base was not dry enough. Marble should be roughly ninety percent white with grey veins accounting for the remaining ten percent.
Can I do this on gel?+
Yes, and gel actually makes the technique easier because you can flash-cure between steps to lock in each layer without losing the wet-veining effect. Use gel polish thinner instead of alcohol.
How long does marble nail art last?+
On natural nails with regular top coat, expect ten days of wear. In gel, expect three weeks with the gold foil still fully intact.
Can I do black marble instead?+
Absolutely. Swap the white base for jet black and the grey veins for pure white. This is Nero Marquina marble and it looks striking on medium and long nails.
James Mitchell
Shoots every hand model and product still on the Nailora set. Ten years in commercial beauty photography.


You Might Also Love
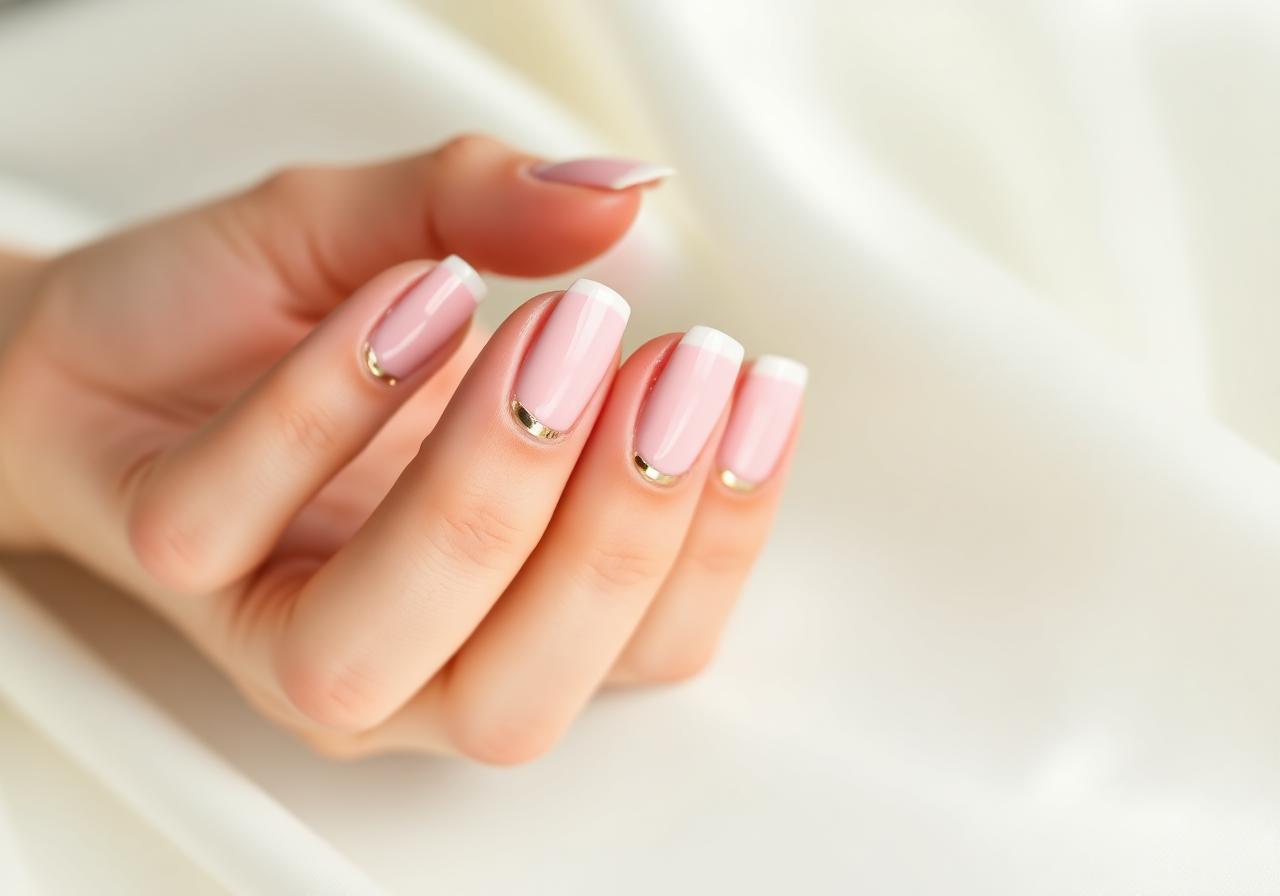
Soft Pink French Tips with Gold Foil Accent
A modern twist on the classic French manicure — sheer pink base, ivory tips, and a whisper of gold foil for everyday elegance.
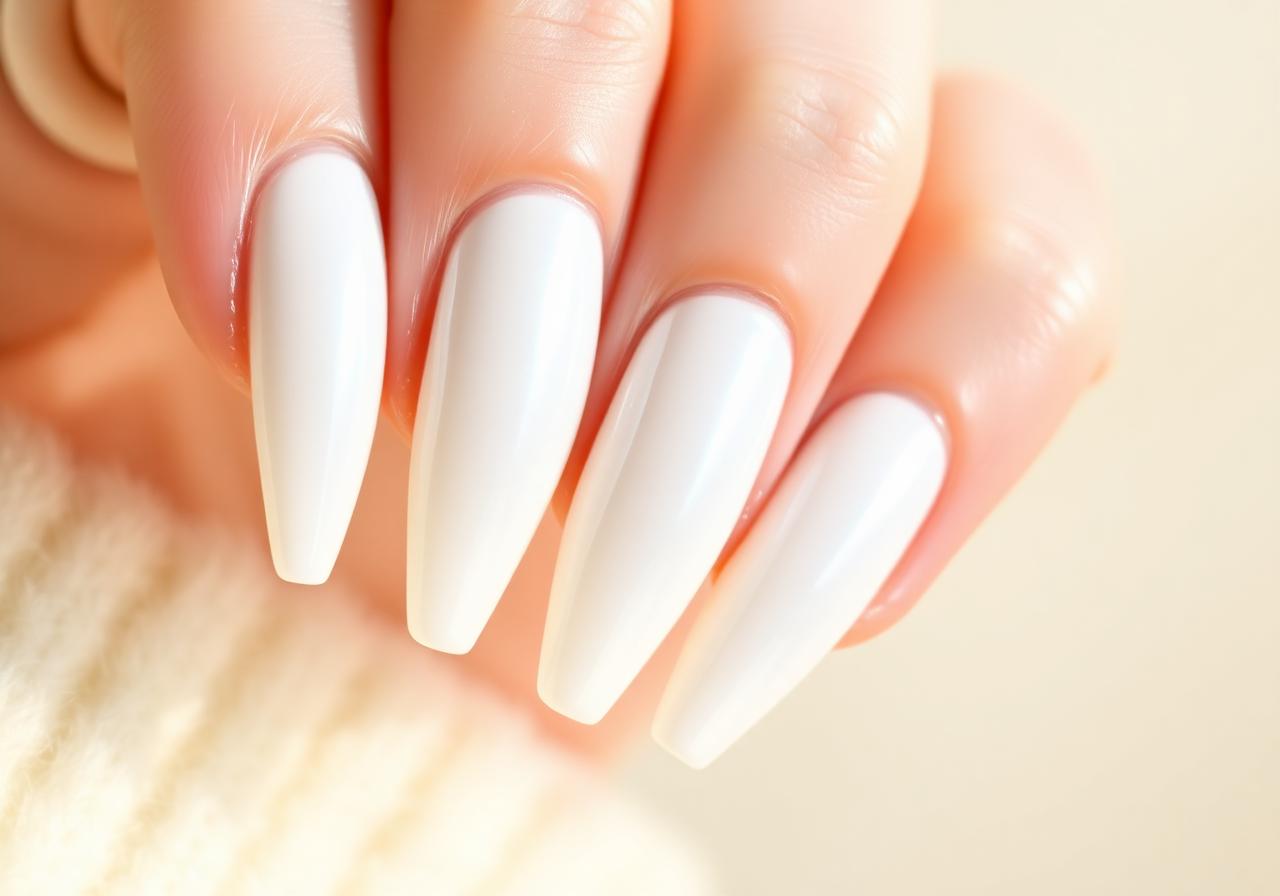
Milky White Glazed Donut Nails at Home
The viral pearl-finish manicure everyone is asking their nail tech for — and how to recreate it in under 30 minutes.

Cherry Red Short Nails: The Classic Look for Every Season
Short nails deserve statement color too. This step-by-step guide gets you a salon-perfect cherry red at home.