Hand-Painted Rose Petal Nails: A Romantic Floral Manicure
Delicate blush roses over a sheer nude base — a soft, romantic floral manicure you can hand-paint at home with three colors and a fine brush.

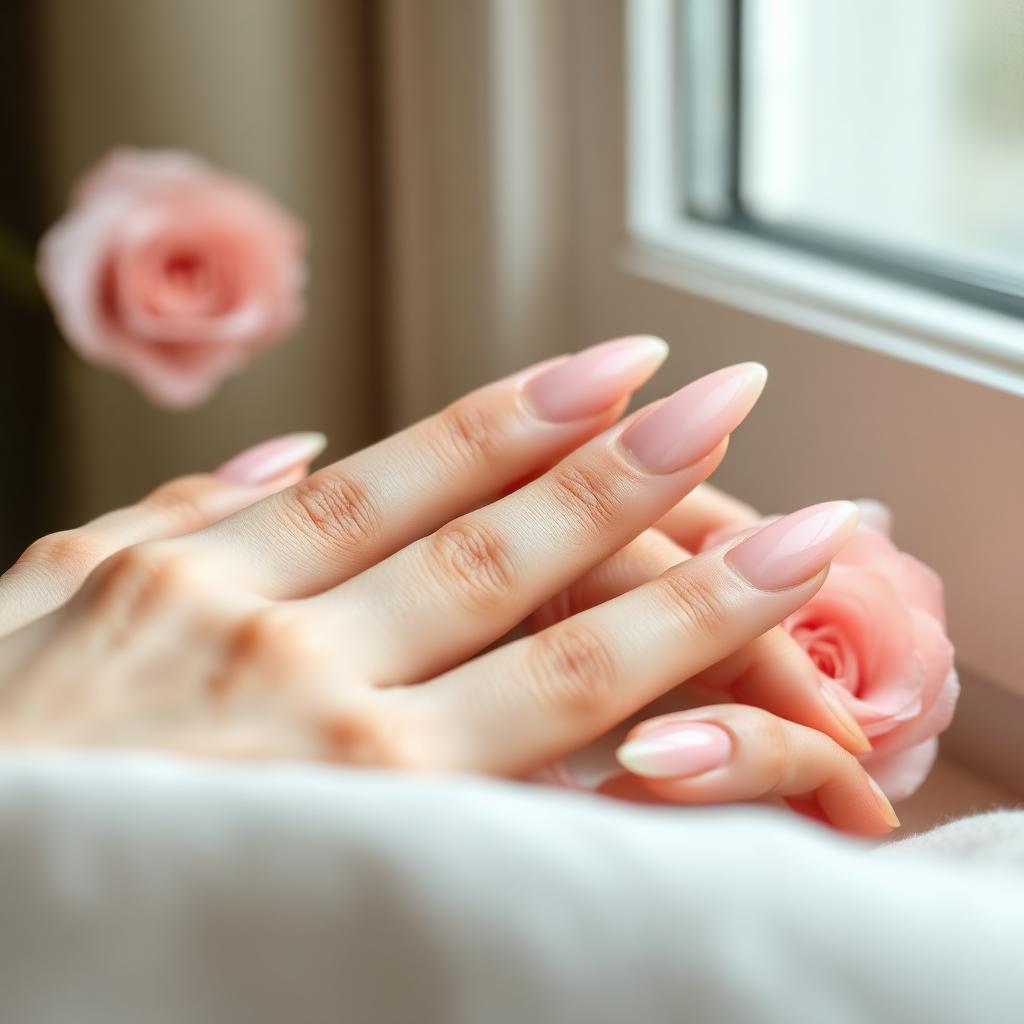
Rose petal nail art has become one of the most requested designs at high-end salons over the last two years, and it is easy to see why. The look is soft, romantic and unmistakably feminine — a hand-painted bouquet living on your fingertips. What surprises most people is how forgiving the technique actually is. A real rose is a happy accident of overlapping petals, so as long as you build the shape with layered strokes, the finished flower will look convincing even if your hand is a little unsteady. This complete guide walks you through every step of a professional-quality rose petal manicure, from prepping your natural nails through the exact brush motions used by editorial nail artists. Whether you are creating this look for a wedding, an anniversary, spring engagement photos or simply because you love flowers on your hands, the technique below is the one to memorise.
Why rose petal nails work on every hand
Roses are one of the few floral motifs that scale beautifully. On short square nails they read as tiny cabbage roses, delicate and vintage. On medium almond nails they look like an English garden painting, and on long coffin nails they become miniature couture illustrations. The blush palette is universally flattering because it lives in the same soft warm range as most skin undertones, so the flowers appear to bloom from the nail rather than sit on top of it. This is the manicure to reach for when you want something feminine and considered without committing to bold colour.
Choosing your rose colour story
A convincing painted rose relies on three tones from the same family: a base petal colour, a mid-tone for depth, and a highlight for the outer petals. Blush pink, dusty rose and cream is the classic combination, but the same technique works with peach, coral and ivory or with mauve, plum and blush for a moodier vintage look. Avoid mixing warm and cool tones in a single flower — a warm base with a cool highlight will look muddy rather than luminous. Cream polishes render more like watercolour on the nail; jelly formulas will look glossy and dimensional but require an extra layer of pigment for opacity.
The tools that make it easy
You do not need a full nail art kit to paint roses. A fine liner brush (sizes 00 to 000) is essential, and a small round detail brush helps build petal shape. If you have a striping brush you already own the right tool. Keep a small dish of pure acetone nearby for clean-up and to thin polish between strokes. A tiny palette — even a scrap of aluminium foil — lets you mix custom tones from bottles you already own instead of buying a dozen shades.
Placement rules for a professional finish
Editorial nail artists never place a full rose on every nail. The pattern that consistently photographs beautifully is: full rose on the ring and middle fingers, half rose or bud on the index, and delicate leaves or a single petal on the thumb and pinky. This distribution keeps the hand from looking crowded and directs the eye to the centre of the manicure. Always paint the two most visible nails first — if you run out of time or patience, the finished manicure will still look intentional.
What You'll Need
- ✓Sheer nude or blush pink base polish
- ✓Opaque blush pink polish for petal base
- ✓Dusty rose polish for mid-tones
- ✓Cream or ivory polish for petal highlights
- ✓Soft sage green polish for leaves
- ✓Fine liner brush (size 00 or 000)
- ✓Small round detail brush
- ✓Base coat and glossy top coat
- ✓Small dish of pure acetone for clean-up
Step-by-Step
- 01
Prep the natural nail
File nails into a soft almond or squoval shape, push back cuticles with a wooden pusher and buff the surface just enough to remove shine. Wipe each nail with a lint-free pad and dehydrator so nothing lifts once the artwork is finished.
- 02
Build the sheer base
Apply a thin base coat, then two thin coats of your sheer nude polish. Let each layer sit for ninety seconds so the surface is stable enough for detail work. The base should look like healthy natural nail, not like polish.
- 03
Place the rose centres
Using the detail brush loaded with dusty rose polish, place a small oval on each nail where a rose will bloom. On the accent nails this oval is slightly larger; on the surrounding nails it is a smaller bud. These ovals are the visual anchor of the design.
- 04
Layer the mid-tone petals
Still using dusty rose, paint short comma-shaped strokes around each oval — first on one side, then on the opposite side. Overlap the strokes slightly so the rose begins to look layered rather than flat. Do not aim for symmetry; real roses are always slightly imperfect.
- 05
Add the blush pink outer petals
Switch to your blush pink polish and add a second ring of comma strokes around the mid-tone petals. These strokes should be longer and softer, spilling slightly outside the original circle. This layer gives the rose its full, blooming shape.
- 06
Highlight with cream
Load the fine liner with cream polish and add small curved highlights on the outer edge of a few petals. These highlights should catch light on the parts of the flower that would naturally face upward. Keep them subtle — a single stroke per petal is plenty.
- 07
Paint the sage green leaves
Using the fine liner, paint two or three small leaves around each rose. A leaf is simply a pointed oval with a single vein down the centre. Place leaves so they peek out from behind the flowers rather than lying flat next to them.
- 08
Seal and finish
Wait ten minutes for the artwork to dry completely, then apply a generous layer of glossy top coat. Cap the free edge on every nail. Massage cuticle oil into the surrounding skin so the manicure looks nourished rather than dry.
"Great nails aren't about perfection — they're about intention. Slow, thin coats always beat a rushed thick one."
Pro Tips
Practice one rose on a piece of paper before touching the nail — your first flower is always the least confident.
If a petal looks wrong, dip a clean brush in acetone and gently lift the polish before it sets rather than painting over it.
Keep the leaves smaller than you think you should — oversized leaves make the roses look shrunken.
For a wedding-ready version, add a single micro pearl bead to the centre of each rose using nail glue.
Photograph your manicure in soft window light rather than overhead lighting to show off the petal dimension.
Refresh the top coat every four days to keep the artwork looking glassy and new.
Frequently Asked
How long does hand-painted rose art last?+
On natural nails with regular top coat, expect seven to ten days of wear. With a full gel system — gel base, gel colour and gel top coat over the artwork — expect two to three weeks with no fading.
Do I need to be able to draw to paint roses on nails?+
No. The technique is entirely built from comma-shaped strokes layered in a circle. If you can paint a curved line, you can paint a rose. The imperfection is what makes it look organic.
What if I do not have a fine liner brush?+
The tip of a striping brush, a very small watercolour brush or even a fine eyeliner brush from your makeup kit will work. What matters is a pointed tip and firm bristles.
Can I use gel polish for the flowers?+
Absolutely. Gel is actually easier for detail work because it does not dry until cured. Paint each element, then flash-cure for thirty seconds before adding the next layer.
Will the roses look dated in a year?+
Hand-painted florals are one of the most enduring nail art styles — they have been popular for over a century in different palettes. The blush colour story feels especially timeless.
How do I keep the design from smudging while I work?+
Rest the hand you are painting on a small folded towel so your fingers stay steady, and paint the pinky and ring finger first before working across the hand so freshly painted nails are not in your way.
James Mitchell
Shoots every hand model and product still on the Nailora set. Ten years in commercial beauty photography.


You Might Also Love
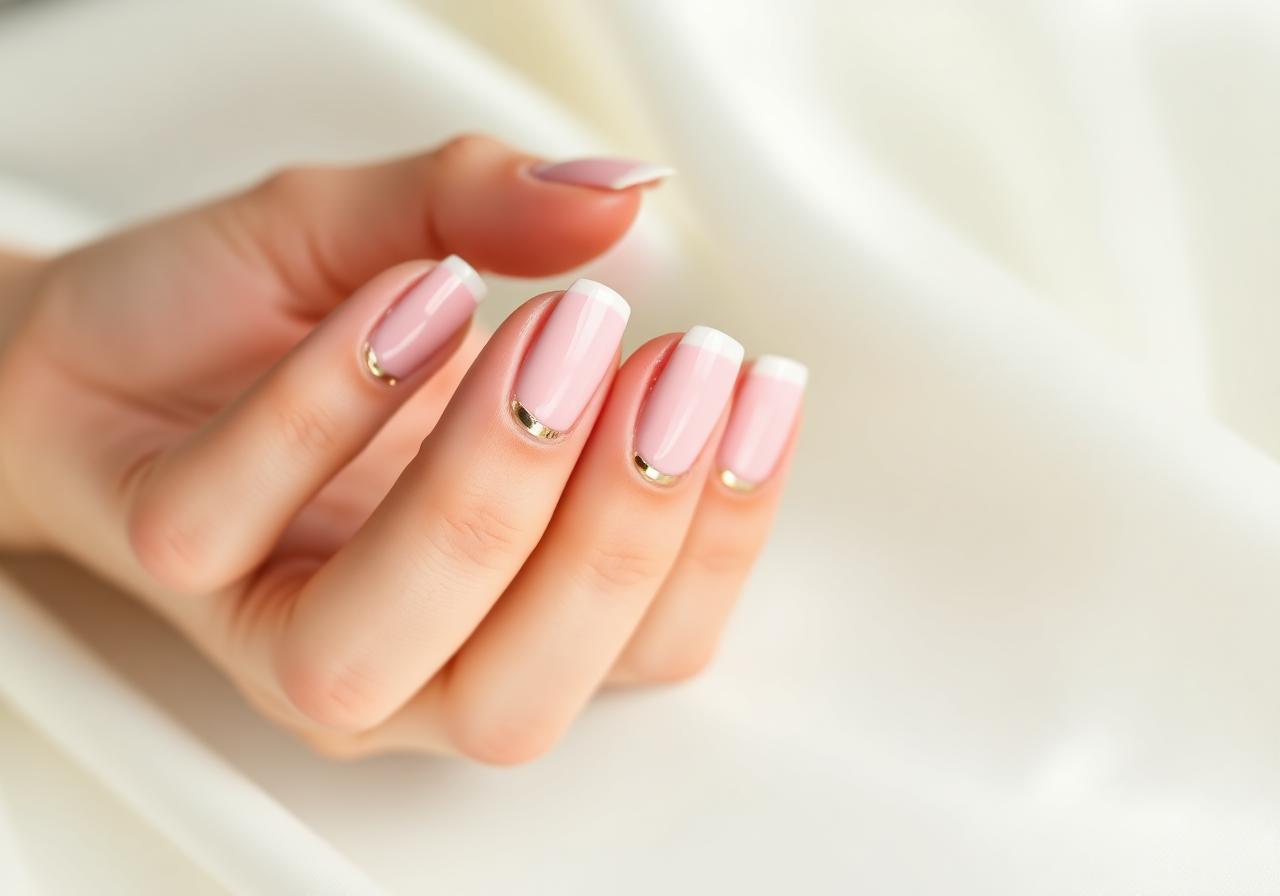
Soft Pink French Tips with Gold Foil Accent
A modern twist on the classic French manicure — sheer pink base, ivory tips, and a whisper of gold foil for everyday elegance.
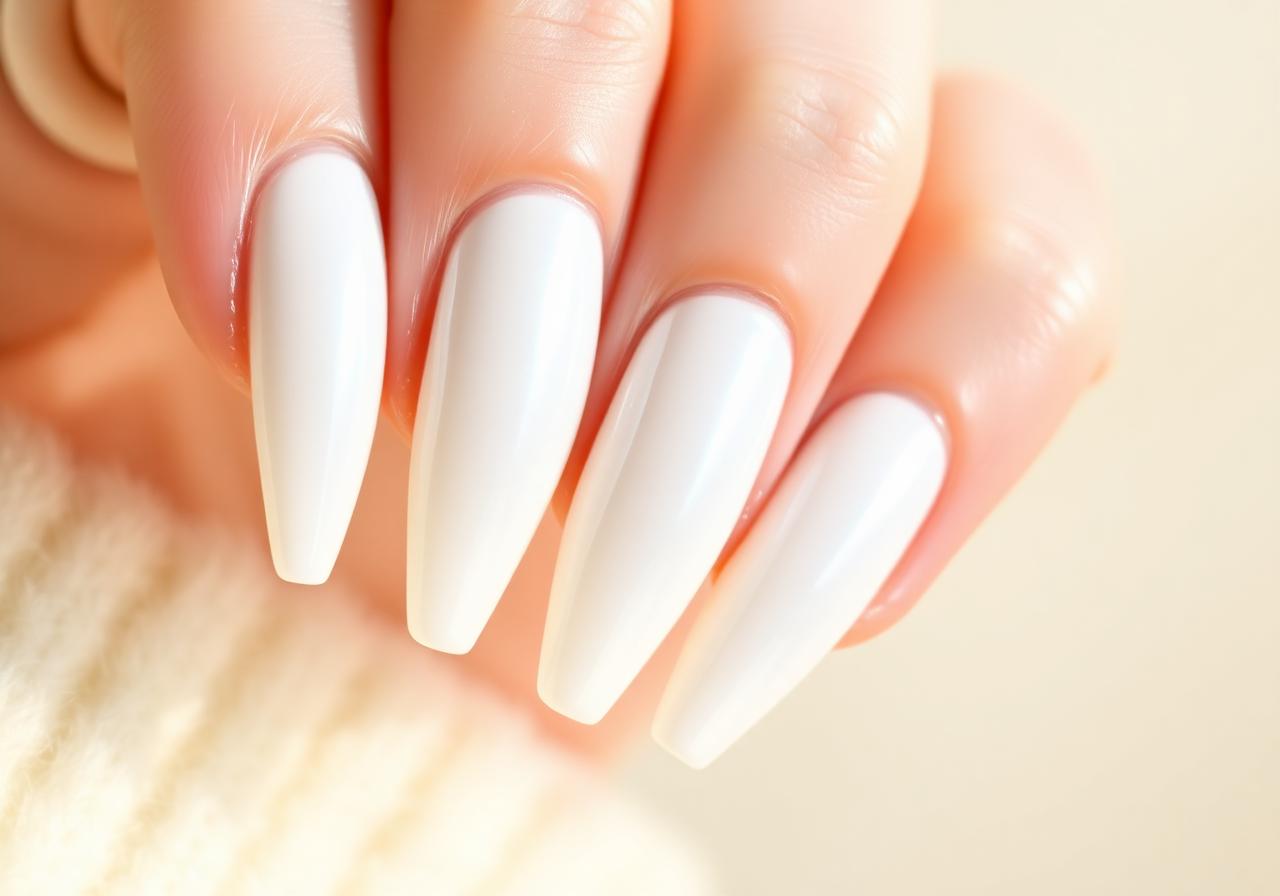
Milky White Glazed Donut Nails at Home
The viral pearl-finish manicure everyone is asking their nail tech for — and how to recreate it in under 30 minutes.
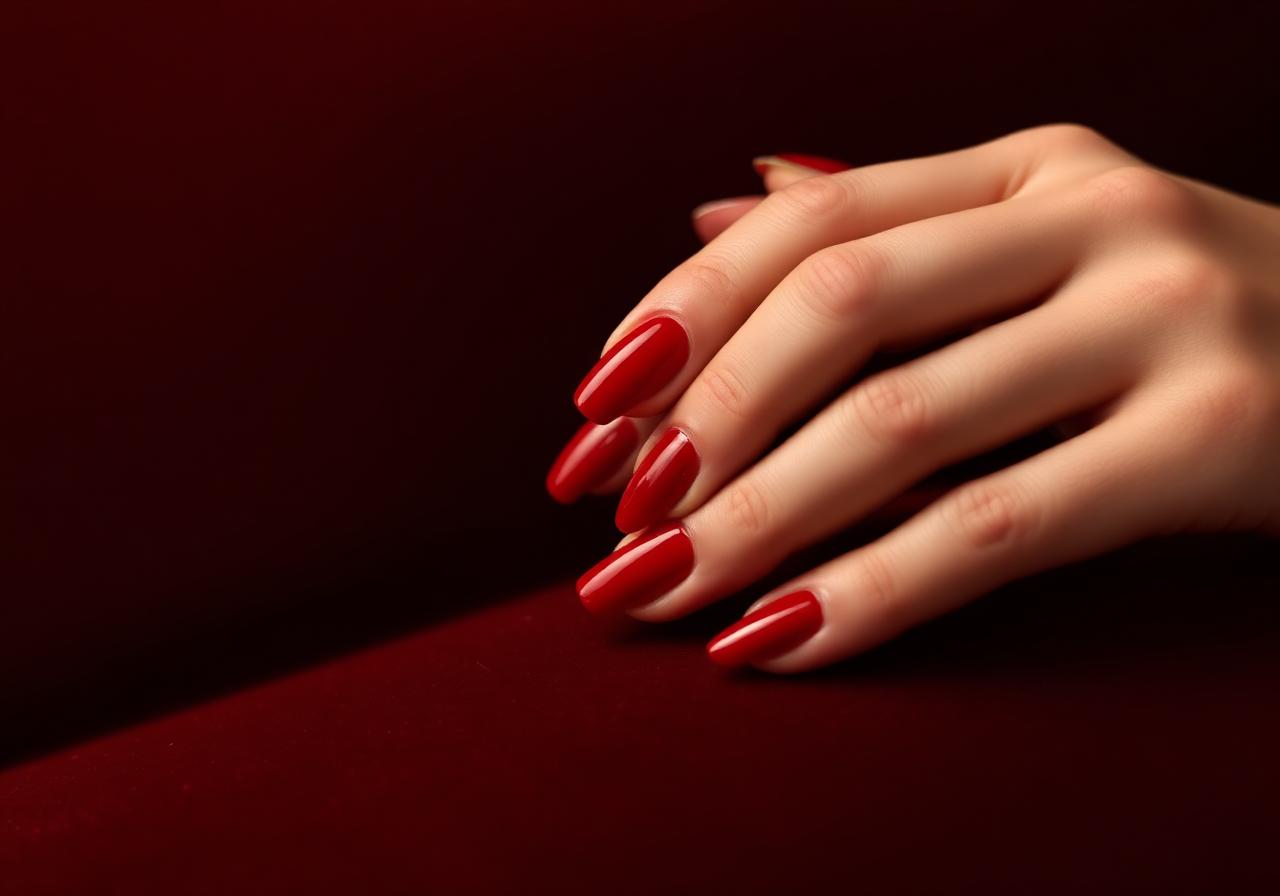
Cherry Red Short Nails: The Classic Look for Every Season
Short nails deserve statement color too. This step-by-step guide gets you a salon-perfect cherry red at home.