Gold Foil Flake Nails: Editorial Nude Manicure with Real Gold Accents
A soft nude base scattered with real gold foil flakes — the understated luxury manicure that reads as jewelry rather than nail art.

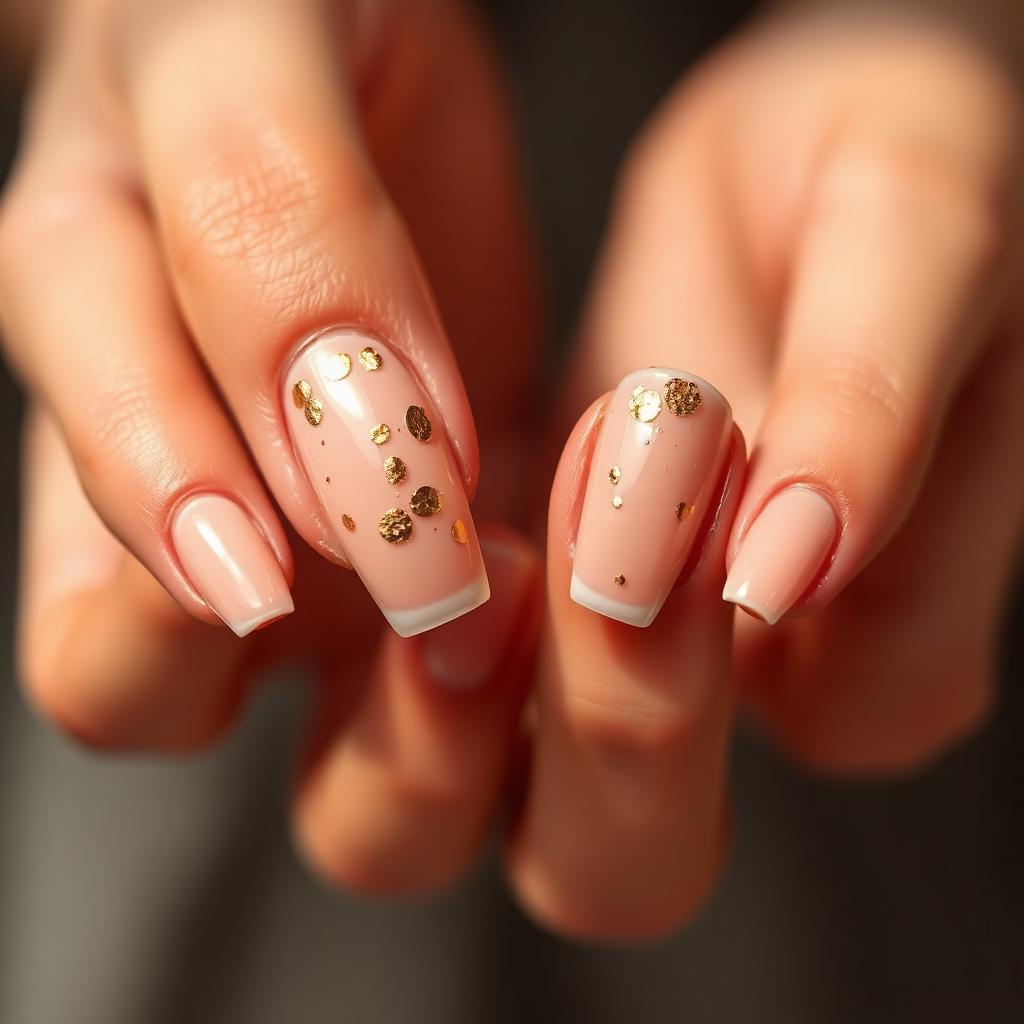
Gold foil flake nails are the quiet-luxury answer to glitter. Instead of chunky sparkle, the design uses irregular flakes of real gold-toned foil scattered across a soft nude base — an effect closer to jewelry than to nail art. It is the manicure worn by editors backstage at Paris fashion week, by brides who do not want anything too costume-like, and by anyone who wants their nails to feel expensive without feeling loud. This guide covers the exact nude undertone that best flatters the gold, the professional flake-placement pattern that never looks accidental, and the sealing technique that keeps the foil looking three-dimensional instead of flattened under top coat.
Why gold flakes read as luxury
Real gold foil catches light dimensionally — each irregular flake reflects at a slightly different angle, producing the same kind of dynamic shimmer as fine jewelry. Glitter, by contrast, produces uniform sparkle that reads as decorative rather than precious. This dimensional quality is what makes foil-flake manicures photograph so beautifully in soft light and what makes them feel appropriate at events where glitter would feel out of place.
Choosing the right nude base
The undertone of the nude base determines how the gold reads. A pinky nude makes the gold look warm and romantic. A peachy nude makes it look sun-warmed and honeyed. A creamy beige nude makes it look editorial and neutral. Avoid grey-based nudes with warm gold flakes — the cool base fights the warm foil and makes both look off. Match warm to warm, cool to cool, and the manicure will look effortless.
The scatter rule for professional placement
Editorial nail artists follow one rule when placing gold flakes: dense at the cuticle, sparse toward the tip. This mimics the way flakes would naturally settle if sprinkled onto a wet surface, and it draws the eye toward the base of the nail where the shape is widest. Even, uniform scatter looks stamped. Random asymmetric scatter with density variation looks intentional.
Using top coat as a layer, not a lid
Flakes flattened under a single heavy top coat lose their dimension. The professional method is to apply a first thin layer of top coat to lock the flakes in place, then a second slightly thicker layer to smooth the surface. This double-layer approach keeps the flakes reading as raised, three-dimensional detail rather than sinking them into a flat plane.
What You'll Need
- ✓Sheer nude polish (match undertone to your skin)
- ✓Real gold foil flakes
- ✓Foil glue or slightly tacky top coat
- ✓Silicone or wooden tool for placing flakes
- ✓Fine tweezers
- ✓Base coat
- ✓Glossy top coat
- ✓Cuticle oil
Step-by-Step
- 01
Prep and shape
File nails into a soft almond or squoval — either shape lets the gold catch light beautifully. Push cuticles back, buff, and dehydrate.
- 02
Apply base coat
A ridge-filling base coat both smooths the nail and helps the sheer nude polish sit evenly.
- 03
Build the nude base
Apply two thin coats of sheer nude polish. The base should look like your nail, only more perfect — sheer rather than opaque.
- 04
Wait for the base to fully set
Give the nude polish a full five minutes to set before applying foil. Wet polish grabs foil unevenly.
- 05
Dot foil glue onto placement spots
Using the fine liner brush, place tiny dots of foil glue at the points where you want each flake — denser near the cuticle, sparser near the tip.
- 06
Wait for glue to turn clear and tacky
Foil glue starts white and turns clear as it becomes tacky — this usually takes thirty seconds. Only apply flakes once the glue is fully clear or they will not stick properly.
- 07
Place the flakes with tweezers
Use fine tweezers to pick up each flake and press it gently onto a glue dot with a silicone tool. Vary the size and orientation of each flake for a natural scatter.
- 08
Seal with a double top coat
Apply a first thin layer of glossy top coat to lock the flakes in place. Wait sixty seconds, then apply a second slightly thicker layer to smooth the surface. Cap the free edge and finish with cuticle oil.
"Great nails aren't about perfection — they're about intention. Slow, thin coats always beat a rushed thick one."
Pro Tips
Buy flakes in a mixed-size mix rather than uniform sizes — the variation looks more organic.
For a subtle bridal version, use only three or four small flakes per nail instead of a full scatter.
Rose-gold flakes over a pinky nude read especially soft and romantic; warm-gold flakes over a peachy nude look more editorial.
Store flakes in a small screw-top jar — they scatter easily and are frustrating to clean off a bathroom counter.
Pair with delicate gold jewelry only; silver jewelry fights warm gold flakes.
Refresh top coat every three to four days to keep the surface smooth over the raised flakes.
Frequently Asked
Are these real gold flakes?+
Most nail-grade gold flakes are metallic-coated polymer rather than real gold leaf, though real edible gold leaf can also be used and produces the most luxurious finish. Both look identical once sealed.
Can I use this on gel?+
Yes, and it is actually easier because you can flash-cure between steps. Place flakes into the sticky layer of an uncured gel top coat instead of using foil glue, then cure fully.
How long does the design last?+
On natural nails with regular top coat refresh, expect ten to twelve days. In gel, expect two to three weeks with the flakes still fully intact.
Why do my flakes look flat under top coat?+
Almost always because a single heavy top coat was used instead of two thinner layers. The double-layer approach keeps flakes dimensional; a single thick layer drowns them.
Can I do this manicure without foil glue?+
Yes — a slightly tacky layer of top coat, applied and allowed to sit for two minutes, will hold flakes for a short-term look. Foil glue is more reliable for anything longer than a few days.
Is this appropriate for a wedding?+
It is one of the most requested wedding manicures right now. The soft nude base reads as bridal, and the gold flakes photograph beautifully against a white gown without competing with the ring.
Sophia Bennett
Twelve years in beauty editorial. Leads the Nailora desk and personally signs off on every tutorial that goes live.


You Might Also Love
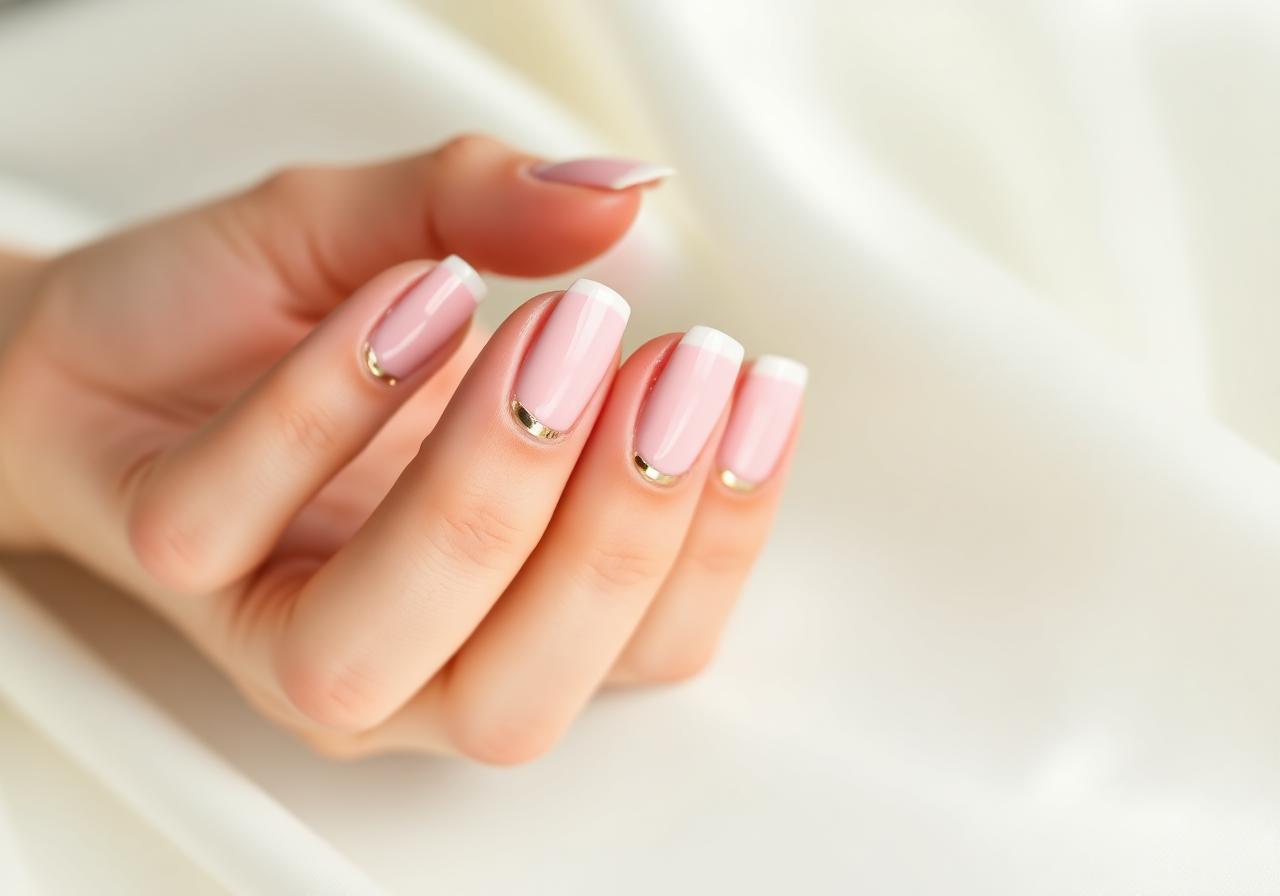
Soft Pink French Tips with Gold Foil Accent
A modern twist on the classic French manicure — sheer pink base, ivory tips, and a whisper of gold foil for everyday elegance.
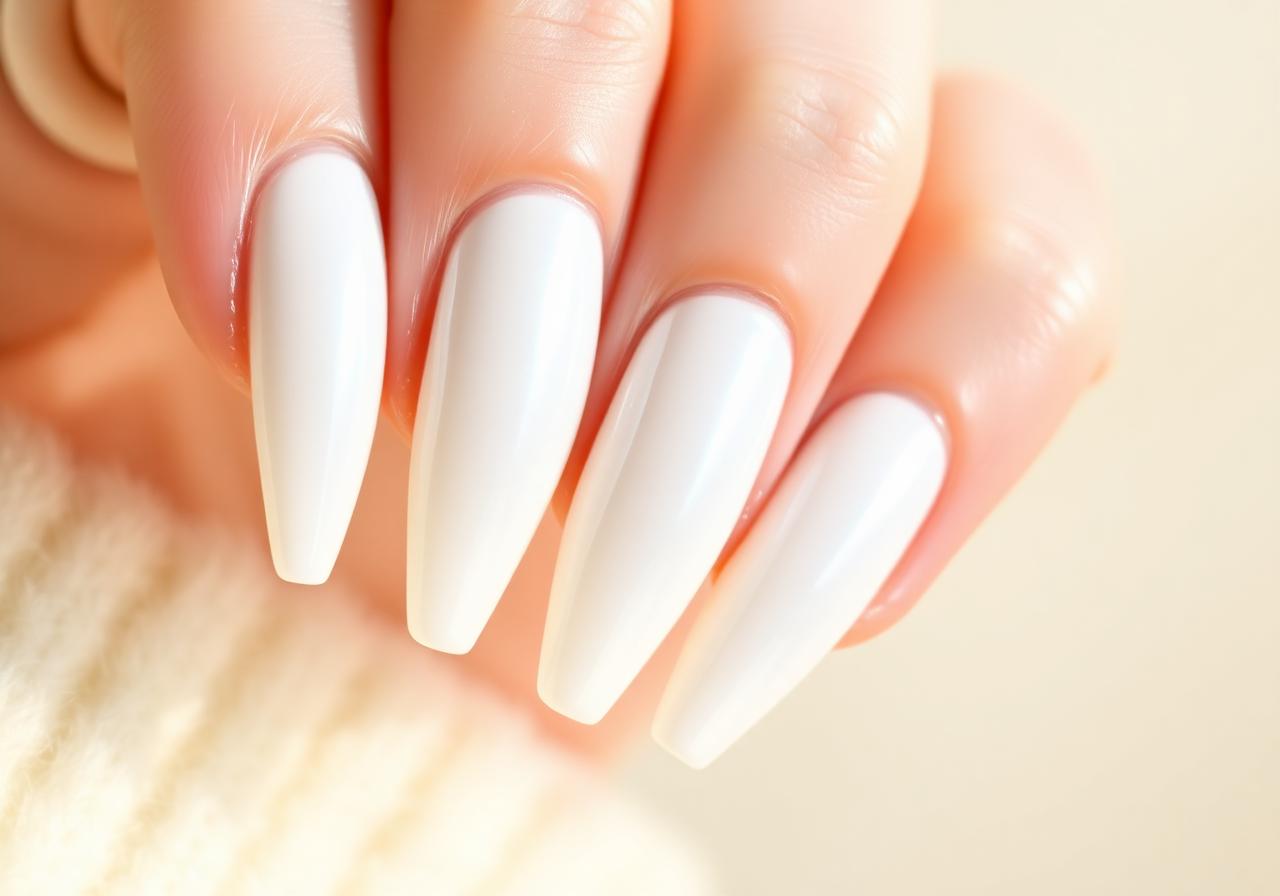
Milky White Glazed Donut Nails at Home
The viral pearl-finish manicure everyone is asking their nail tech for — and how to recreate it in under 30 minutes.
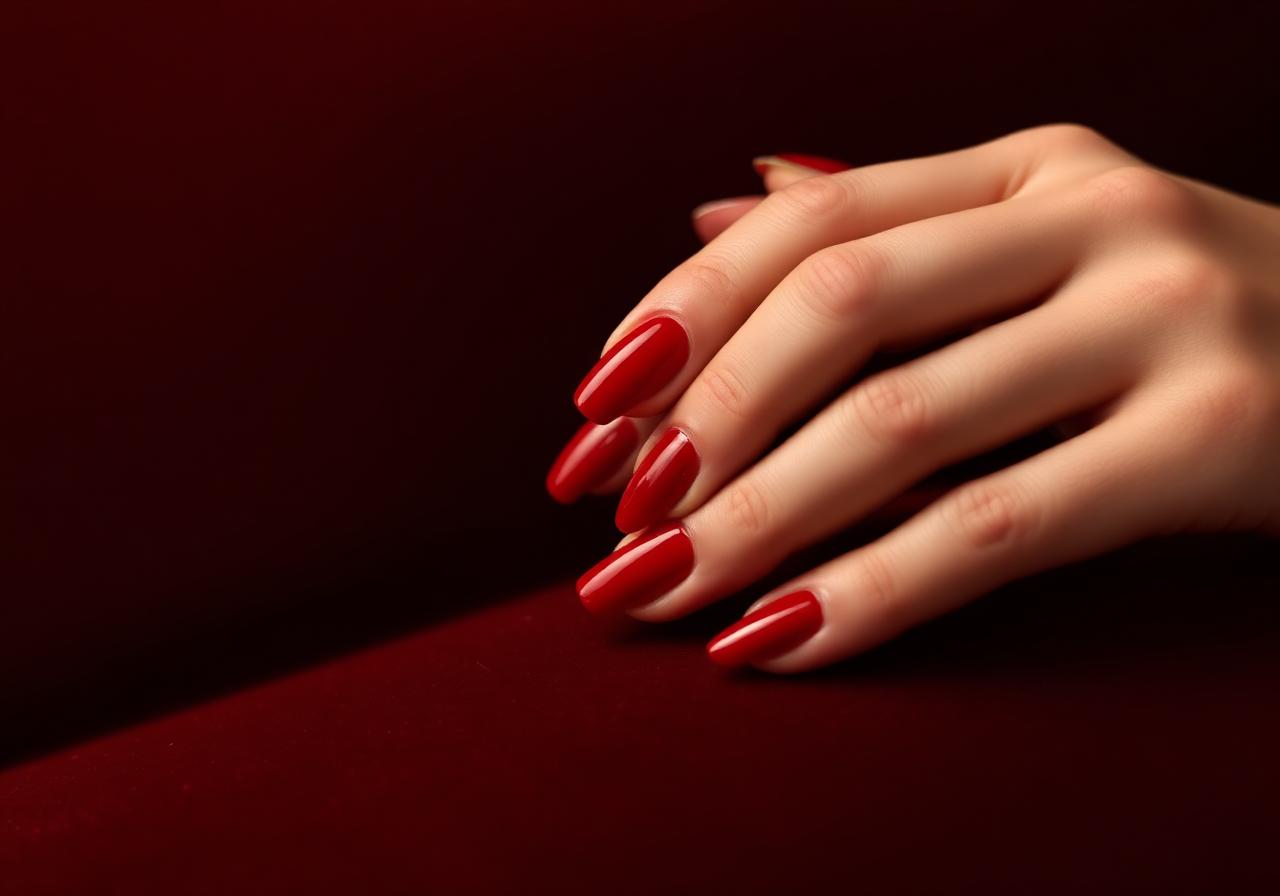
Cherry Red Short Nails: The Classic Look for Every Season
Short nails deserve statement color too. This step-by-step guide gets you a salon-perfect cherry red at home.