Geometric Color-Block Nail Art: A Bauhaus-Inspired Manicure
Clean lines, primary colours and confident negative space — a bold Bauhaus-inspired manicure that turns nails into wearable modern art.

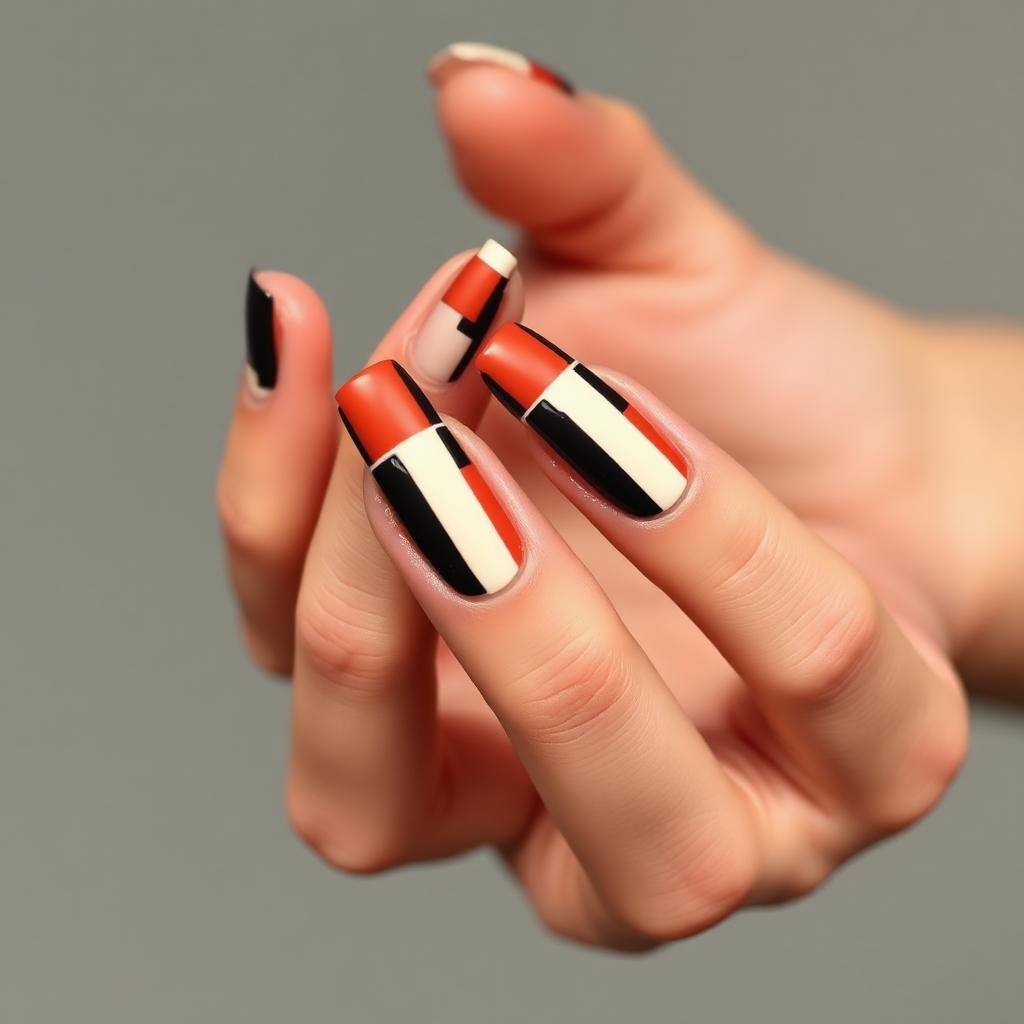
Geometric color-block nail art borrows its language directly from Bauhaus painting — the idea that a few clean shapes in confident colours can carry more visual weight than an elaborate illustration. On the nail, this translates to bold blocks of terracotta, cream and black arranged with the precision of a piece of graphic design. It is a manicure for architects, art directors, gallery-goers and anyone who wants nails that look like a curated exhibition. This full tutorial walks through the exact taping technique, colour ratios and finishing rituals that make geometric nail art look editorial rather than crafty.
The Bauhaus principle applied to nails
The Bauhaus school taught that form follows function and that primary colours combined with black and white can communicate more than a full spectrum. On nails, this means limiting your palette to three colours plus one neutral, arranging them in rectangles or triangles that meet at clean edges, and letting empty space do half of the design work. Skipping the fourth colour is what separates a modern art manicure from a chaotic one.
Choosing your colour palette
The most photographed geometric manicures use one warm colour, one cool colour and one true neutral. Terracotta with sage and cream is the current favourite. Mustard with navy and ivory is more autumnal. Cherry red with black and white is the strictest Bauhaus interpretation. Whatever you choose, one colour should dominate — used on roughly sixty percent of the design — while the other two act as accents. Equal parts of three colours looks busy rather than intentional.
Why tape is the secret to clean lines
Freehand geometric art looks wobbly no matter how steady your hand is. Professional nail artists use thin strips of striping tape or narrow bands cut from painter's tape to create perfectly straight edges. The tape is applied over a fully dry base, painted over, then peeled away while the top layer is still wet. This produces the crisp architectural lines that give the design its editorial quality. Working without tape is possible but takes years of practice.
Composition rules that always work
Three composition patterns look reliably good on nails: the horizontal split (one colour on the bottom two-thirds, another on the top third), the diagonal block (a triangle of colour running from one corner to another), and the offset rectangle (a small block of colour placed off-centre against a neutral background). Choose one of these three patterns and repeat variations of it across all ten nails. Using ten different compositions on ten nails looks messy — repeating one pattern with small variations looks curated.
What You'll Need
- ✓Cream or ivory base polish
- ✓Terracotta or brick red polish
- ✓Deep black polish
- ✓Thin striping tape or narrow strips of painter's tape
- ✓Small sharp scissors
- ✓Fine liner brush for cleanup
- ✓Small dish of pure acetone
- ✓Base coat and matte or glossy top coat
Step-by-Step
- 01
Prep and shape
File nails into a clean square or squoval — the geometric look requires a straight free edge to feel intentional. Push cuticles back and buff the surface. Wipe with dehydrator.
- 02
Paint the cream foundation
Apply a base coat, then two thin coats of your cream polish across every nail. Let the second coat dry for a full five minutes — tape will not lift cleanly from wet polish.
- 03
Place the first strip of tape
Cut a thin strip of tape and press it firmly across each accent nail in the direction of your chosen composition — horizontal, diagonal or offset rectangle. Burnish the edges with your fingernail so no polish can bleed underneath.
- 04
Apply the terracotta block
Paint terracotta polish over the exposed section of the nail. Two thin coats give the cleanest colour. Wait sixty seconds after the second coat but not longer.
- 05
Peel the tape at an angle
While the polish is still slightly wet, peel the tape upward and away from the polish at a low angle. This produces a knife-sharp edge. If you wait until the polish is fully dry, the tape will lift the design with it.
- 06
Add the black accent block
Repeat the taping process to add a smaller black rectangle or triangle in a corner of the nail. This second block is what turns the design from color-blocking into modern art. Keep it deliberately small — one-quarter the size of the terracotta block.
- 07
Clean the edges
Dip the fine liner brush in acetone and gently clean any bleed or wobble along the lines. This step is what separates amateur from professional.
- 08
Seal with matte or glossy top coat
A matte top coat gives the design a fine-art print quality; a glossy top coat gives it a graphic magazine feel. Both look intentional. Cap the free edge and finish with cuticle oil.
"Great nails aren't about perfection — they're about intention. Slow, thin coats always beat a rushed thick one."
Pro Tips
Cut all your tape strips before starting so you are not fumbling with scissors mid-manicure.
Do not use painter's tape that has been sitting on a shelf for years — old adhesive lifts polish.
For a softer palette, swap terracotta and black for dusty pink and grey; the technique remains identical.
Repeat the same block pattern on the ring finger of each hand so the two hands mirror each other.
Photograph the finished manicure against a plain concrete or wood background — busy backgrounds fight with the design.
This look pairs beautifully with statement rings; keep the metal simple, either brushed gold or matte silver.
Frequently Asked
Do I need special striping tape?+
Nail striping tape from any beauty supply is easiest, but thin strips cut from a fresh roll of painter's tape work perfectly. Avoid electrical tape — the adhesive is too aggressive for polish.
Can I do this manicure without tape?+
You can, but freehand lines will always look slightly wobbly. If you prefer freehand, embrace the wobble — a hand-drawn Bauhaus look is a legitimate style and reads as intentionally handmade.
Why does my polish bleed under the tape?+
Almost always because the base coat was not fully dry, or the tape edges were not burnished down. Wait a full five minutes before taping and press the edges firmly with your fingernail.
How do I choose which nails get which pattern?+
Put the boldest composition on the ring finger, a simpler version on the middle finger, the smallest block on the index, and leave the pinky and thumb minimal. This creates a visual hierarchy across the hand.
Will the tape damage my natural nail?+
No — nail striping tape and painter's tape are both gentle enough to lift without harm. The polish underneath comes off with the tape only if it was not fully dry.
Can I do this on gel?+
Yes, and it is actually easier. Cure the cream base fully, apply tape, add the coloured gel and cure again with the tape still on. Peel the tape after curing for razor-sharp lines.
Sophia Bennett
Twelve years in beauty editorial. Leads the Nailora desk and personally signs off on every tutorial that goes live.


You Might Also Love
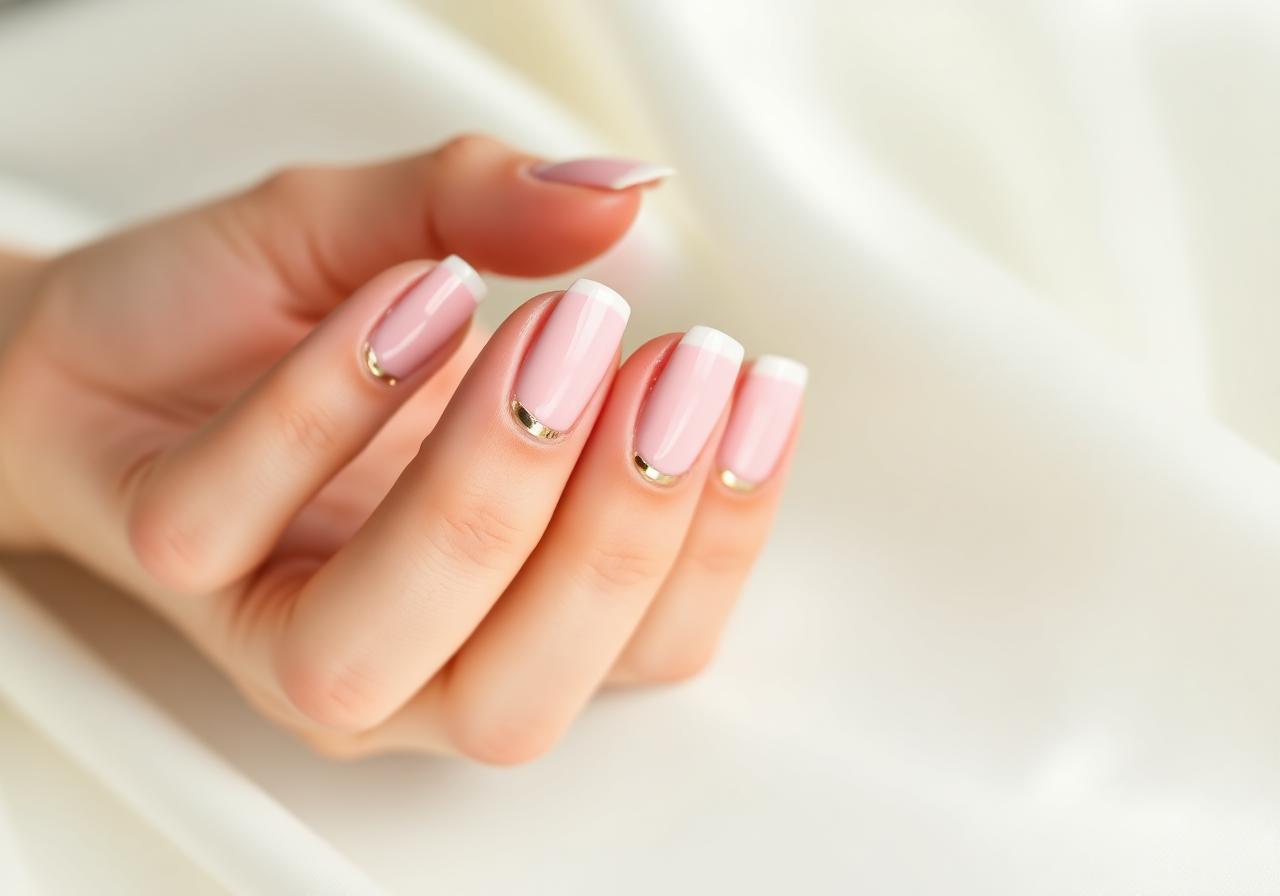
Soft Pink French Tips with Gold Foil Accent
A modern twist on the classic French manicure — sheer pink base, ivory tips, and a whisper of gold foil for everyday elegance.
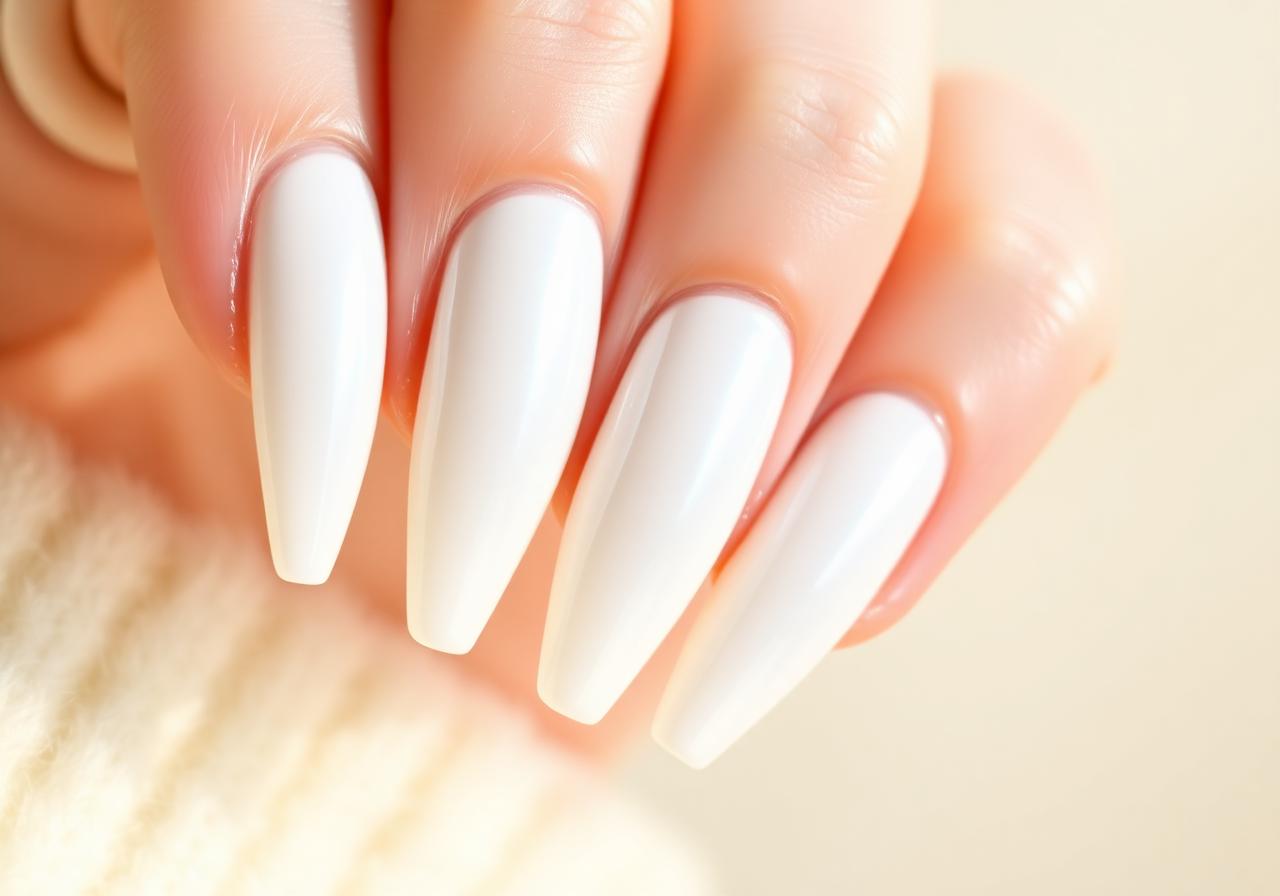
Milky White Glazed Donut Nails at Home
The viral pearl-finish manicure everyone is asking their nail tech for — and how to recreate it in under 30 minutes.
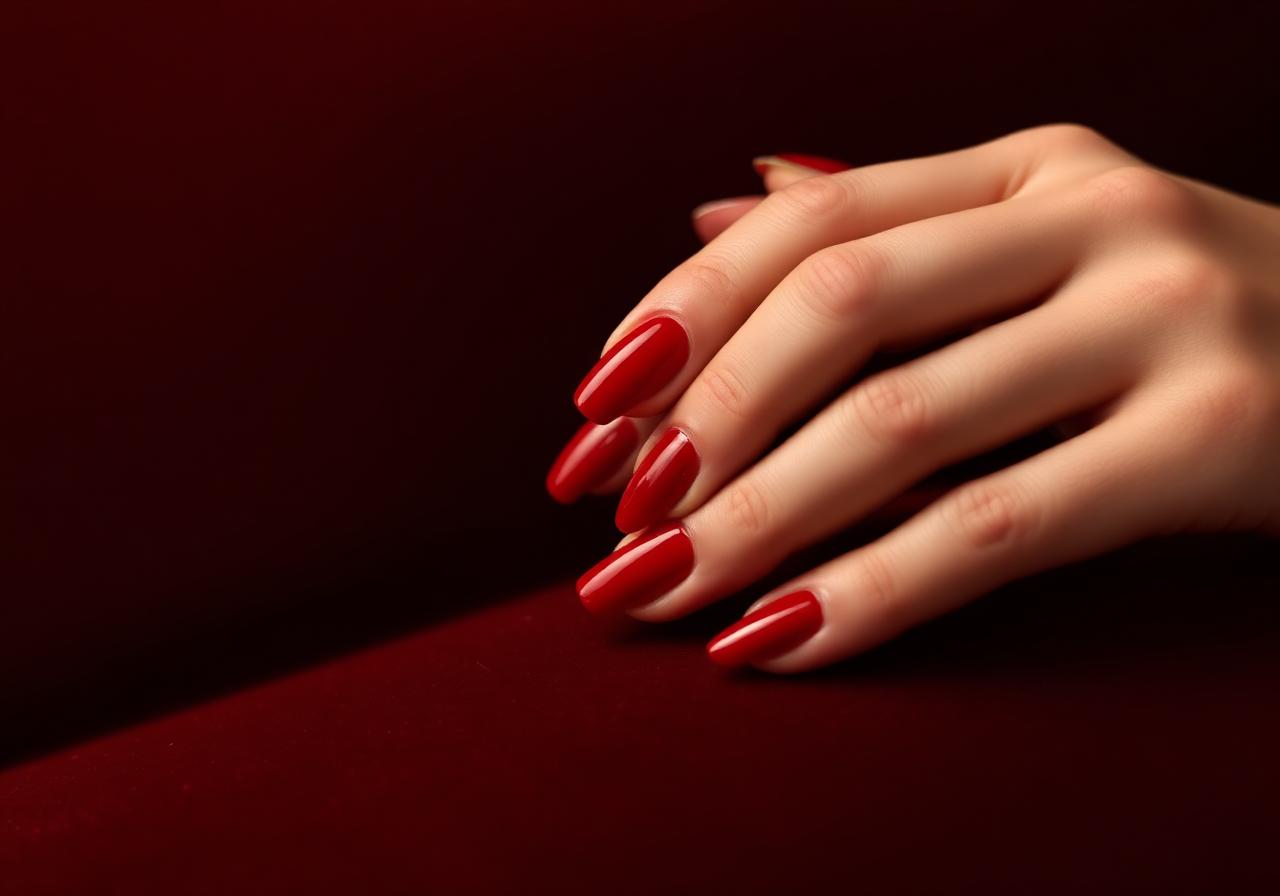
Cherry Red Short Nails: The Classic Look for Every Season
Short nails deserve statement color too. This step-by-step guide gets you a salon-perfect cherry red at home.