Deep Plum Nails: The Sophisticated Autumn Manicure
Rich glossy plum nails — the sophisticated dark manicure that looks luxurious against cashmere and wool.

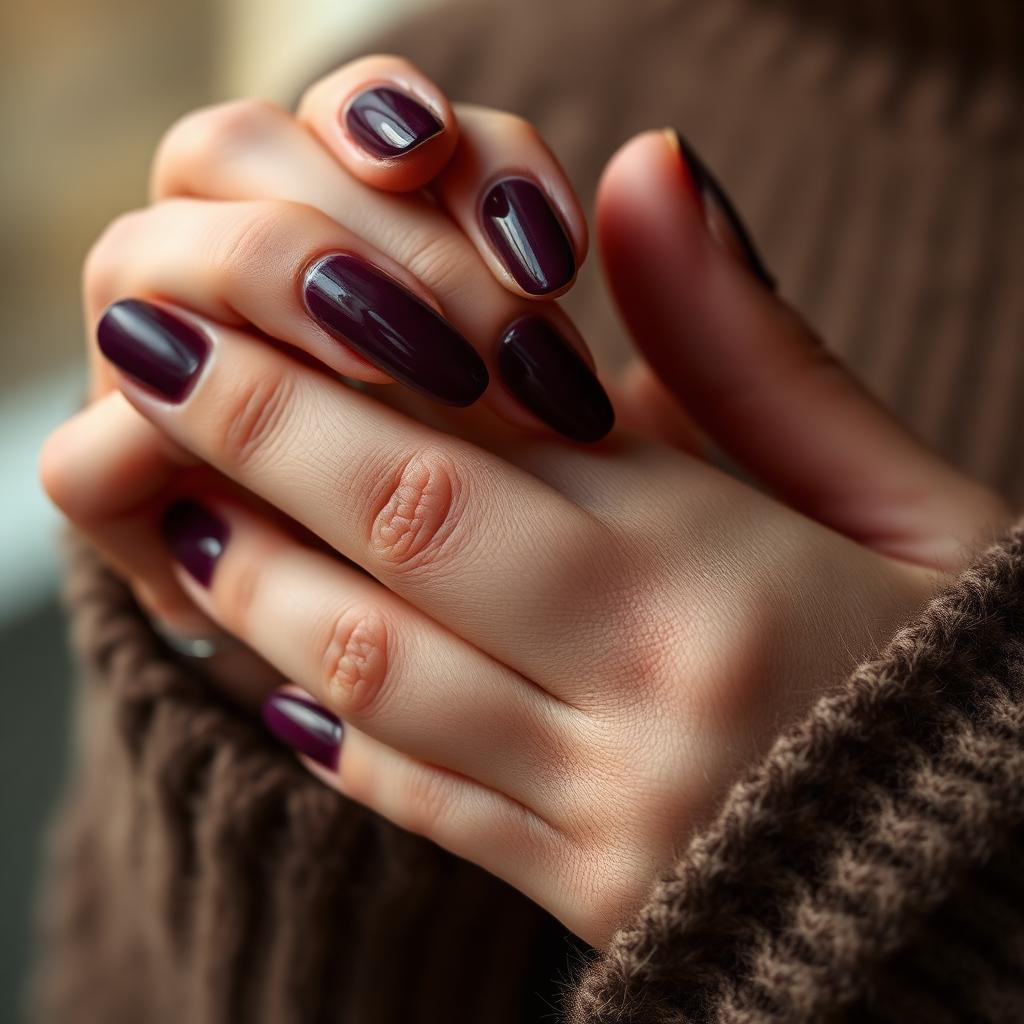
Deep plum nails are what happens when you want something dark and sophisticated but do not want to commit to full black. The colour sits at the sweet spot between purple and burgundy — rich enough to feel dramatic, warm enough to feel autumnal, and just glossy enough to catch candlelight beautifully. This is the manicure worn by editors at fashion week, by women at their favourite wine bar, and by anyone who wants their hands to look expensive without effort. This complete guide covers the exact plum undertone that flatters every skin tone, the layering technique that gives dark polish its jewel-like depth, and the finishing rituals that keep the manicure looking wet and glassy for a full two weeks.
The chemistry of a truly deep plum
A great plum polish is not just purple with black mixed in — it is a specific combination of red-violet pigments that create a colour with warmth and depth simultaneously. Look for a polish that reads slightly warm in bottle (with a hint of red) rather than flat cool purple. The warmth is what makes the colour flatter skin rather than drain it.
Why glossy beats matte for plum
Deep colours look flat in matte finish because there are no highlights to catch the eye. A high-gloss top coat, by contrast, creates bright reflective highlights across the surface that reveal the depth of the colour underneath — like polished amethyst rather than dull stone. This is why every luxury salon finishes dark manicures with glossy top coat, never matte.
The two-coat rule for dark polish
Deep colours are notorious for streaking. The professional method is exactly two thin coats — never one thick coat, which pools and takes days to fully set. Two thin coats also lets you correct any streaks in the second layer without adding bulk.
Capping the tip for wear
Deep polishes show tip wear more visibly than lighter shades because the contrast between polished and bare nail is more dramatic. Always cap the free edge of every nail with both colour coats and top coat — this small step is the difference between a plum manicure that lasts three days and one that lasts two weeks.
What You'll Need
- ✓Deep plum polish (warm undertone, not flat purple)
- ✓Ridge-filling base coat
- ✓High-gloss top coat
- ✓Small angled brush and acetone for cleanup
- ✓Cuticle oil
Step-by-Step
- 01
Prep and shape
File nails into a soft almond or squoval. Push cuticles back, buff the surface lightly, and dehydrate. Any oil left on the nail will cause chipping.
- 02
Apply base coat
A ridge-filling base coat both smooths the nail and prevents deep pigment from staining. Apply one thin coat and let it dry two minutes.
- 03
First color coat
Wipe the brush against the bottle neck so only one side is loaded. Place a dot near the cuticle, then pull the brush toward the free edge in three strokes: centre, left, right. Cap the tip.
- 04
Wait five minutes
Dark polish needs longer to set between coats than lighter shades. Rushing the second coat produces bubbles and drag marks.
- 05
Second color coat
Apply the second coat in the same three-stroke technique. This coat is where the plum becomes rich and jewel-like. Cap the tip again.
- 06
Cleanup with angled brush
Dip the angled brush in pure acetone and clean any polish that landed on the skin around the cuticle. This is what separates salon from DIY.
- 07
Apply high-gloss top coat
A generous layer of high-gloss top coat is what gives deep plum its wet, gemstone finish. Cap the tip and let it dry for a full three minutes without touching anything.
- 08
Finish with cuticle oil
Massage cuticle oil into the surrounding skin. Deep colours can make hands look slightly dry by contrast — the oil restores softness and makes the manicure look freshly done.
"Great nails aren't about perfection — they're about intention. Slow, thin coats always beat a rushed thick one."
Pro Tips
Warm the polish bottle between your palms for thirty seconds before opening — deep polish thickens over time and thin polish applies more evenly.
Wear silver or platinum jewelry with deep plum — gold can look too warm against the cool depth of the colour.
For a two-tone autumn version, paint the ring finger in a slightly deeper burgundy for subtle contrast.
Photograph the manicure in warm indoor light — natural sunlight can wash out the depth of dark polish.
Refresh with a fresh top coat every four days to keep the glossy finish looking wet.
Deep plum pairs especially beautifully with cashmere in cream, camel, or charcoal.
Frequently Asked
Why does my plum look flat?+
Almost always because the top coat is not glossy enough. Deep colours rely entirely on a mirror-shine top coat to create highlights that reveal the depth of the pigment. Upgrade to a high-gloss formula and the plum will look transformed.
Will plum stain my nails?+
Deep purples and burgundies are among the most staining polishes. A ridge-filling pigment-blocking base coat prevents almost all staining. If some tint remains after removal, buff lightly and soak in lemon water for five minutes.
How long does the manicure last?+
On natural nails with proper capping and top coat refresh, expect nine to twelve days. In gel, expect a full three weeks with no fading.
Is deep plum flattering on all skin tones?+
Yes — arguably more universally flattering than red. The warm-cool balance of plum flatters warm undertones with its warmth and cool undertones with its coolness. Deep skin looks especially striking against rich plum.
Can I do a plum ombre?+
Absolutely. Sponge the plum at the cuticle fading into a paler mauve at the tip for an elegant autumn ombre. Use the same sponging technique as a standard gradient.
Is this appropriate for autumn weddings?+
It is one of the most popular autumn wedding manicures, especially for evening ceremonies and receptions. The deep colour reads sophisticated and pairs beautifully with jewel-toned bridesmaid dresses.
Emma Carter
Certified nail technician and manicure educator. Tests every technique in-studio before it's published.


You Might Also Love
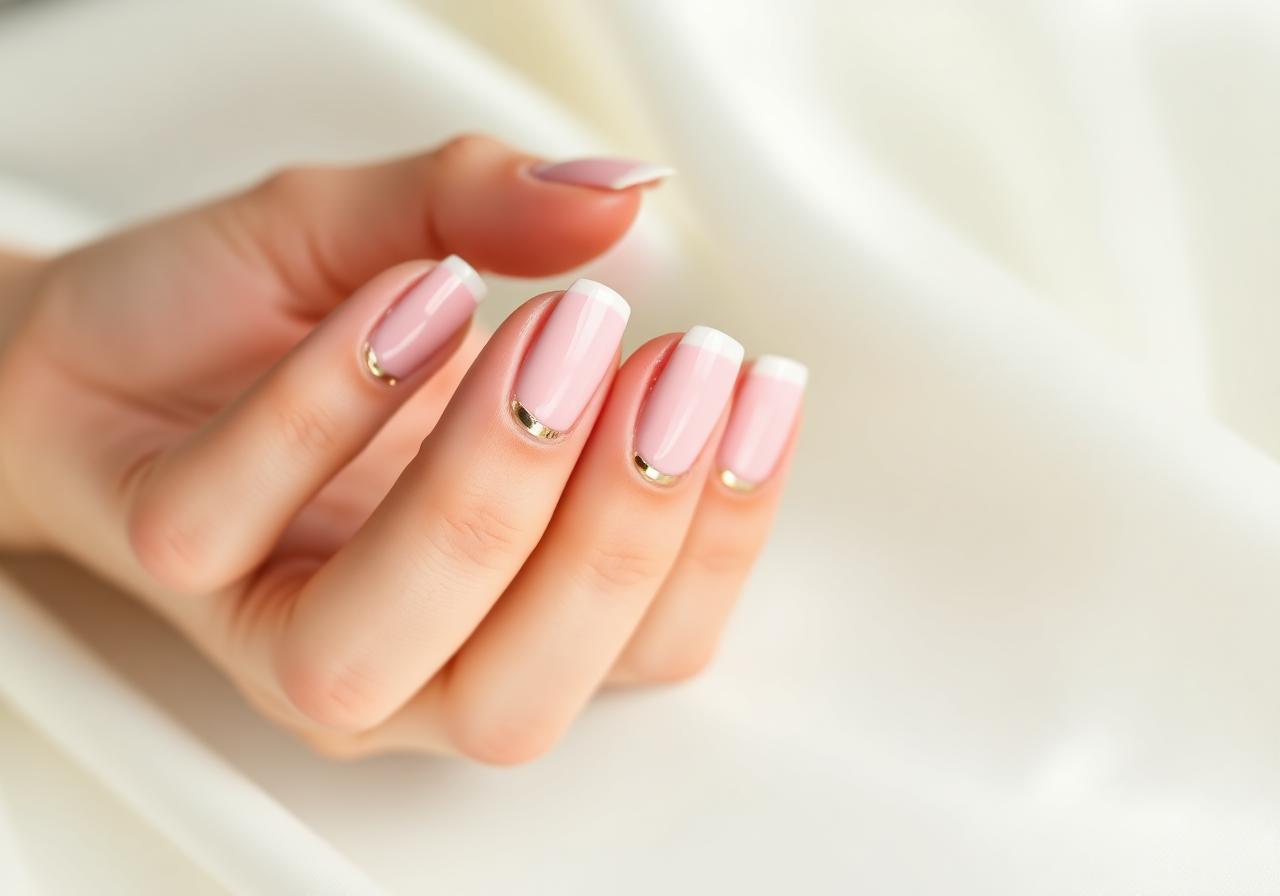
Soft Pink French Tips with Gold Foil Accent
A modern twist on the classic French manicure — sheer pink base, ivory tips, and a whisper of gold foil for everyday elegance.
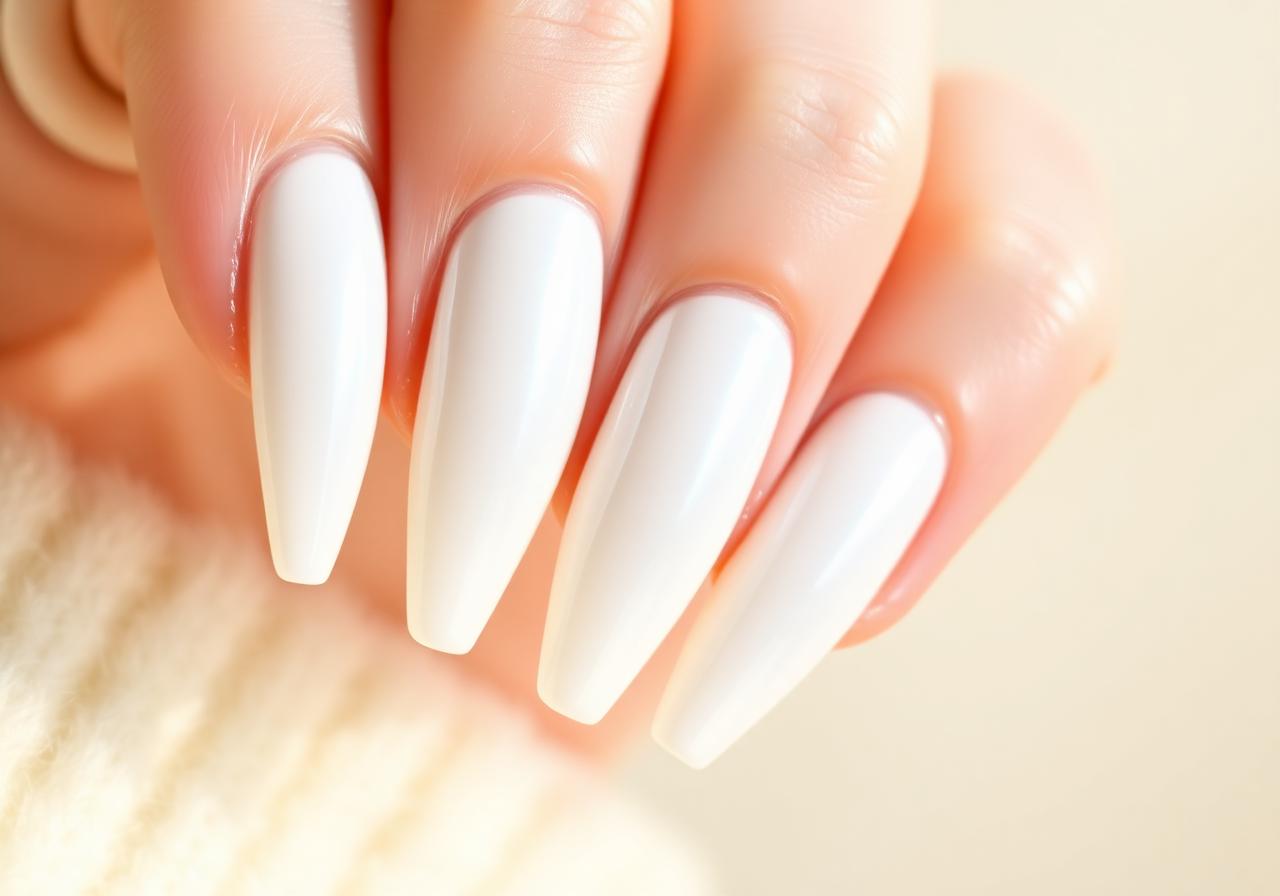
Milky White Glazed Donut Nails at Home
The viral pearl-finish manicure everyone is asking their nail tech for — and how to recreate it in under 30 minutes.
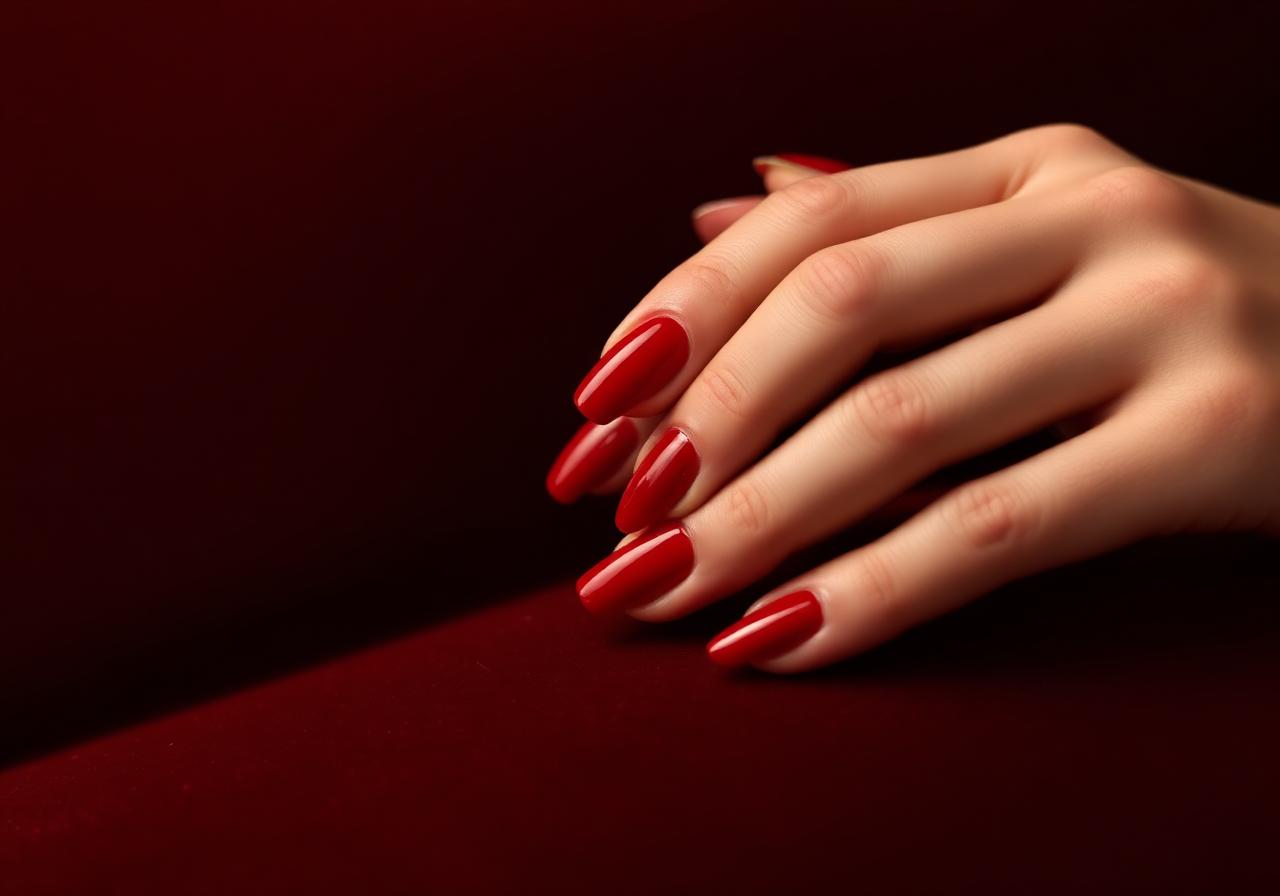
Cherry Red Short Nails: The Classic Look for Every Season
Short nails deserve statement color too. This step-by-step guide gets you a salon-perfect cherry red at home.