Caramel Latte Swirl Nails: The Cozy Marble Manicure
Warm caramel and cream swirls that look like latte art on the nail — a cozy, luxurious autumn manicure.

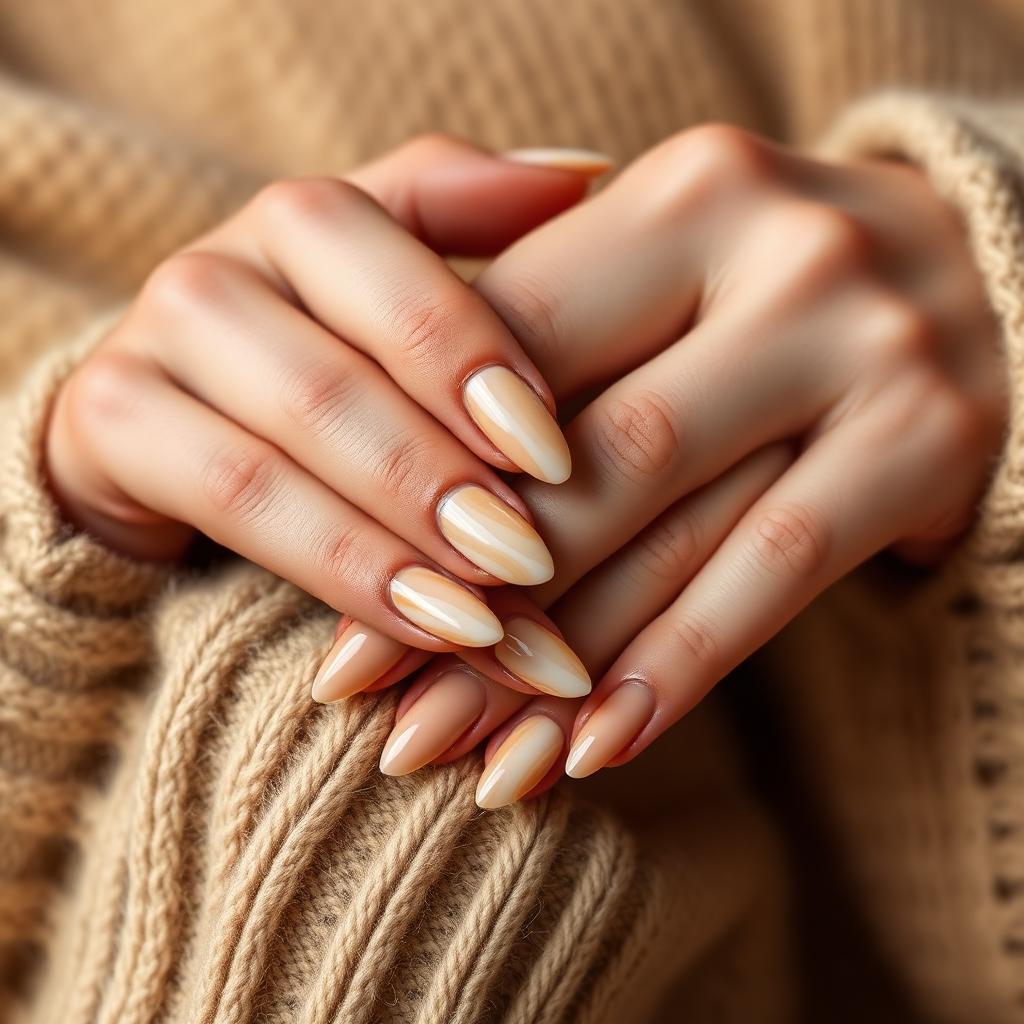
Caramel latte nails capture the exact swirl pattern that appears when steamed milk pours into a warm shot of espresso — the moment latte art blooms across the surface of the cup. The design uses warm caramel, cream, and beige polishes swirled together in soft ribbons across a warm nude base. It is a cozy, luxurious autumn manicure that looks especially beautiful against cream cashmere and camel wool. This complete guide walks you through the water-drop marbling technique that produces truly organic swirls, the exact caramel undertone that reads as coffee rather than mustard, and the finishing steps that keep the design looking freshly poured for weeks.
The colour of a real latte
The colour of a real latte is not brown — it is a warm, milky beige-cream with a hint of amber where the espresso shows through. Most nail polishes labeled caramel are actually too yellow and read as mustard rather than coffee. The colour to look for is a warm milky brown with soft peachy undertones. Add a truly cream (not white) polish for the milk swirls and the design instantly reads as latte.
The water-drop swirl technique
Truly organic swirls are impossible to draw with a brush — they always look stiff and pattern-like. Professional nail artists use the same water-drop technique as marble nails: a drop of alcohol placed on wet polish pushes the pigment into naturally curving swirls that mimic latte art. This is the entire secret behind convincing caramel swirl nails.
Layering the three tones for depth
A convincing latte swirl uses three colours rather than two: a warm nude base, a cream milk swirl, and a small amount of deeper amber caramel to create depth. The three-tone approach mimics the way real latte art has bright milk foam, deeper cream where it meets the espresso, and warm amber espresso underneath.
Sealing without flattening the swirl
The most common caramel swirl mistake is drowning the design in a heavy top coat that flattens the swirls into a single flat plane. The professional technique is a double-thin top coat: the first layer locks in the pattern, the second smooths the surface. Two thin layers preserve the illusion of dimension; one thick layer kills it.
What You'll Need
- ✓Warm nude beige polish (base)
- ✓Cream or ivory polish (milk swirl)
- ✓Deeper amber caramel polish
- ✓Rubbing alcohol
- ✓Small pipette or dotting tool
- ✓Fine liner brush
- ✓Base coat and glossy top coat
Step-by-Step
- 01
Prep and shape
File nails into a soft almond. Push cuticles back, buff and dehydrate.
- 02
Apply base coat and warm nude foundation
Apply a base coat, then two thin coats of the warm nude beige polish. The base should look like warm milky coffee before you add any swirls.
- 03
Add a wet swirl of cream
Load your brush with cream polish and paint a soft curved line across each accent nail. Do not wait for it to dry — the next step depends on the polish being wet.
- 04
Drop alcohol onto the cream
Using the pipette, place two or three small drops of rubbing alcohol along the wet cream line. The alcohol pushes the cream pigment outward, creating organic ribbon swirls that look exactly like latte art.
- 05
Add amber caramel accents
Using the fine liner loaded with amber caramel polish, add a few thin curved lines alongside the cream swirls. These deeper amber lines create the illusion of espresso peeking through the milk.
- 06
Refine with the fine liner
Use the fine liner to add small additional swirls where you want more movement. Keep the strokes soft and curved — sharp angles kill the latte feeling.
- 07
Wait for full set
Let the design set for five full minutes before top coating. Detail work smudges easily if sealed too soon.
- 08
Seal with double-thin top coat
Apply a first thin layer of glossy top coat and wait sixty seconds. Then apply a second slightly thicker layer to smooth the surface without flattening the swirls. Cap the tip and finish with cuticle oil.
"Great nails aren't about perfection — they're about intention. Slow, thin coats always beat a rushed thick one."
Pro Tips
For a stronger swirl, use two drops of alcohol; for a softer swirl, use one.
Do not swirl every nail — cream on the ring and middle fingers with solid nude on the rest looks curated and expensive.
For a mocha version, swap the amber caramel for a deeper chocolate brown.
Photograph the manicure holding a real latte or a small espresso cup for the full editorial feel.
Pair with warm gold or copper jewelry — silver reads too cool against the warm palette.
Refresh top coat every four days to keep the finish glossy.
Frequently Asked
Can I use water instead of alcohol?+
Water works but produces softer, less defined swirls. Rubbing alcohol pushes pigment more aggressively and creates the sharper ribbon pattern that reads as real latte art.
What if I do not have a pipette?+
The tip of a dotting tool dipped in alcohol works well, as does a cotton swab lightly touched to the wet cream line. The pipette just gives you the most control over drop size.
Why do my swirls look muddy?+
Usually because too much cream polish was used, or the base was not dry enough. The swirls should be delicate ribbons on top of the nude base — not a full wash of cream.
How long does the design last?+
On natural nails with regular top coat refresh, expect nine to twelve days. In gel, expect two to three weeks with the swirls still fully soft-edged.
Can I do this on gel?+
Yes, and gel actually makes the technique easier because you can flash-cure between steps to lock in each layer. Use gel polish thinner instead of alcohol.
Is this appropriate for autumn weddings?+
It is one of the most requested autumn bridal manicures, especially for cozy indoor weddings and coffee-shop elopements. The warm palette photographs beautifully against cream and camel bridal accessories.
James Mitchell
Shoots every hand model and product still on the Nailora set. Ten years in commercial beauty photography.


You Might Also Love
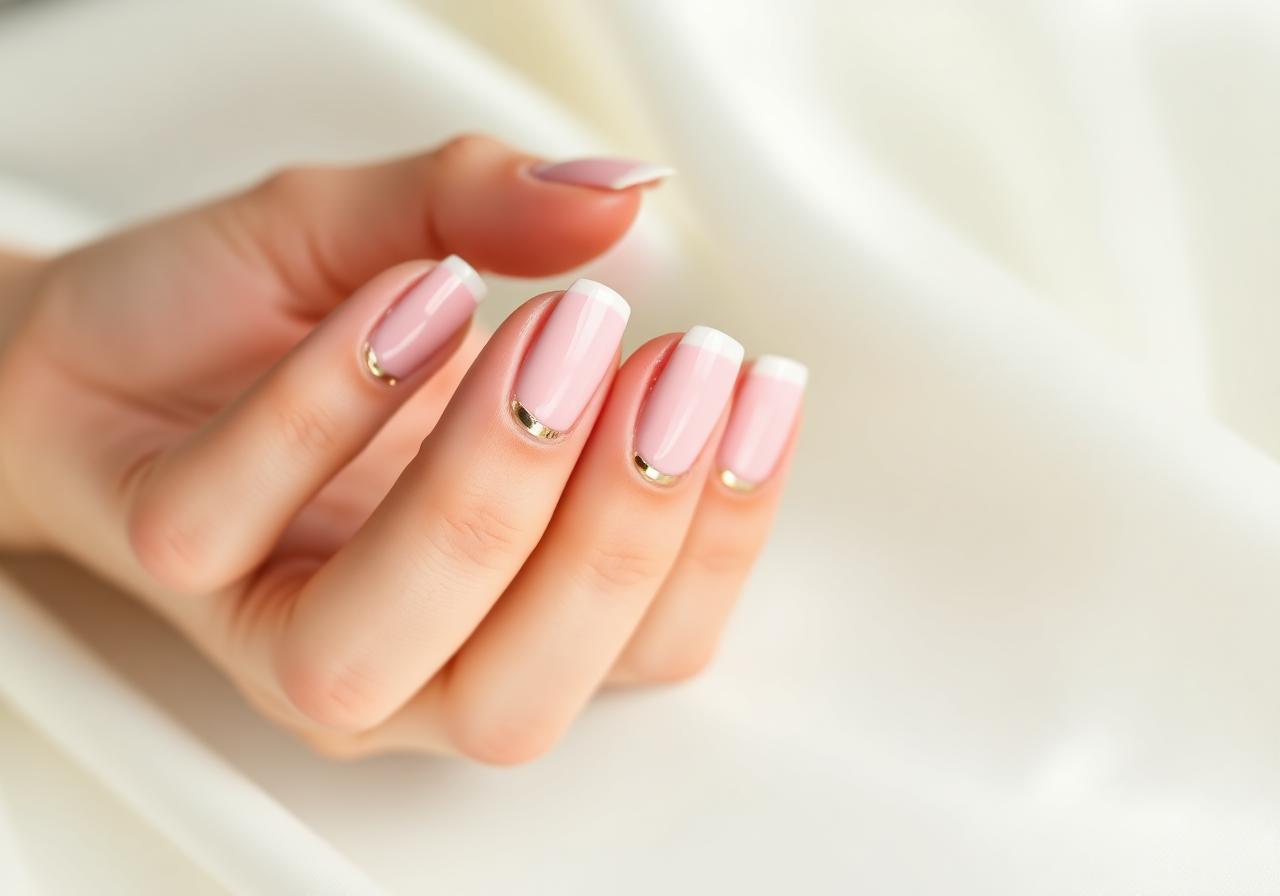
Soft Pink French Tips with Gold Foil Accent
A modern twist on the classic French manicure — sheer pink base, ivory tips, and a whisper of gold foil for everyday elegance.
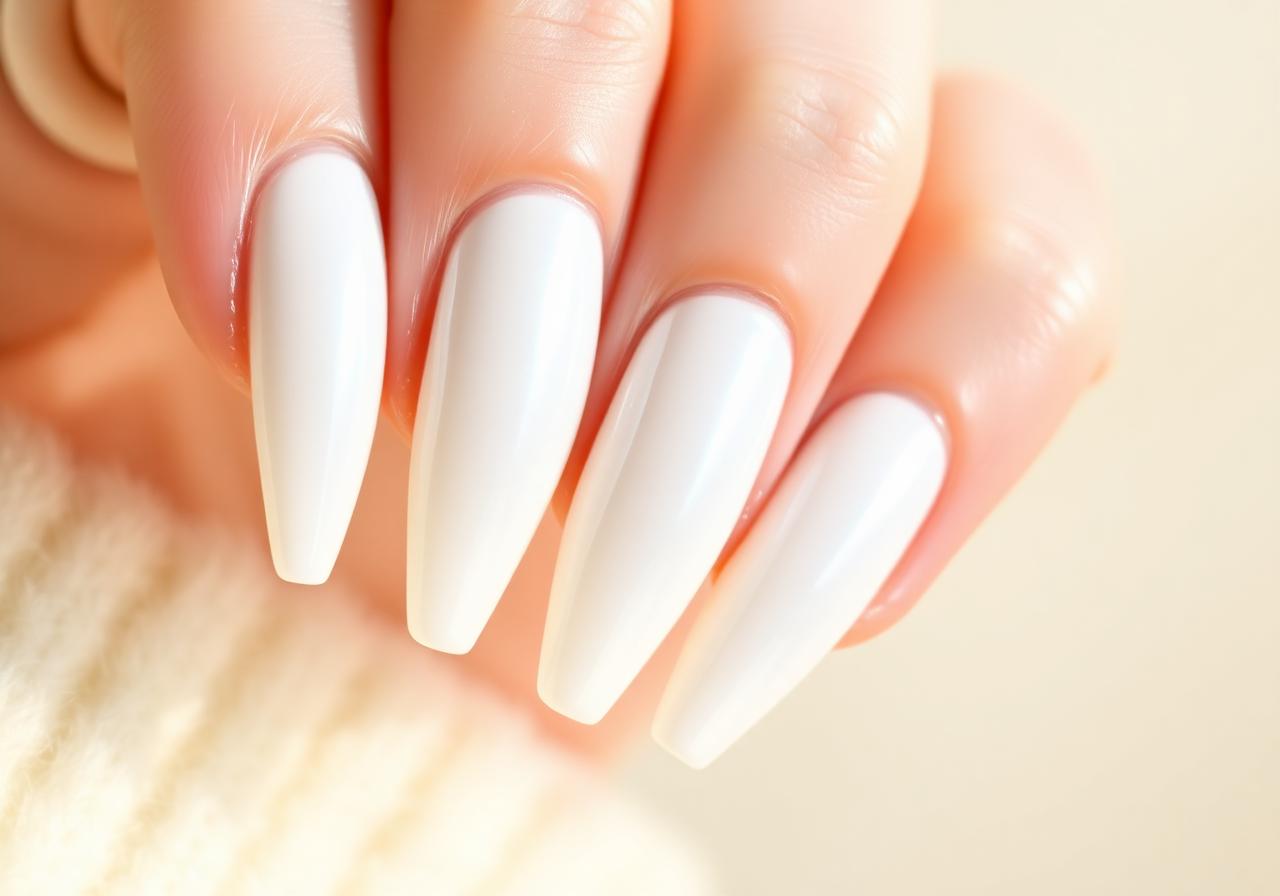
Milky White Glazed Donut Nails at Home
The viral pearl-finish manicure everyone is asking their nail tech for — and how to recreate it in under 30 minutes.
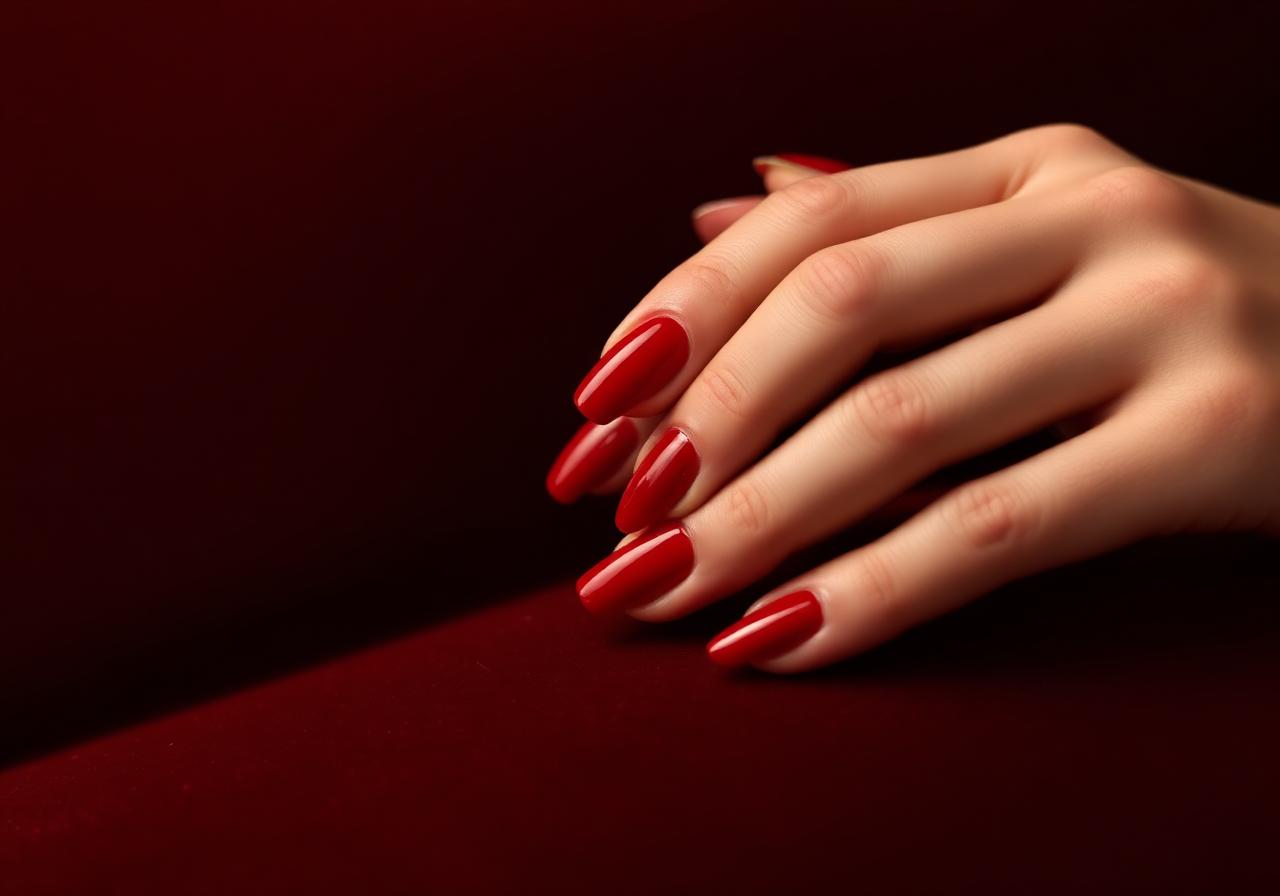
Cherry Red Short Nails: The Classic Look for Every Season
Short nails deserve statement color too. This step-by-step guide gets you a salon-perfect cherry red at home.