Baby Boomer Ombre French: The Softest Bridal Manicure You'll Ever Wear
The baby boomer manicure is what happens when the French tip meets the ombre — a seamless pink-to-white blend that flatters every hand and photographs beautifully.

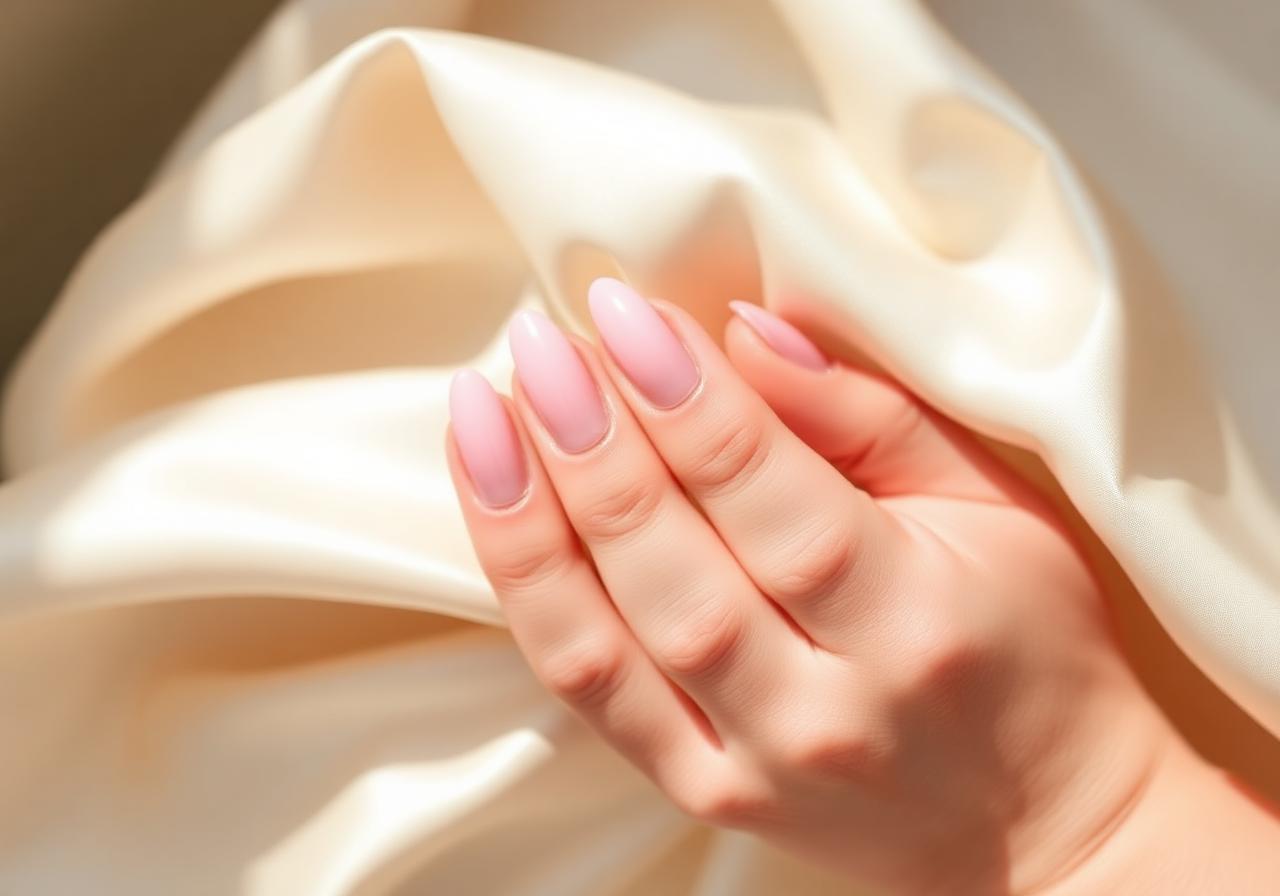
If you have ever stared at a bride's hands during a wedding video and wondered how her nails looked so impossibly soft, so seamless, so naturally healthy — chances are you were looking at a baby boomer manicure. It is the quiet, grown-up cousin of the classic French tip: same shape, same silhouette, but the harsh white line at the free edge is replaced by a gentle blur that fades from a milky pink at the cuticle to a soft ivory at the tip. There is no sharp border, no sudden change. It simply looks like your nails have always been that beautiful. The style earned its playful name in the salon world because it makes the wearer look polished without looking done — the way an off-duty ballerina might wear her hair, or the way linen wrinkles in exactly the right places. And while it is beloved by brides, editors, and mothers of the bride, it is honestly one of the most versatile manicures you can wear day to day. It works with a T-shirt. It works with a suit. It never fights your outfit for attention, and it never looks tired the way a chipped bold color can by day four. This tutorial will walk you through the exact salon method, adapted for a home manicure kit, plus a shorter regular-polish version for readers who don't own a gel lamp. We'll cover shape, prep, the sponge blend that gives the look its signature softness, and the finish that makes it last.
What makes it a baby boomer, not a French tip
A traditional French manicure paints a solid ivory or white band across the free edge of the nail, following the natural smile line. The border between the pink base and the white tip is crisp and defined — that clean line is the whole point. A baby boomer keeps the same warm pink and soft white, but blurs the transition into a gradient about a third of the way down the nail. Because the two colors bleed into each other, there is no wobbly smile line to master, which is exactly why this look is so forgiving for beginners. You can wobble, and it still looks intentional. That said, the finish is not a random ombre — the color should be strongest at the cuticle (warm, milky pink) and softest at the tip (clean ivory), with the blend zone sitting roughly one third to one half up the nail. This is the mental model to keep as you work.
Choosing your two shades
The magic of a baby boomer lives in the color pairing. If your pink is too bright, the manicure reads pageant, not editorial. If your white is too stark, you lose the softness that gives the look its name. Aim for a sheer, milky pink for the base — something with a pale rosé cast, not a hot pink and not a cold beige. For the tip, choose a warm ivory or a pale cream rather than a pure titanium white. Look at the two bottles side by side on a piece of paper: the pink should feel like the inside of a shell, and the ivory should feel like heavy cream. If you have deeper skin, warm both shades up slightly — a peachy nude paired with a soft champagne ivory looks just as luminous.
The right nail shape for the look
Baby boomer nails traditionally live on a longer canvas — think medium almond or medium coffin — because you need real estate for the blend to breathe. That does not mean short nails are off limits. On shorter nails, simply push the blend zone higher, closer to the cuticle, so the ivory tip stays proportional. A soft square with rounded corners photographs beautifully at any length. Whatever shape you pick, file all ten nails so they mirror each other. Uneven shapes are the number one thing that makes a home manicure read amateur, no matter how good the polish job.
What You'll Need
- ✓Sheer milky pink polish (jelly formula preferred)
- ✓Warm ivory or cream polish (avoid pure white)
- ✓Base coat that grips color
- ✓Makeup sponge or dense triangle sponge, cut into small squares
- ✓Small piece of foil or a palette to load the sponge
- ✓Fine detail brush for cleanup
- ✓Small pot of pure acetone for edge cleanup
- ✓Glossy top coat (fast-dry if you're in a hurry)
- ✓Cuticle oil to finish
Step-by-Step
- 01
Shape the nails so they mirror each other
Start dry. Wet nails bend under the file and never come out even. File in one direction only — sawing back and forth causes micro-splits at the edge that will chip your color within days. Aim for a soft almond or squoval and check symmetry by holding both hands up together, palms facing you. If a nail looks longer on one hand, gently take it down until the pair matches. Perfect symmetry is what turns 'a manicure' into 'a manicure that photographs.'
- 02
Prep the surface so nothing lifts
Gently push cuticles back with a wooden orange stick — never metal, which can bruise the nail bed. Buff the entire nail plate lightly with a fine-grit buffer, just enough to matte the natural shine. This creates a mechanical grip for the base coat. Wipe each nail with a lint-free pad dipped in dehydrator or rubbing alcohol. Skipping this single step is the number one reason home manicures chip at the free edge within 48 hours.
- 03
Apply a thin, level base coat
Use a ridge-filling base coat if your nails have natural lines. Apply one thin coat and cap the free edge — meaning, run the brush over the very tip of the nail. Capping is the small habit that adds days to the life of a manicure. Wait two full minutes for the base to dry to touch before moving on.
- 04
Lay down the pink base
Apply two thin coats of milky pink polish over the whole nail. Do not try to cover the nail bed completely — you want a translucent, buildable finish. Milky formulas are meant to look milky. Wait ninety seconds between coats. After the second coat, the nail should look like a healthy natural nail with the volume turned up.
- 05
Prepare the sponge for the ombre
Cut a small square from a makeup sponge. On your piece of foil, place a stripe of the milky pink and, right next to it (touching), a stripe of the ivory. Press the sponge into the two stripes so it picks up both colors along its edge — pink on one side, ivory on the other, blended in the middle.
- 06
Dab, don't drag, the ombre onto each nail
Press the sponge gently onto the nail using a light bouncing motion, keeping the pink side toward the cuticle and the ivory side toward the tip. Do not drag or wipe — that streaks the blend. You should see the two colors overlap in the middle and diffuse softly into each other. Repeat the dabbing motion four or five times per nail, reloading the sponge each time so the color builds evenly. If the tip needs to be brighter, focus the last dabs there.
- 07
Clean up the skin around each nail
The sponge method inevitably lays color on the skin. This is normal. Dip a small detail brush in pure acetone and trace around each nail to remove the excess. Take your time — clean edges are what separate a five-minute home job from a salon finish. Wipe the brush on a paper towel between nails so you don't reintroduce color.
- 08
Seal with a glossy top coat
One generous, level coat of glossy top coat. Cap the free edge again. The top coat visually merges the sponged texture into a smooth, glassy finish and locks the color in place. If your top coat pools at the cuticle, blot the brush on the bottle neck first.
- 09
Massage in cuticle oil
Once fully dry, work a drop of cuticle oil into each nail bed. This is not just a nice-to-have — hydrated cuticles keep the polish from lifting at the base. Reapply oil every night before bed and this manicure can honestly last two weeks.
"Great nails aren't about perfection — they're about intention. Slow, thin coats always beat a rushed thick one."
Pro Tips
Warm both polish bottles between your palms for thirty seconds before opening. Warm polish flows more evenly and blends better.
If the sponge is too wet with polish, blot it once on paper towel before touching the nail. Wet sponges streak.
For a longer-lasting version, do this whole tutorial in gel polish and cure each layer for sixty seconds under a lamp.
Choose polishes from the same brand where possible. Cross-brand formulas sometimes react and cause the top coat to shrink at the edges.
Do not rush the base pink. If it looks patchy, the ombre will magnify it.
For a fresh, up-close look, refresh only the tip with a tiny sponge dab at day seven — it takes two minutes and adds another week of wear.
If you're doing this the morning of a wedding or event, do a practice run the weekend before. The technique is easy; the timing takes one rehearsal.
Store your cut sponge in a small ziplock so it stays clean for next time.
Frequently Asked
How long does a baby boomer manicure last?+
On natural nails with a top-coat refresh every three days, expect seven to ten days of wear. In gel, expect two to three weeks with no chipping if you cap the tip properly.
Can I do this on very short nails?+
Yes. Simply push the blend zone higher up the nail so the ivory tip stays proportional. On very short nails the ombre reads as a healthy, hydrated glow rather than a defined French silhouette — which is arguably even prettier for everyday.
Do I need a gel lamp for this?+
No. Regular polish works beautifully. Gel simply extends the wear and gives a slightly glassier finish. Most brides who want the look on their wedding day book it in gel two days before the ceremony.
What if my ombre looks streaky?+
Streaks come from a sponge that is either too wet or dragged instead of dabbed. Add a third light dab of ivory-only at the tip to blend the streaks, then top coat immediately.
Which fingers should be the strongest color?+
All ten should be consistent. Do not skip fingers or vary the intensity on the ring finger — the whole point of a baby boomer is uniformity.
Can I add glitter or accents?+
A tiny sprinkle of fine gold shimmer along the blend zone on the ring finger looks beautiful for weddings and holidays. Anything heavier and you break the soft, natural quality that defines the style.
James Mitchell
Shoots every hand model and product still on the Nailora set. Ten years in commercial beauty photography.


You Might Also Love
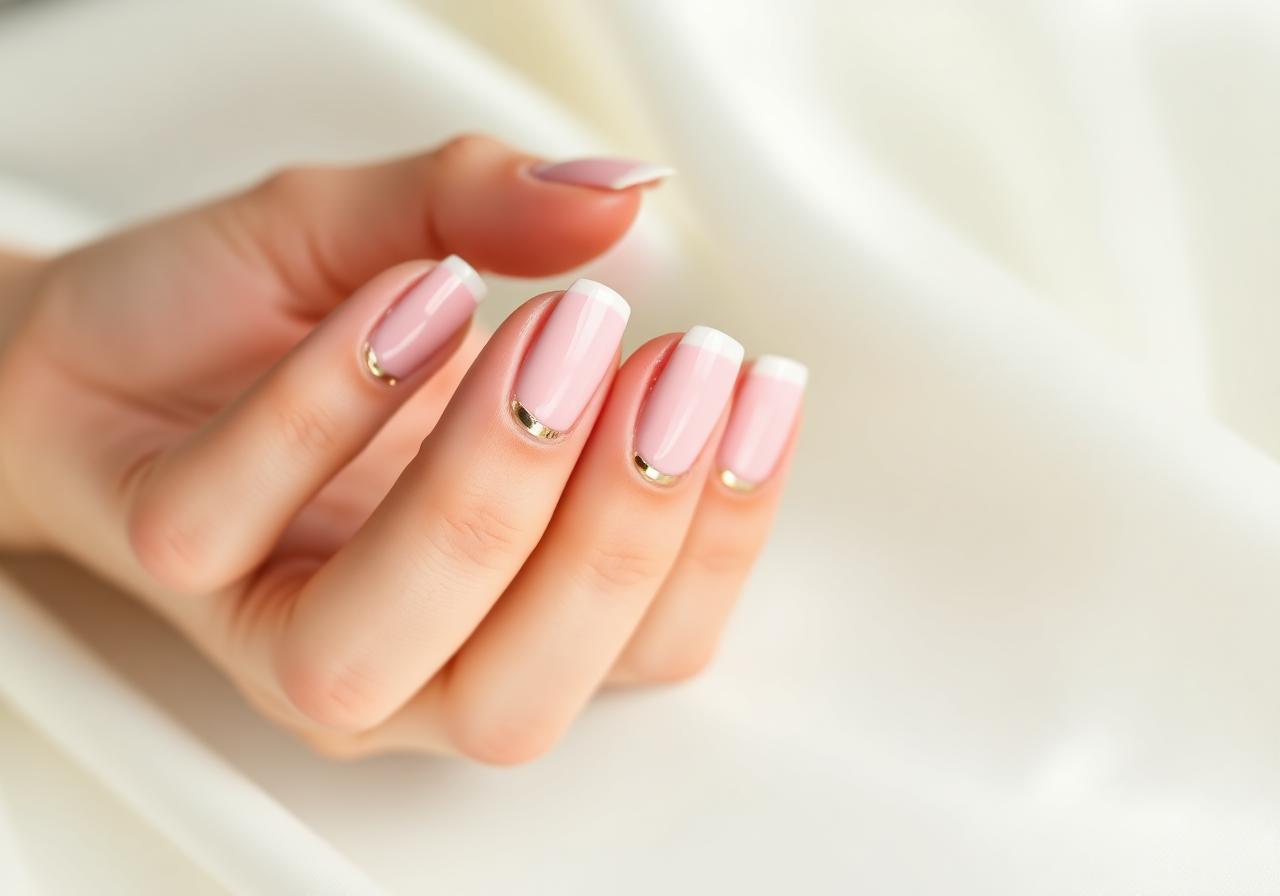
Soft Pink French Tips with Gold Foil Accent
A modern twist on the classic French manicure — sheer pink base, ivory tips, and a whisper of gold foil for everyday elegance.
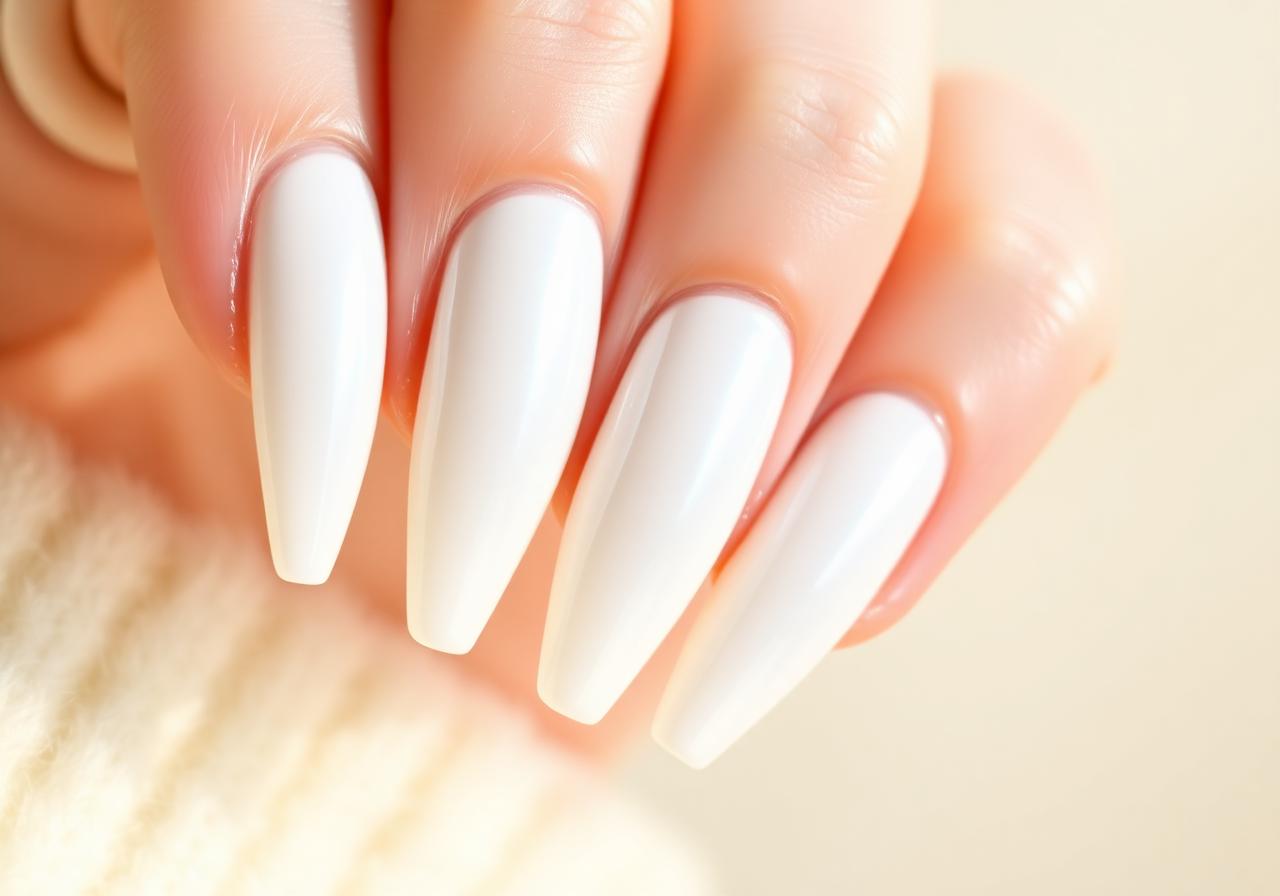
Milky White Glazed Donut Nails at Home
The viral pearl-finish manicure everyone is asking their nail tech for — and how to recreate it in under 30 minutes.
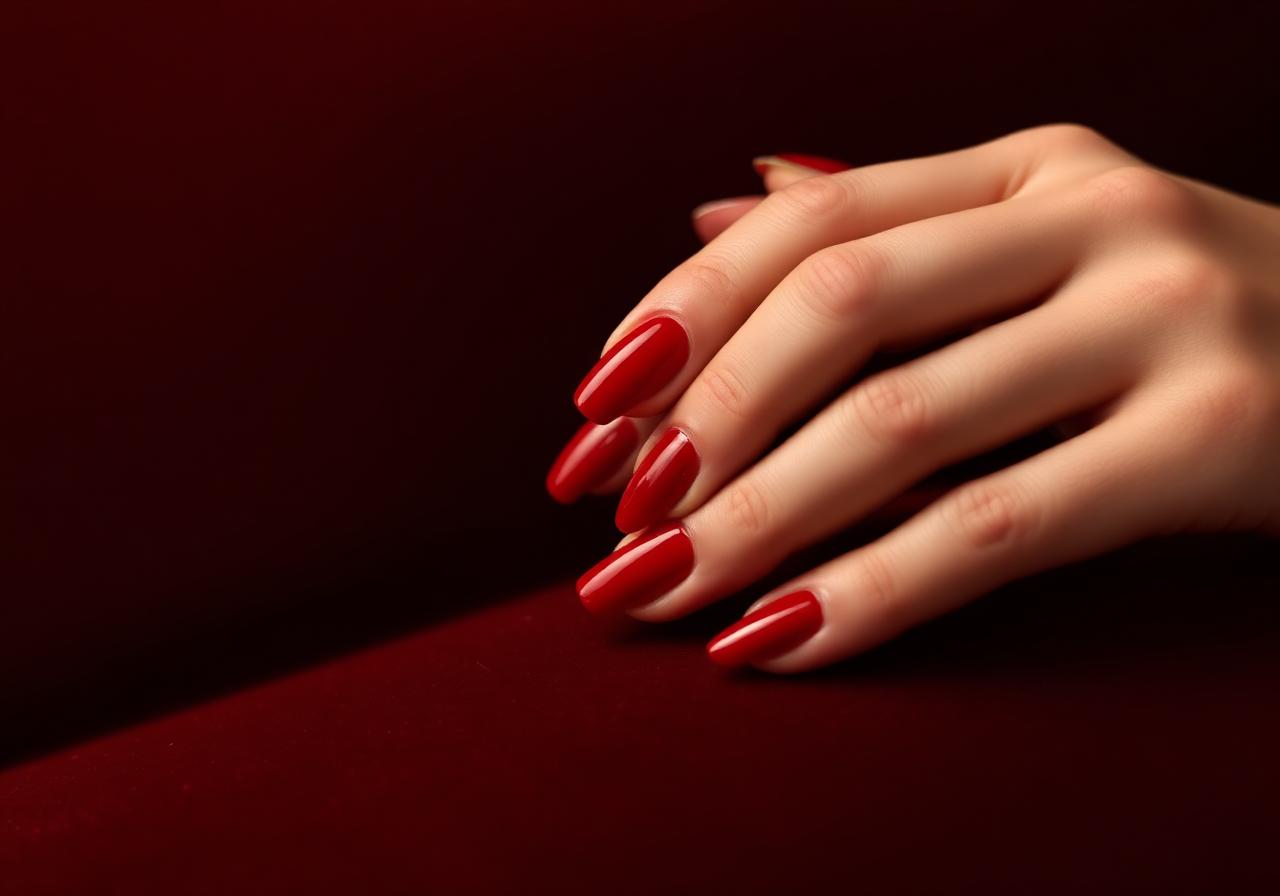
Cherry Red Short Nails: The Classic Look for Every Season
Short nails deserve statement color too. This step-by-step guide gets you a salon-perfect cherry red at home.